


Feature available with the Enterprise Plan Connect your identity provider to Orq.ai to allow your team to sign in using their existing credentials.Documentation Index
Fetch the complete documentation index at: https://docs.orq.ai/llms.txt
Use this file to discover all available pages before exploring further.
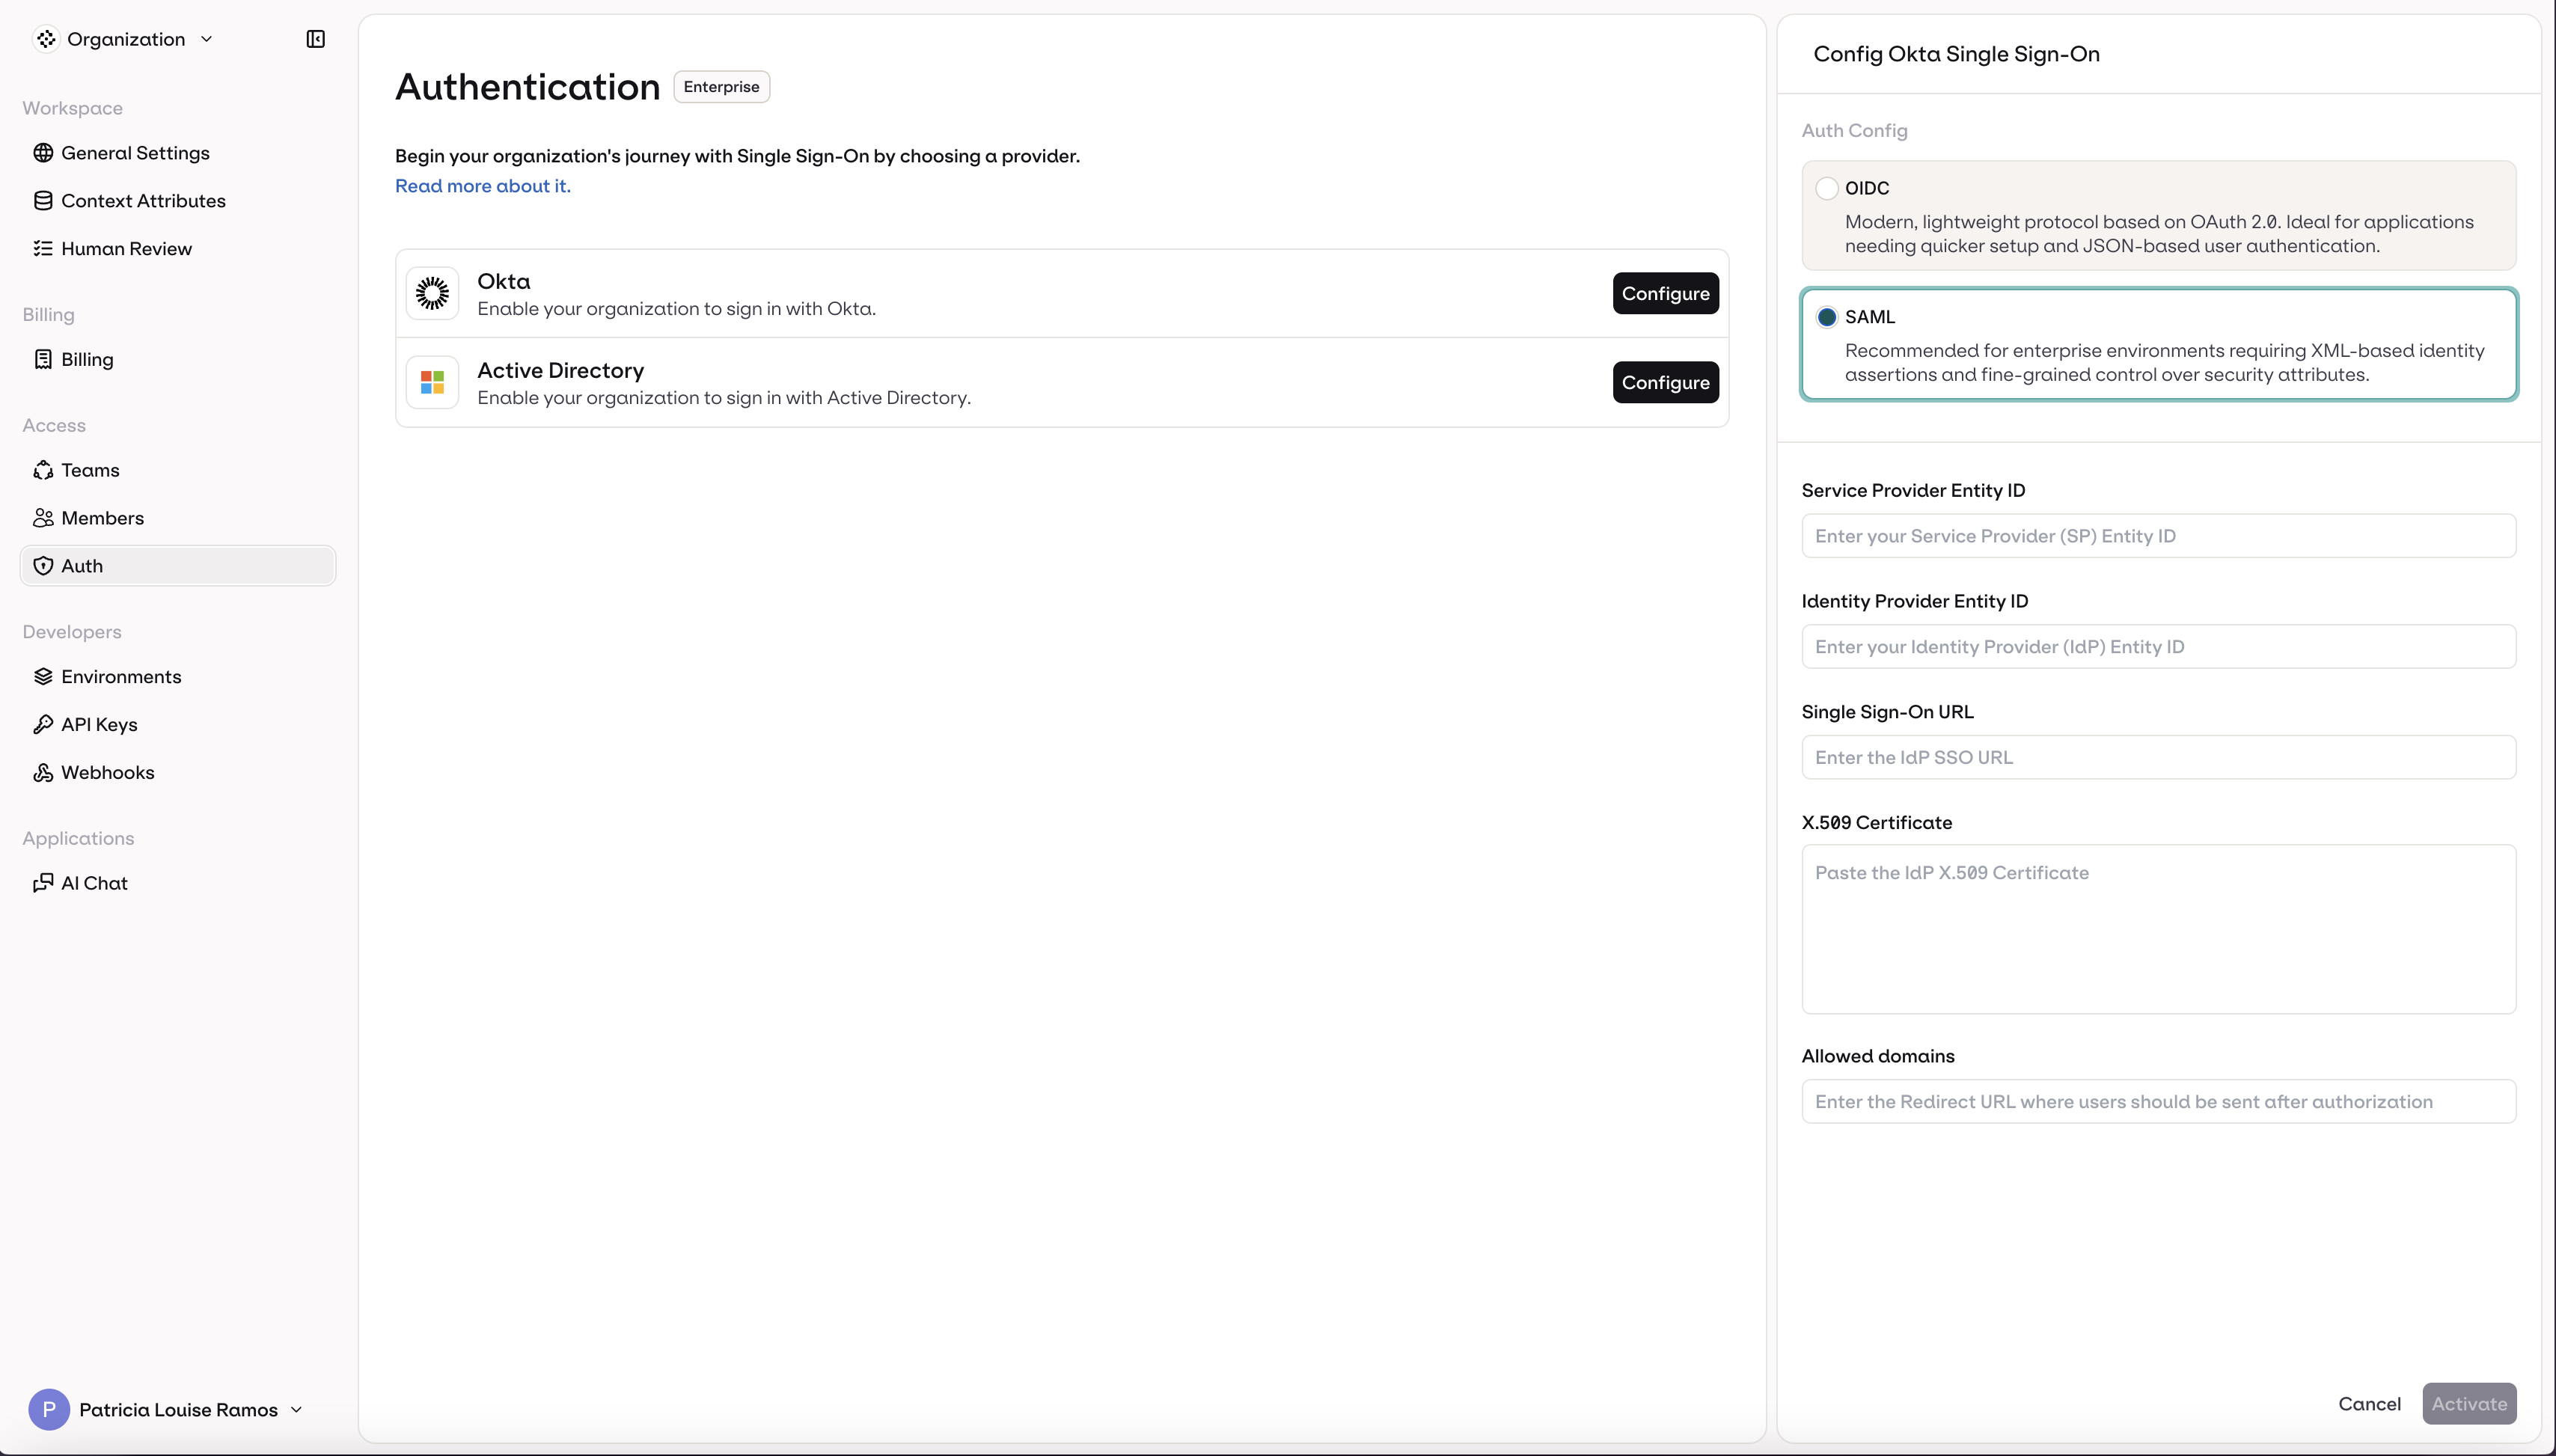
Choosing a Protocol
Two protocols are available for both providers:- OIDC: Modern, lightweight protocol based on OAuth 2.0. Recommended for most organizations for its quick setup and JSON-based authentication.
- SAML: XML-based protocol recommended for enterprise environments requiring fine-grained control over security attributes and assertions.
Identity Providers
Okta
Okta
- OIDC
- SAML
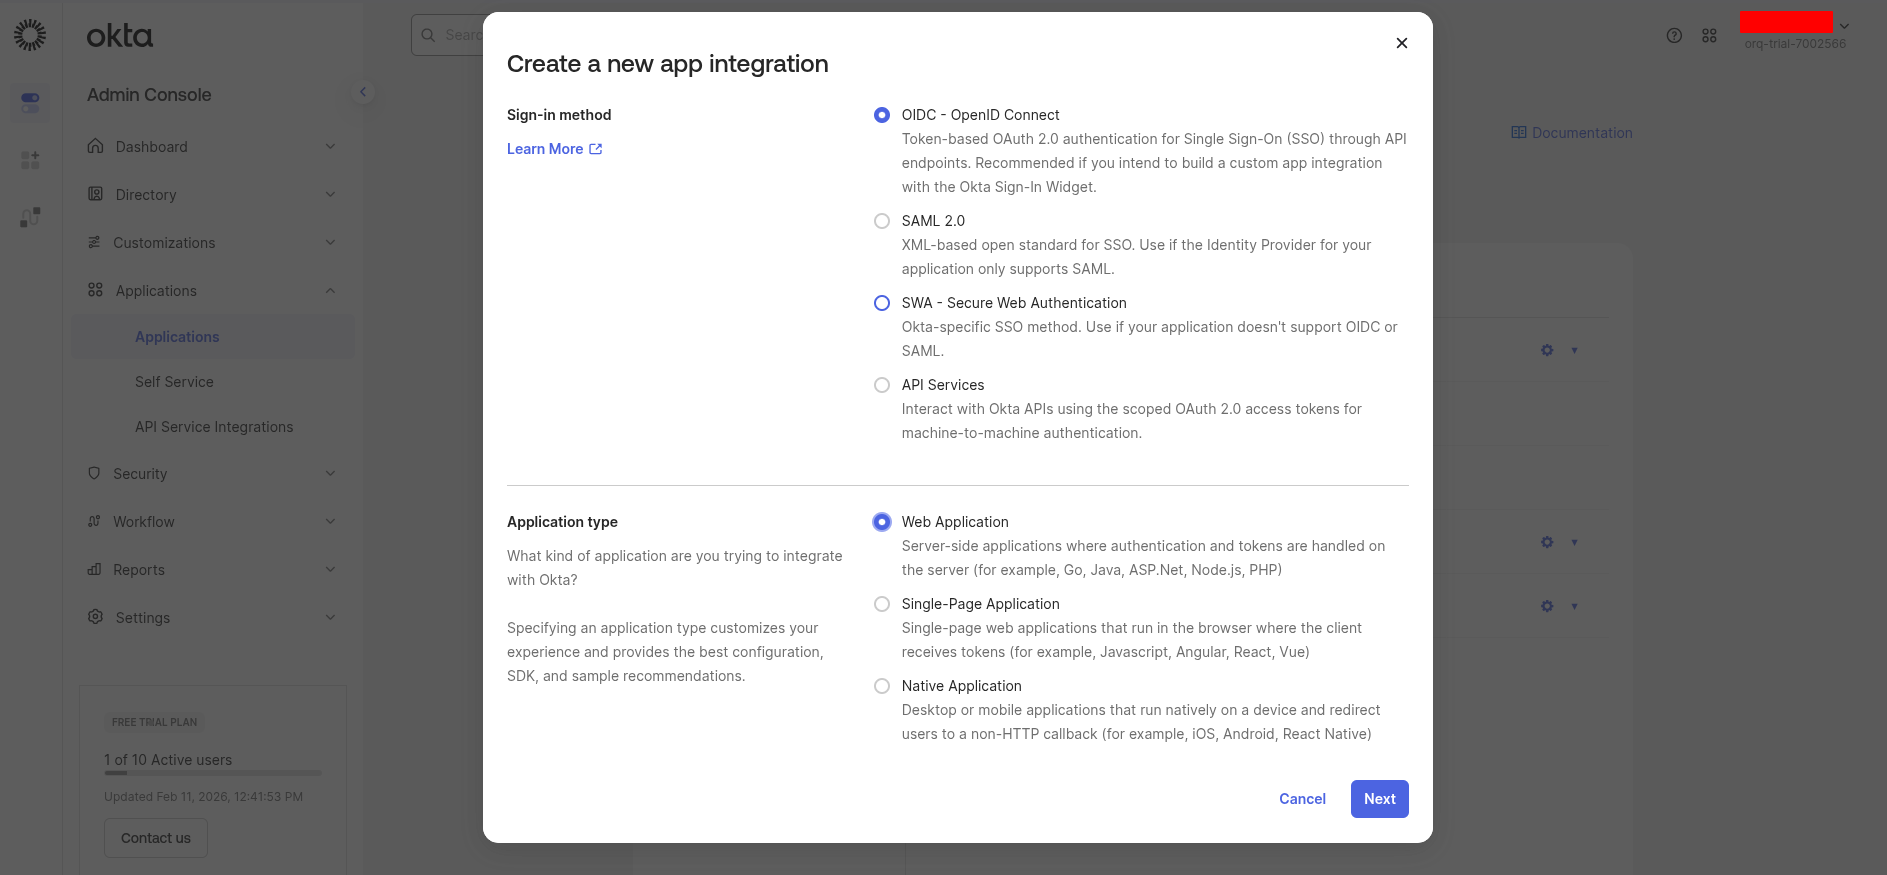
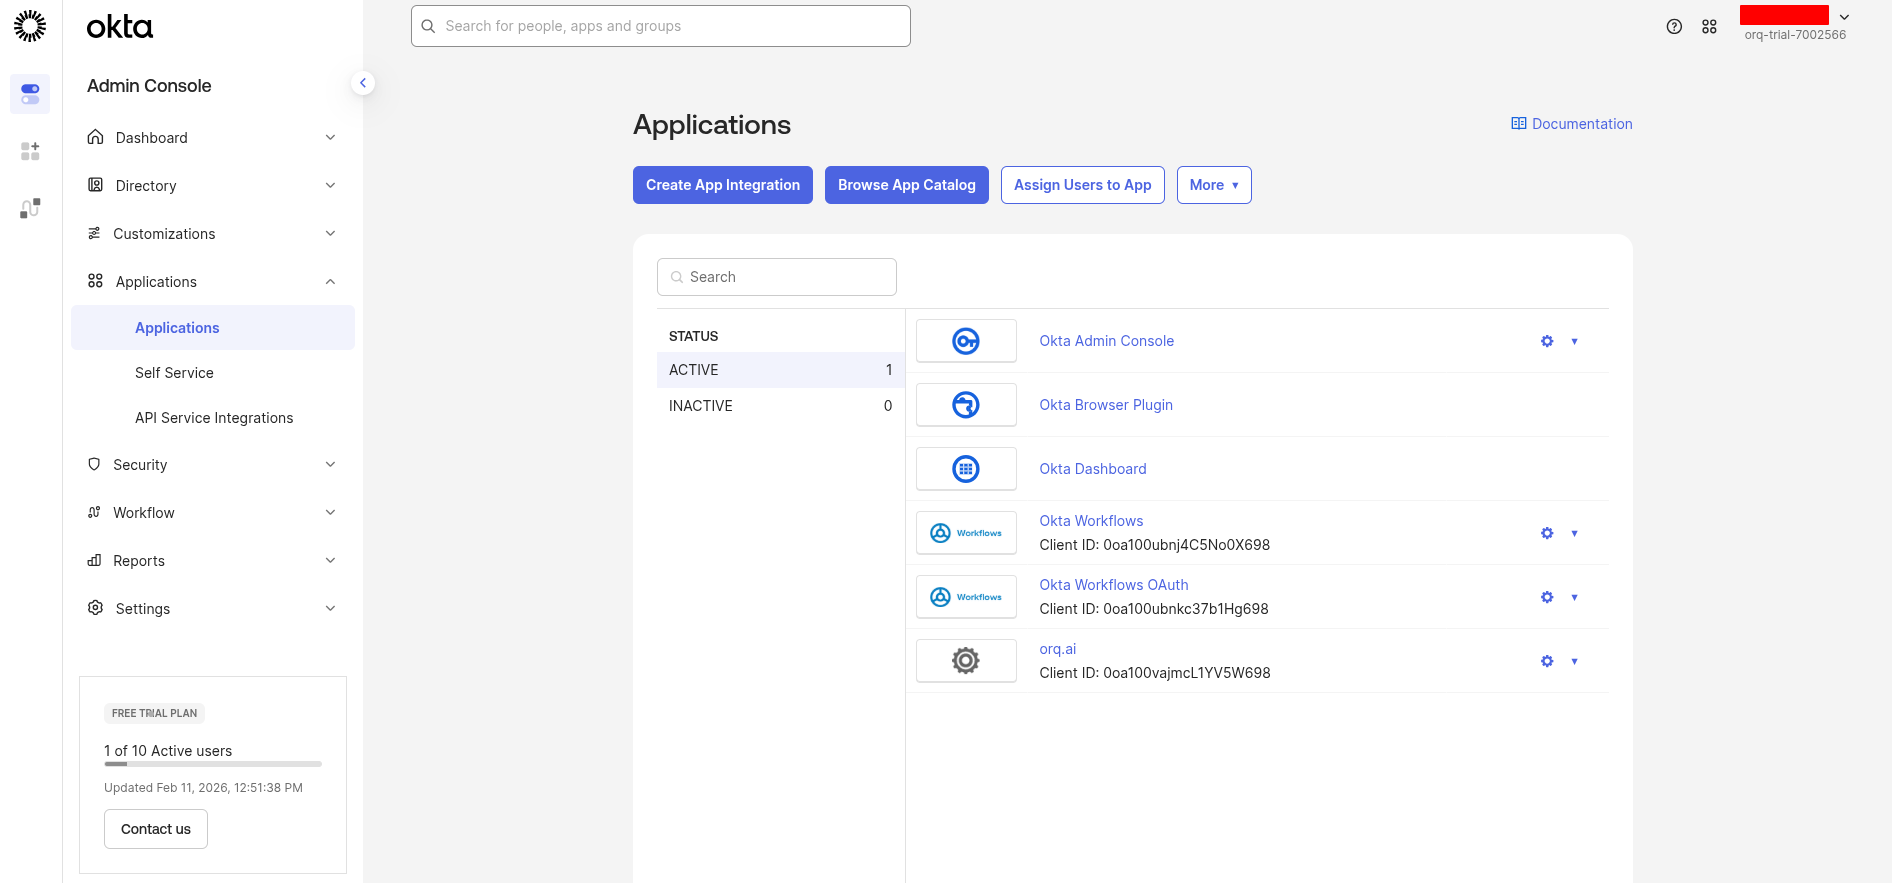
Create an OIDC app in Okta
Sign in to your Okta Admin Console and navigate to Applications → Applications.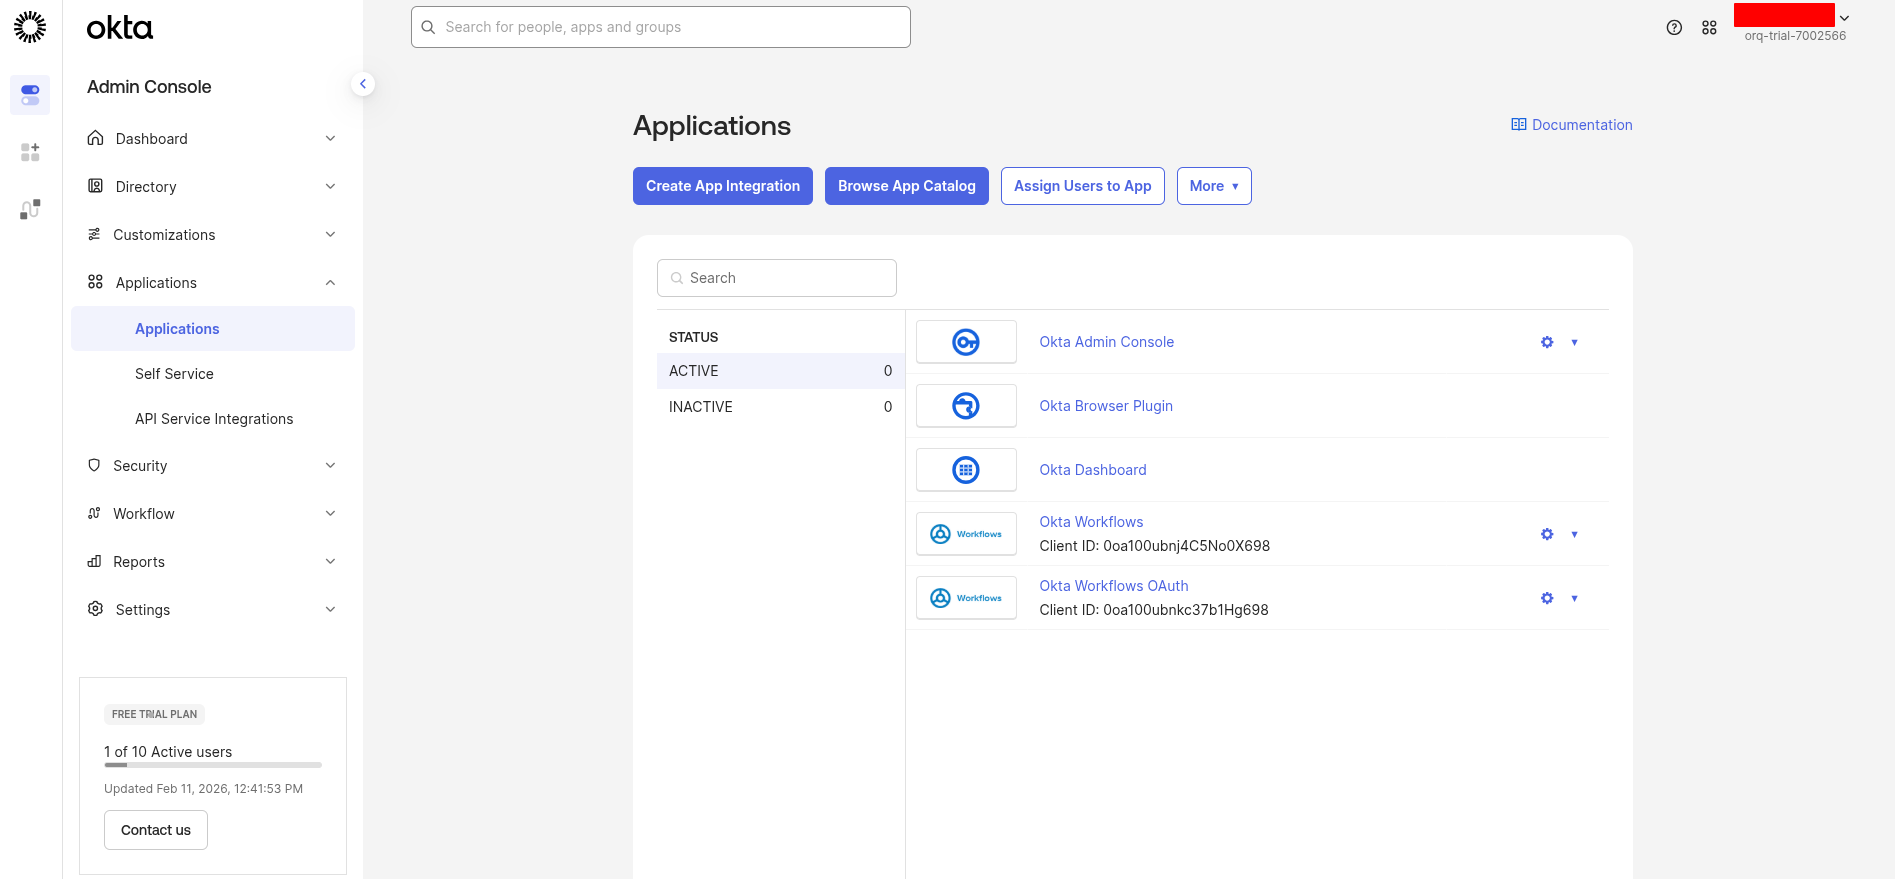
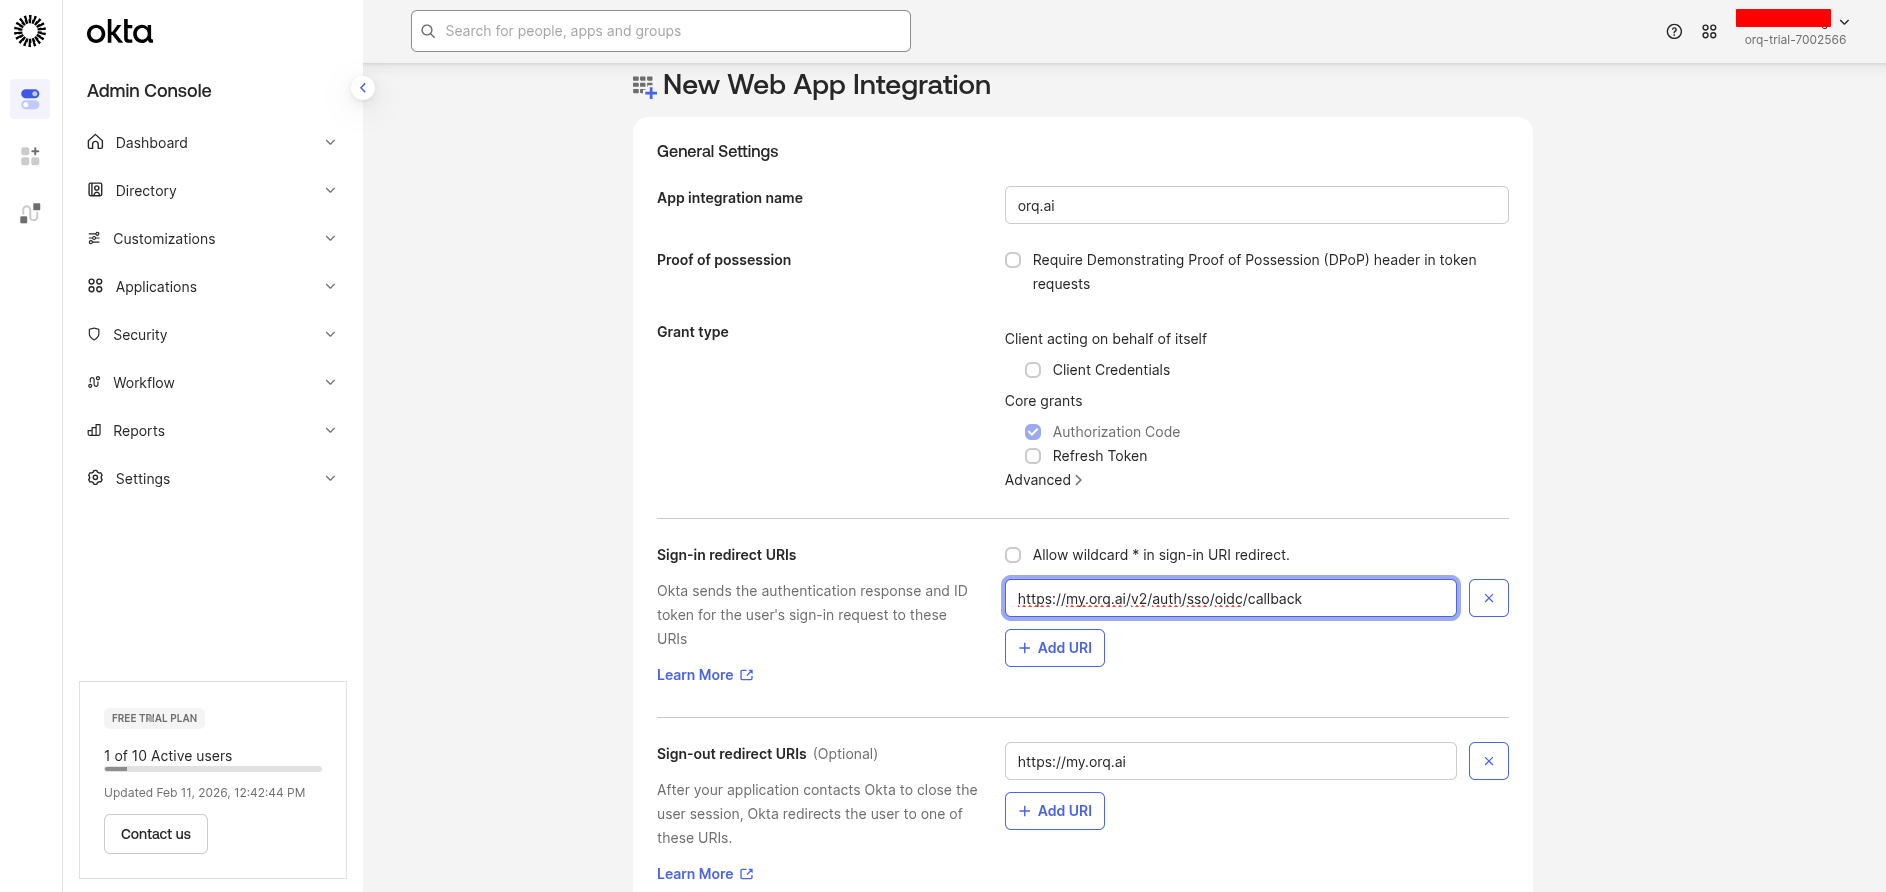
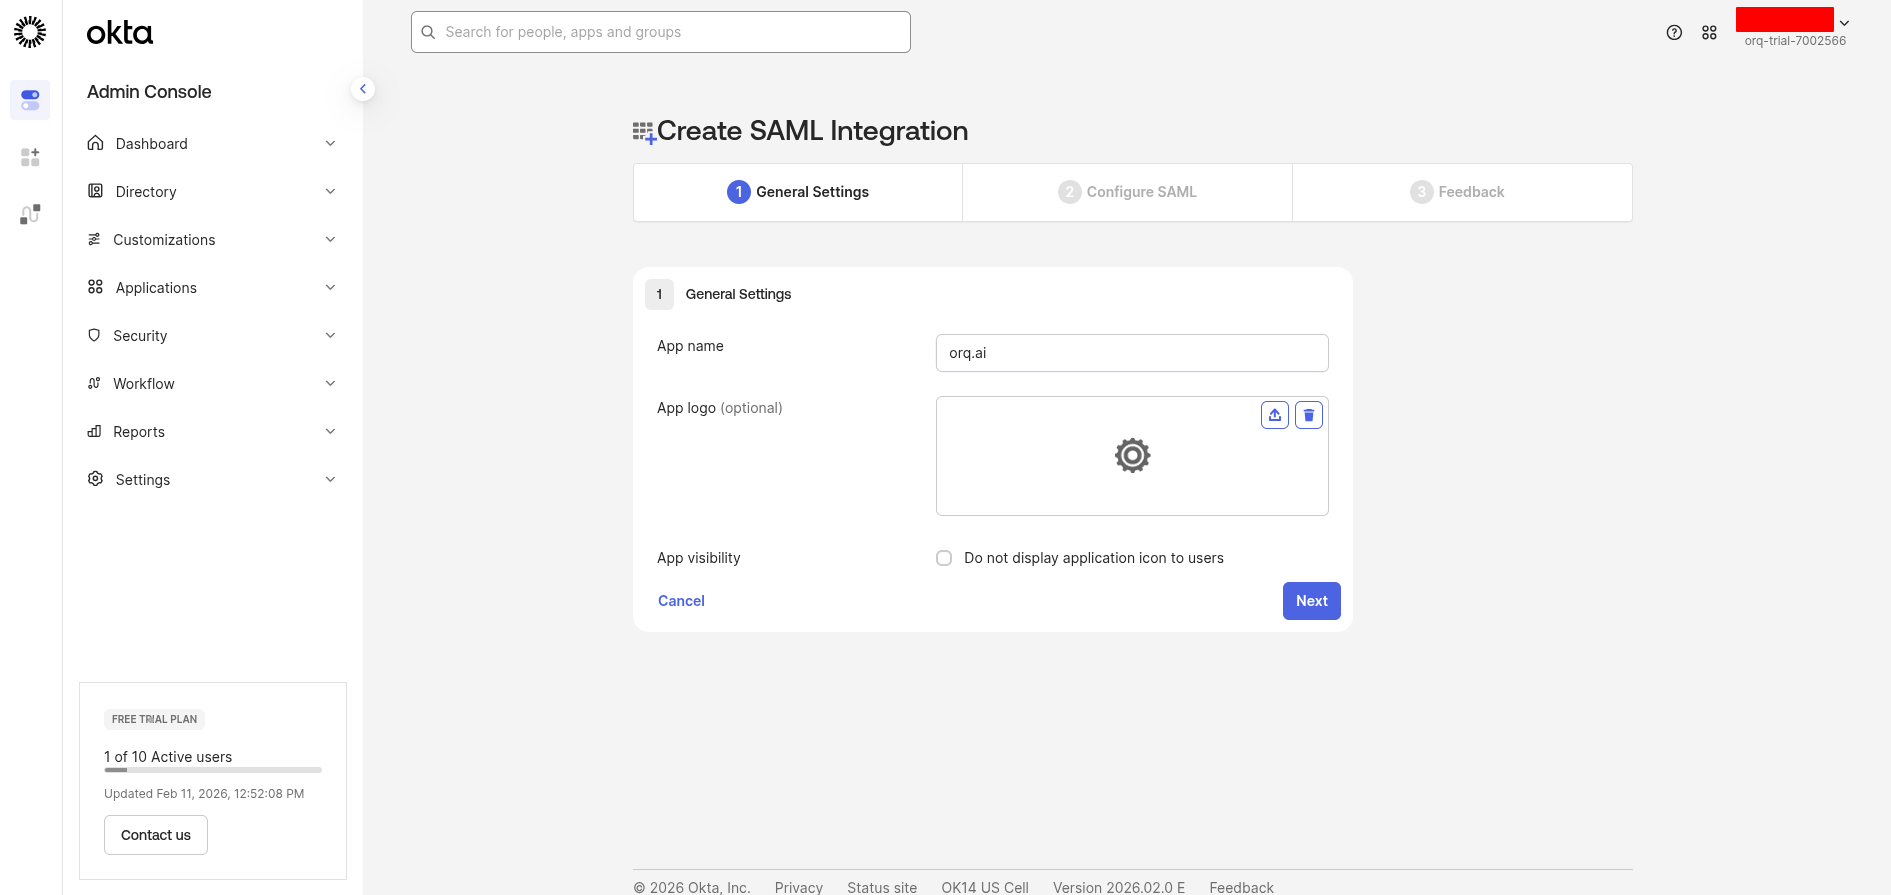
- App integration name:
Orq.ai(or your preferred name) - Grant type: Ensure Authorization Code is selected
- Sign-in redirect URIs:
- Sign-out redirect URIs (optional):
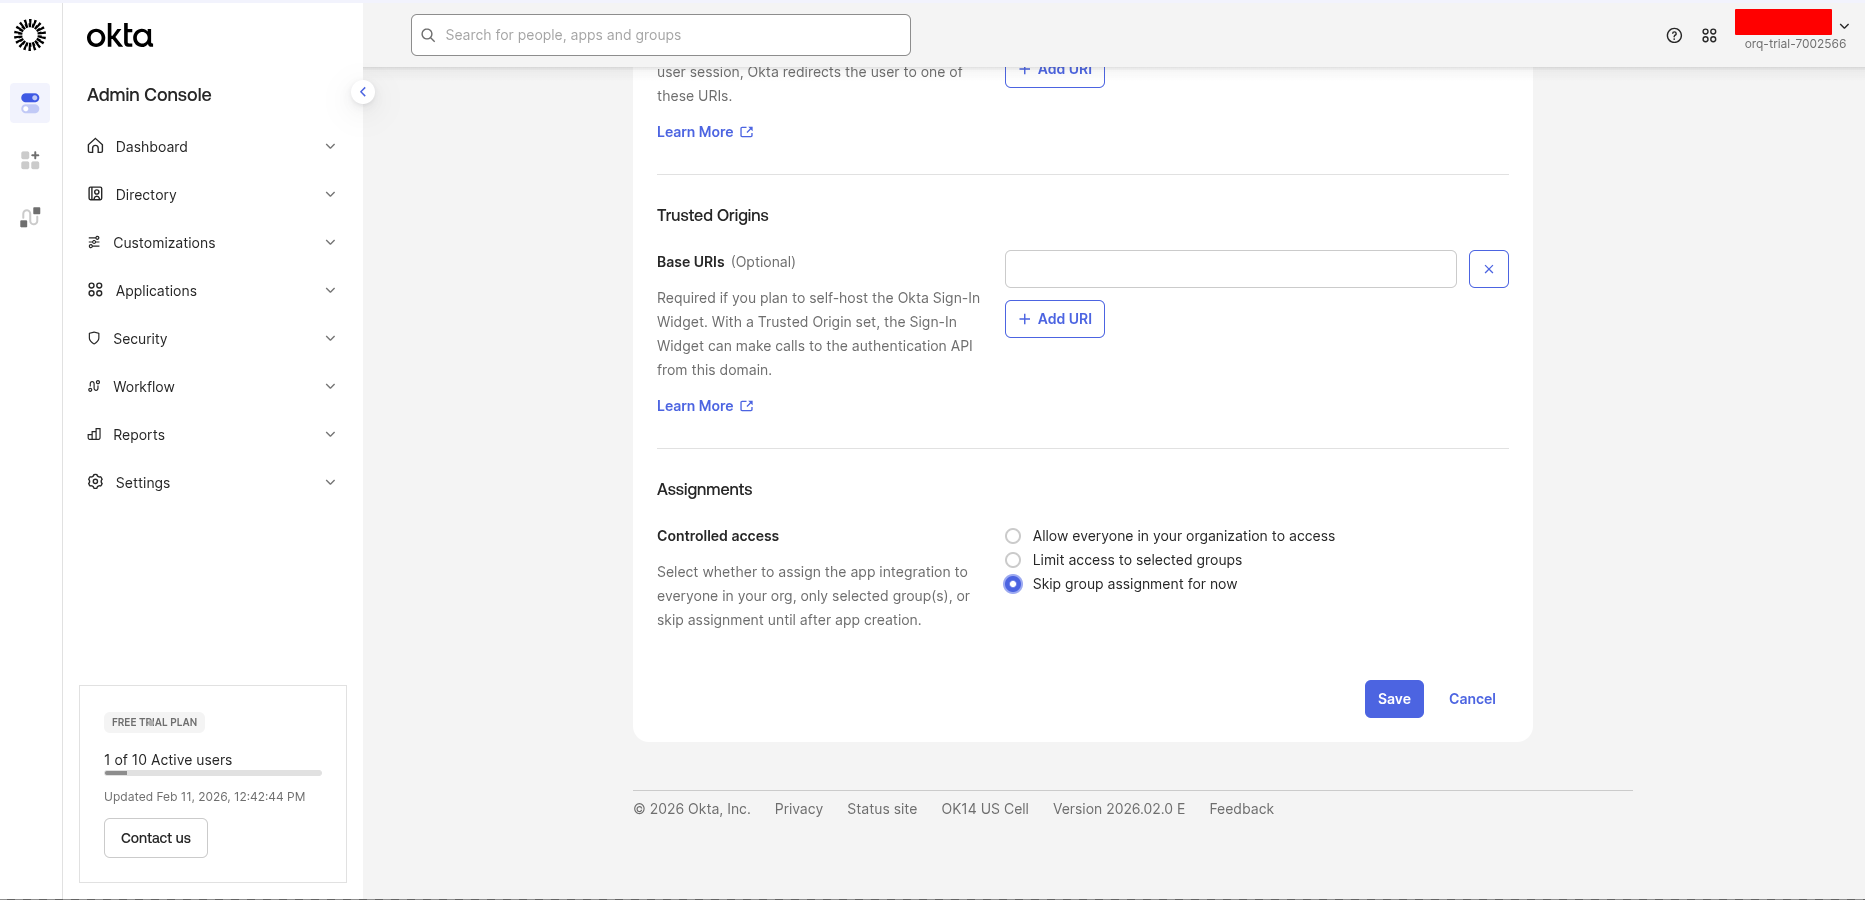
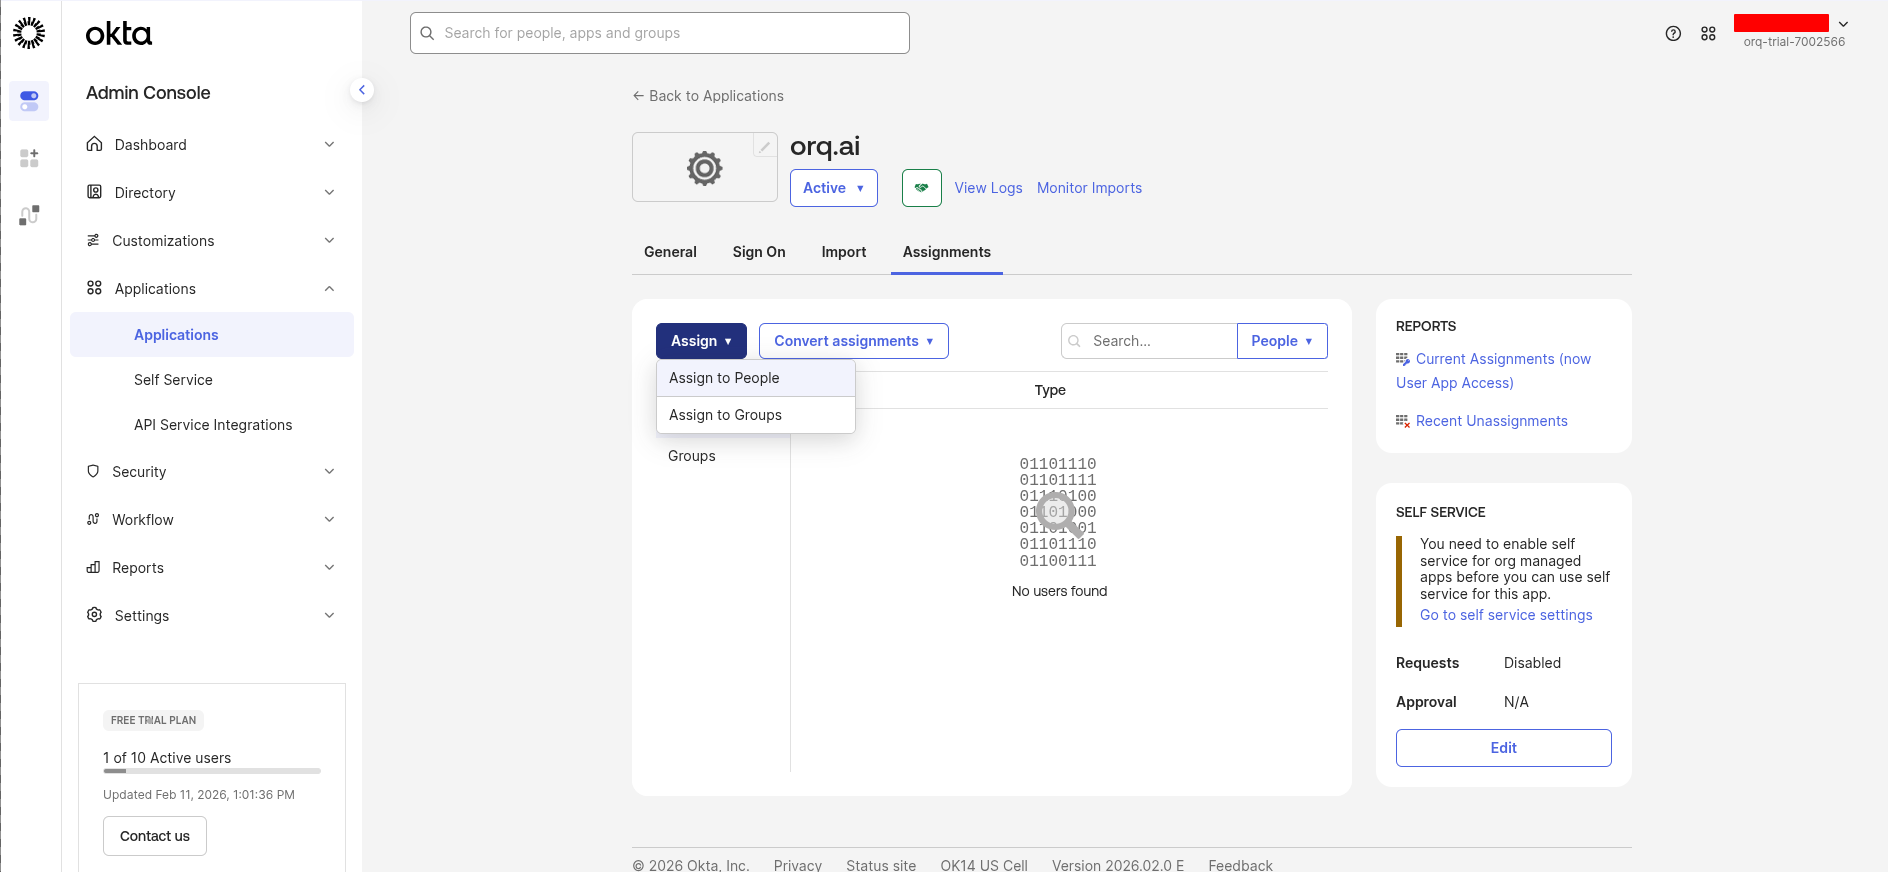
Assign users
Go to the Assignments tab and click Assign → Assign to People or Assign to Groups.Select the users or groups that should have access to Orq.ai, then click Done.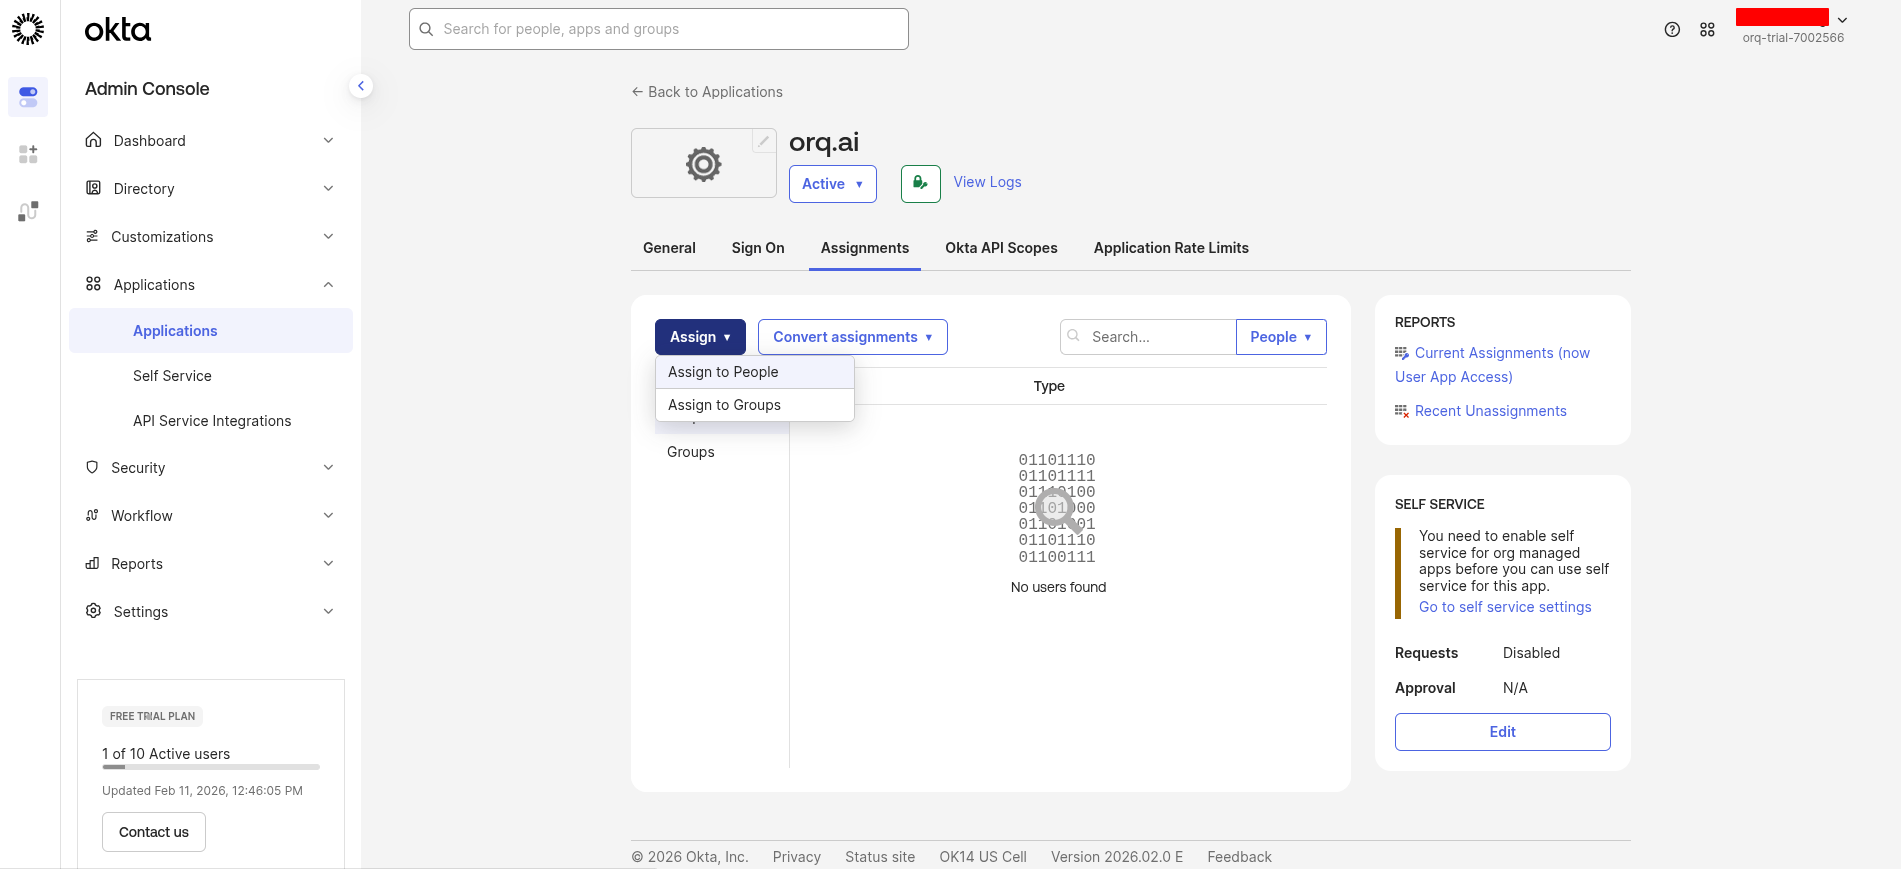
By default, no users are assigned to a new Okta app.
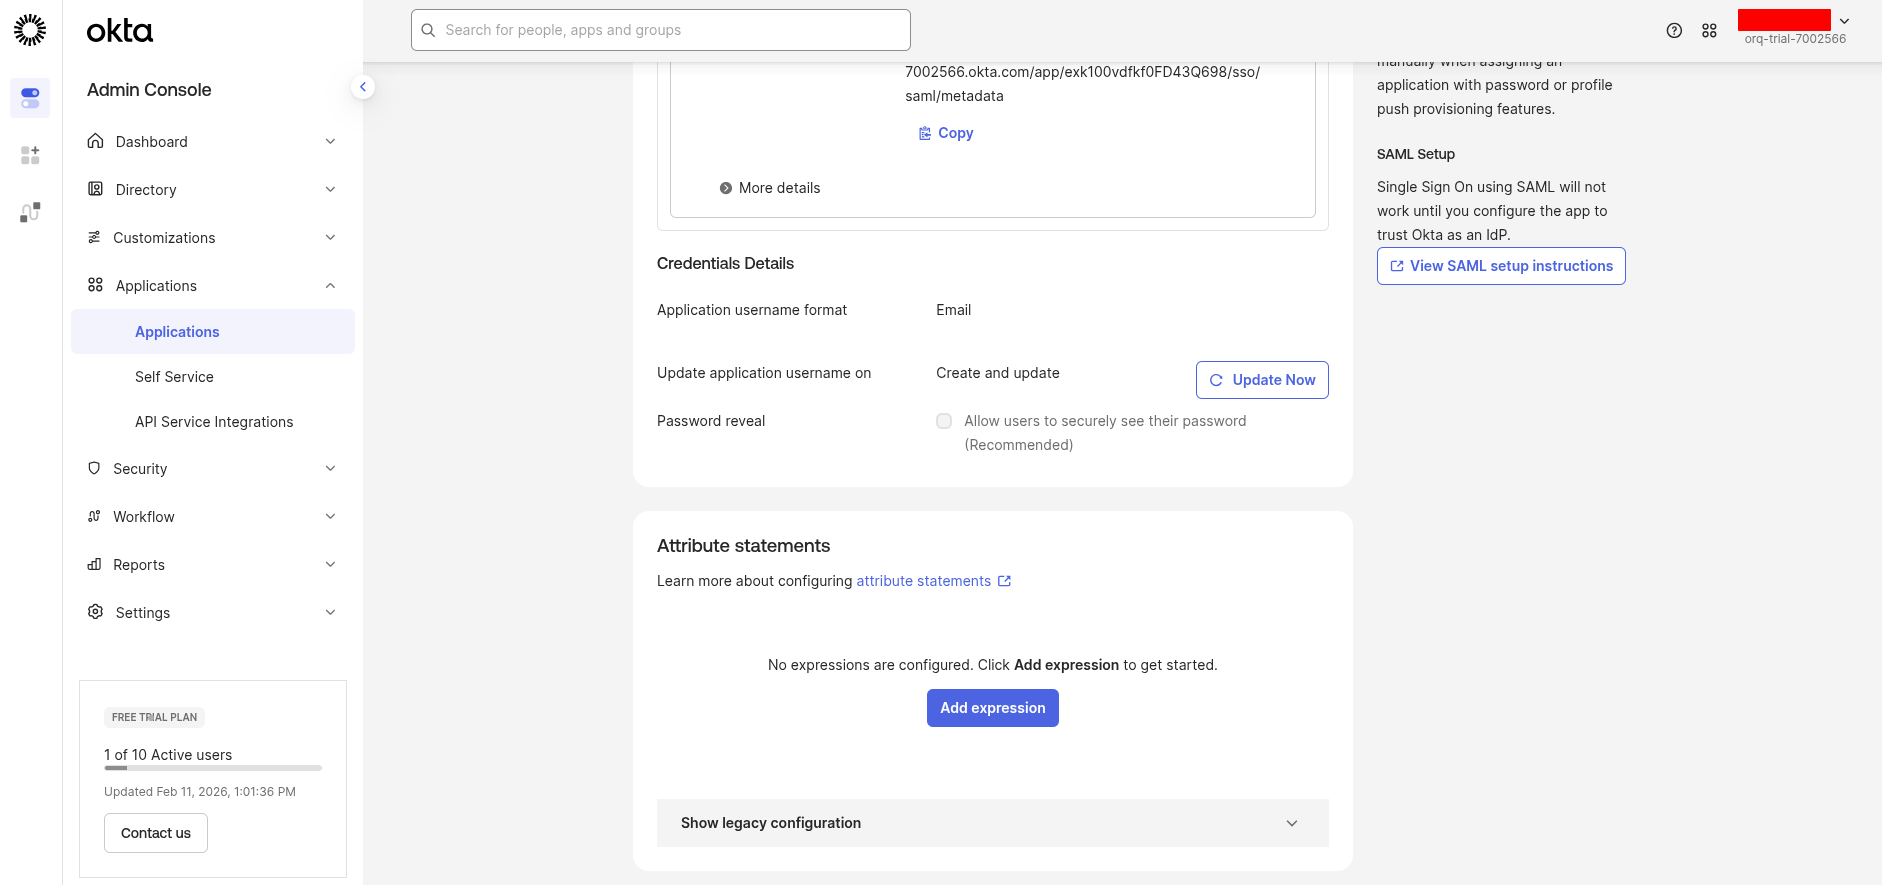
Gather credentials
From the application’s General tab, scroll down to the Client Credentials section.Copy these values: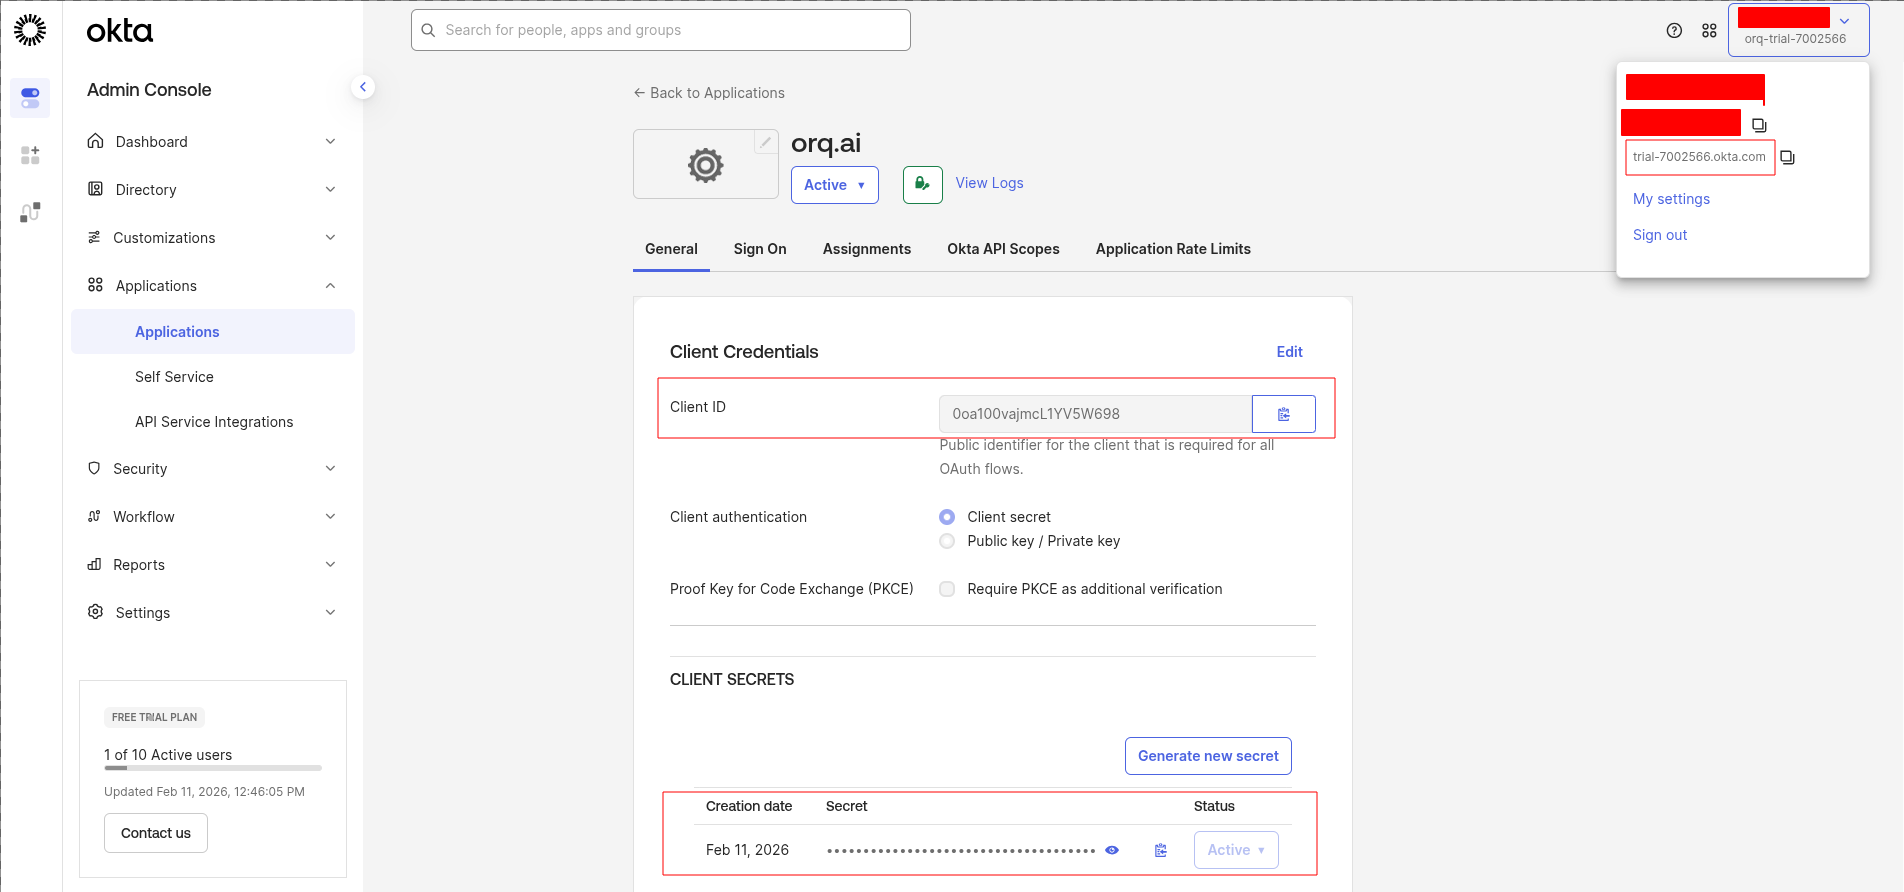
- Client ID: Copy this value - you’ll use it as the Client ID in Orq.ai
- Client secret: Click Copy to clipboard - you’ll use it as the Client Secret in Orq.ai
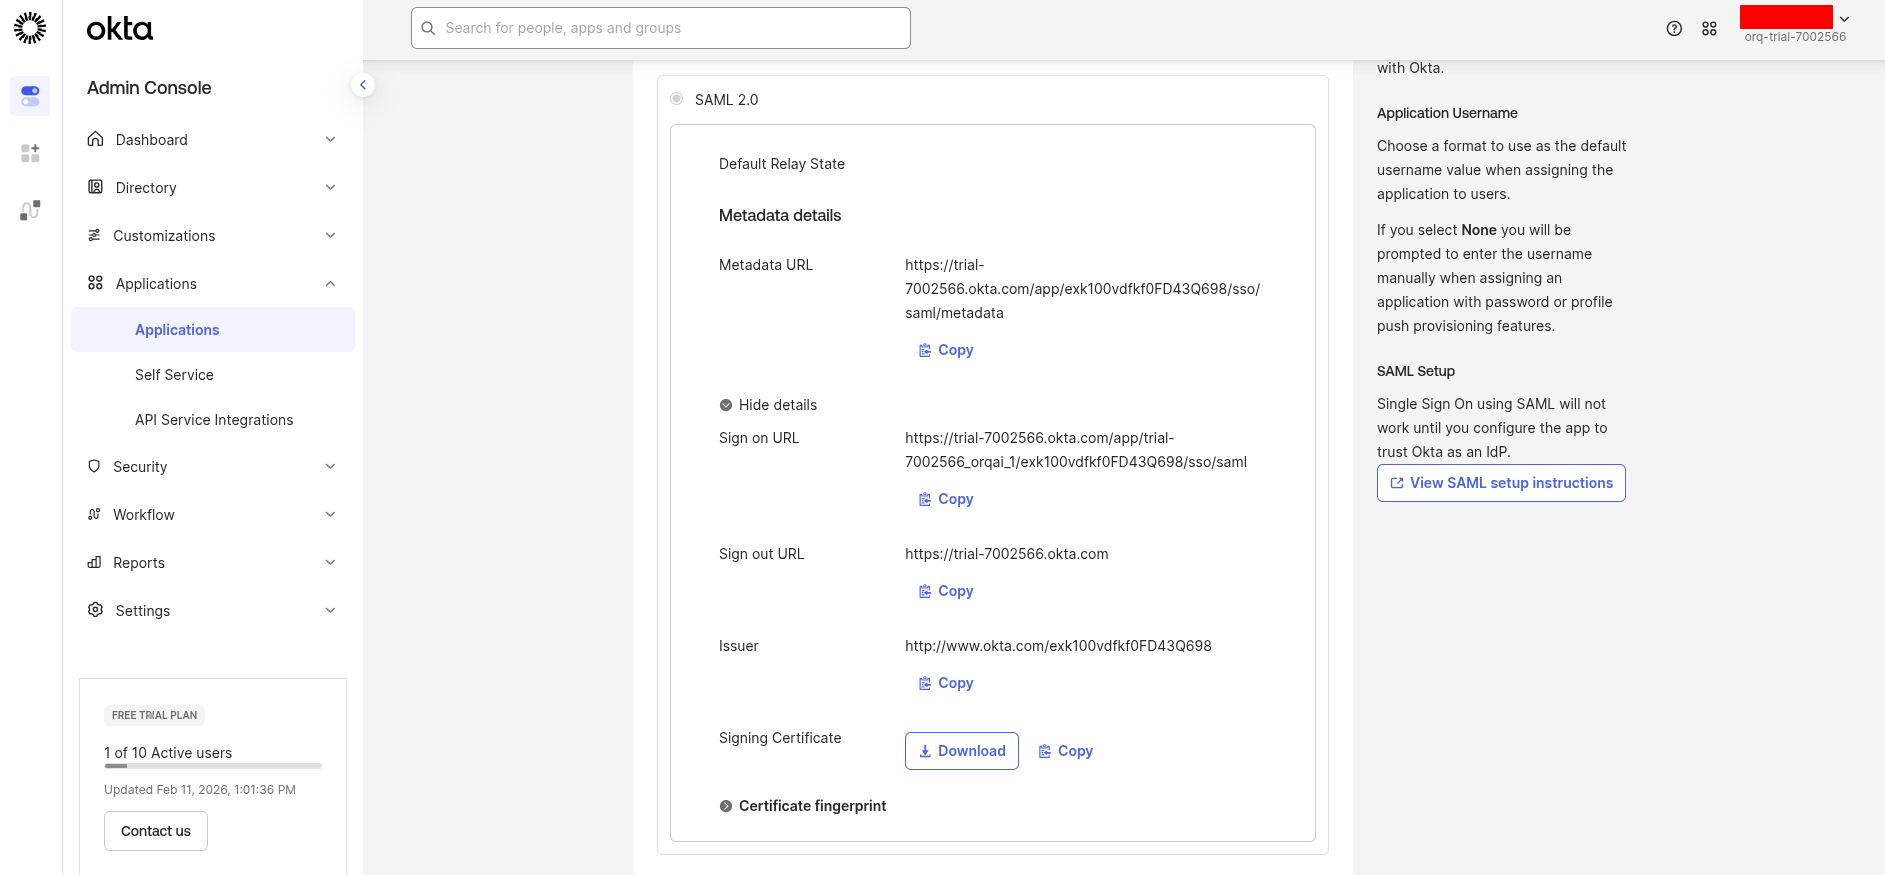
Get the Provider URL
Your Provider URL is your Okta domain’s authorization server issuer URL:Find your Okta domain in the top-right corner of the Okta Admin Console (e.g.
acme.okta.com).Configure in Orq.ai
Navigate to AI Studio → Organization → Auth.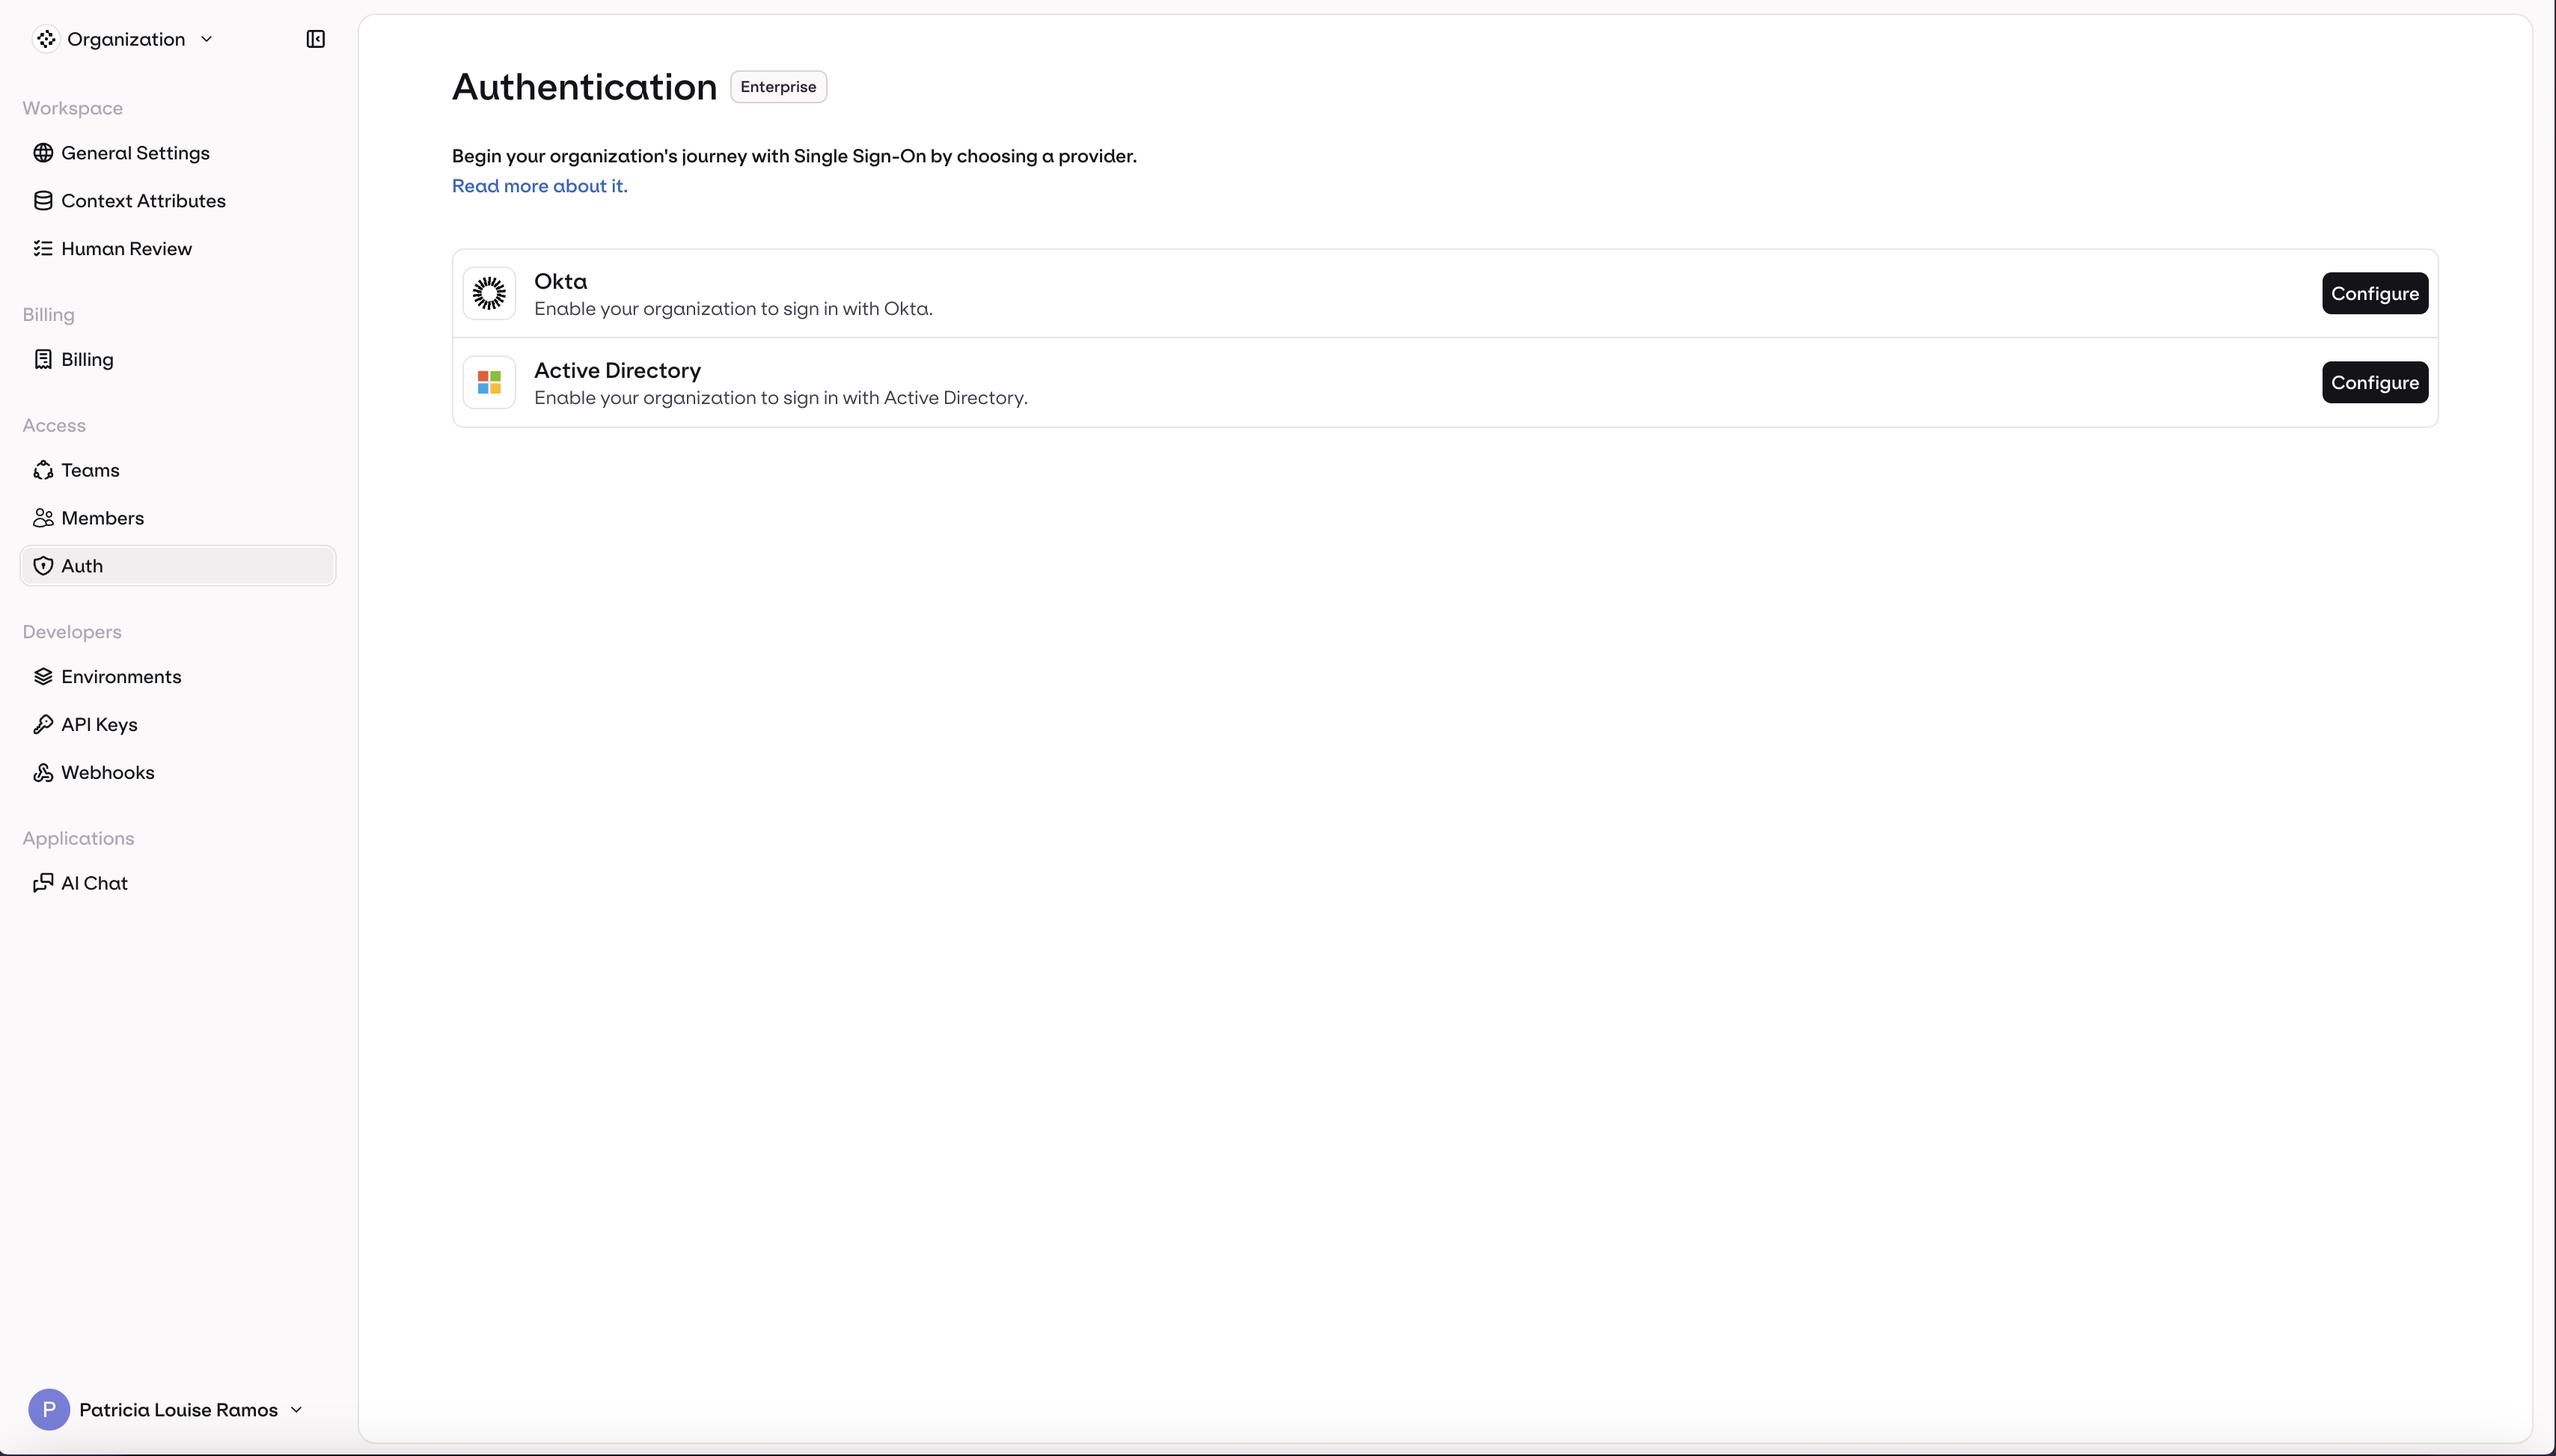
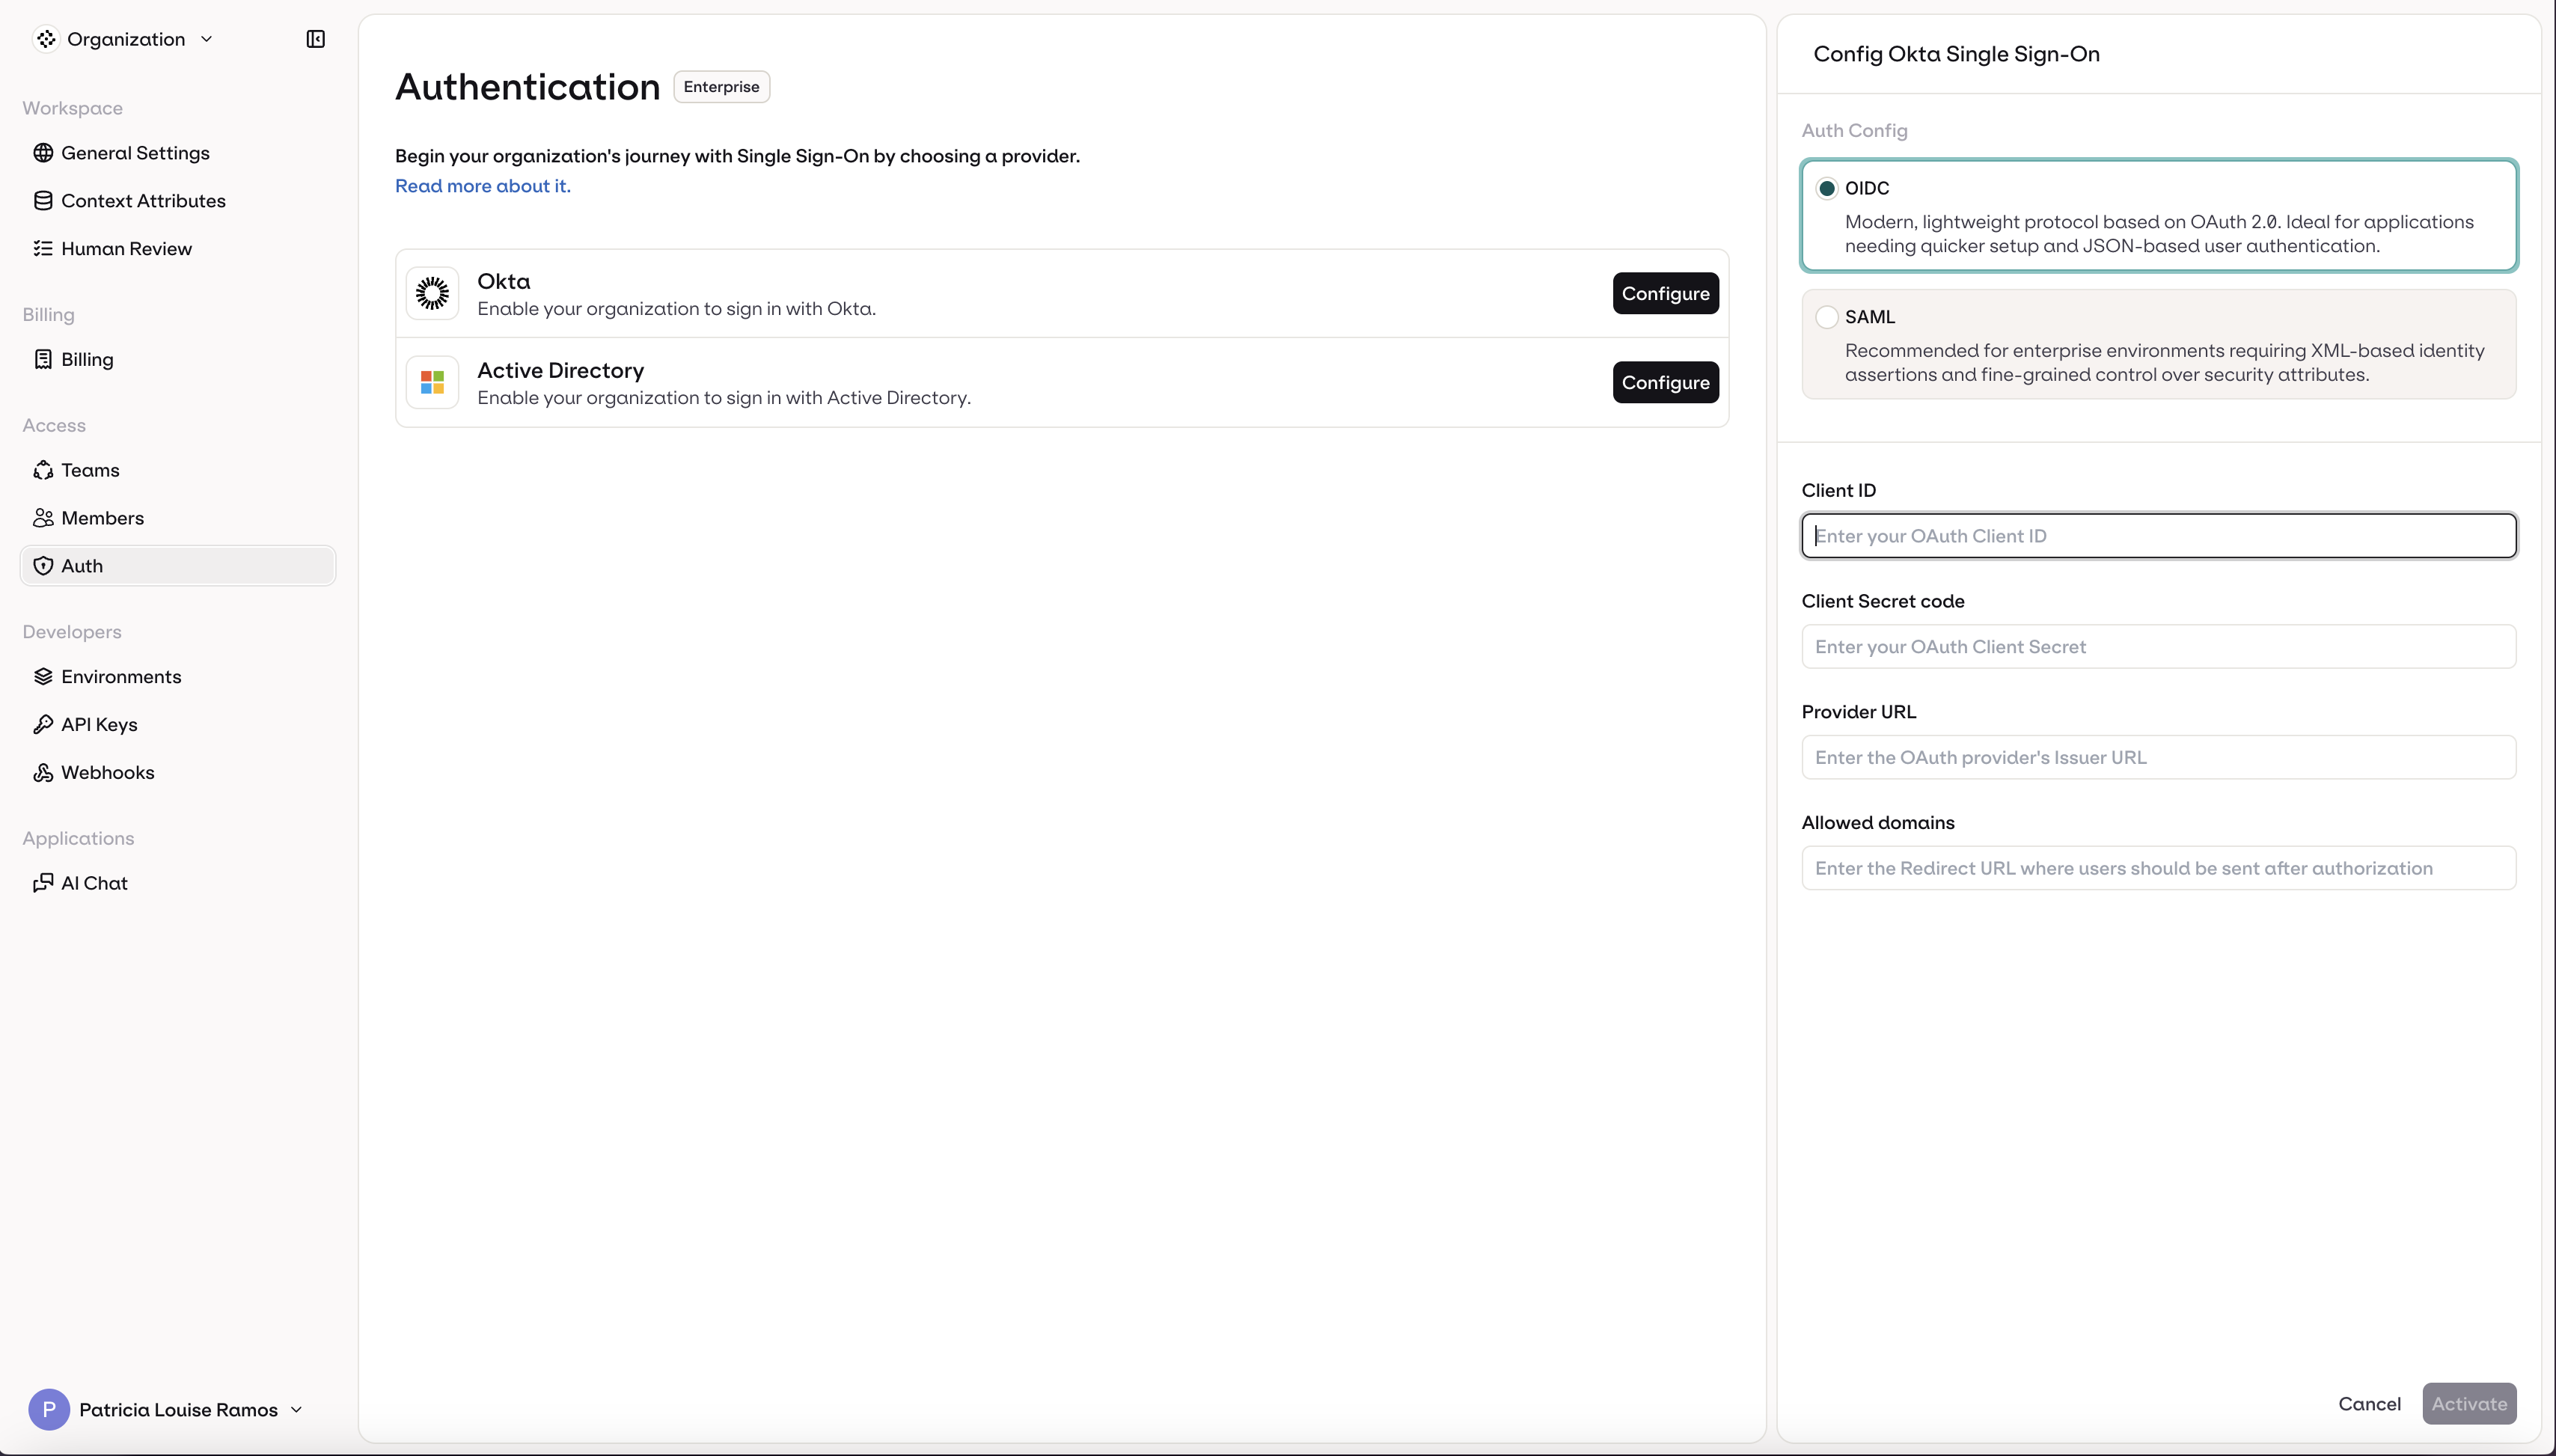
- Select OIDC (selected by default)
- Enter your Client ID
- Enter your Client Secret
- Enter your Provider URL
- Enter your organization’s email domain(s) in Allowed domains (e.g.,
orq.ai) - Click Activate


Microsoft Entra ID - Active Directory
Microsoft Entra ID - Active Directory
- OIDC
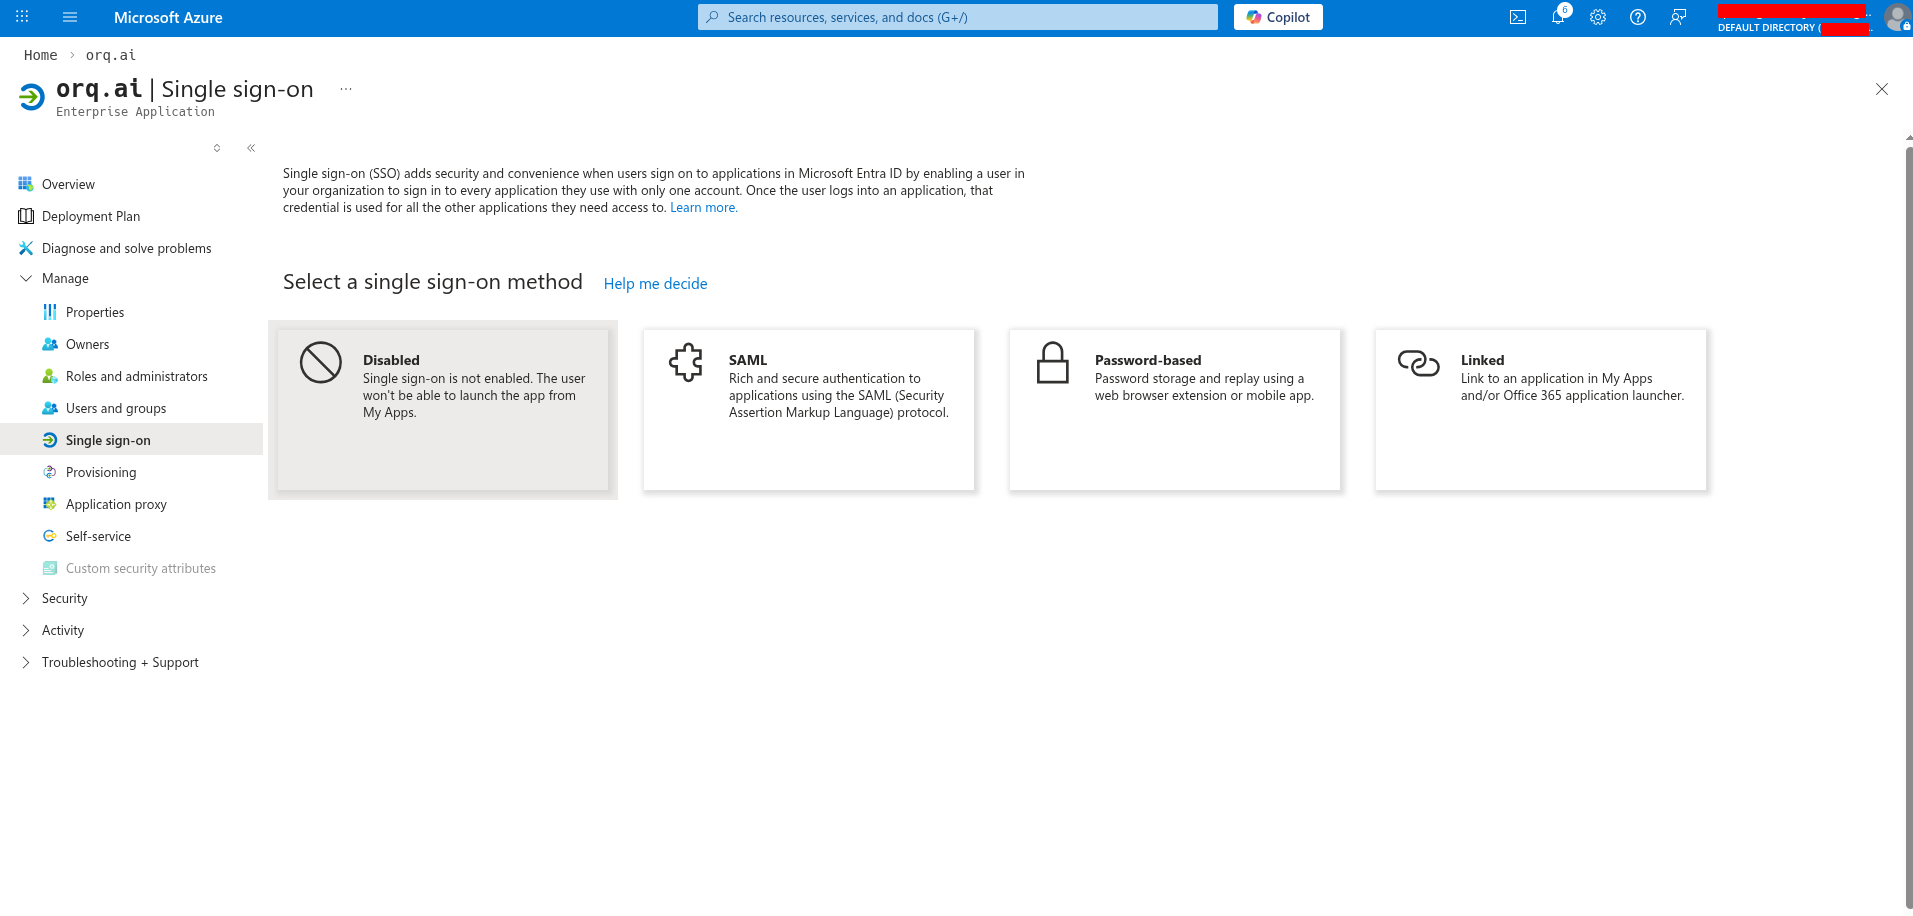
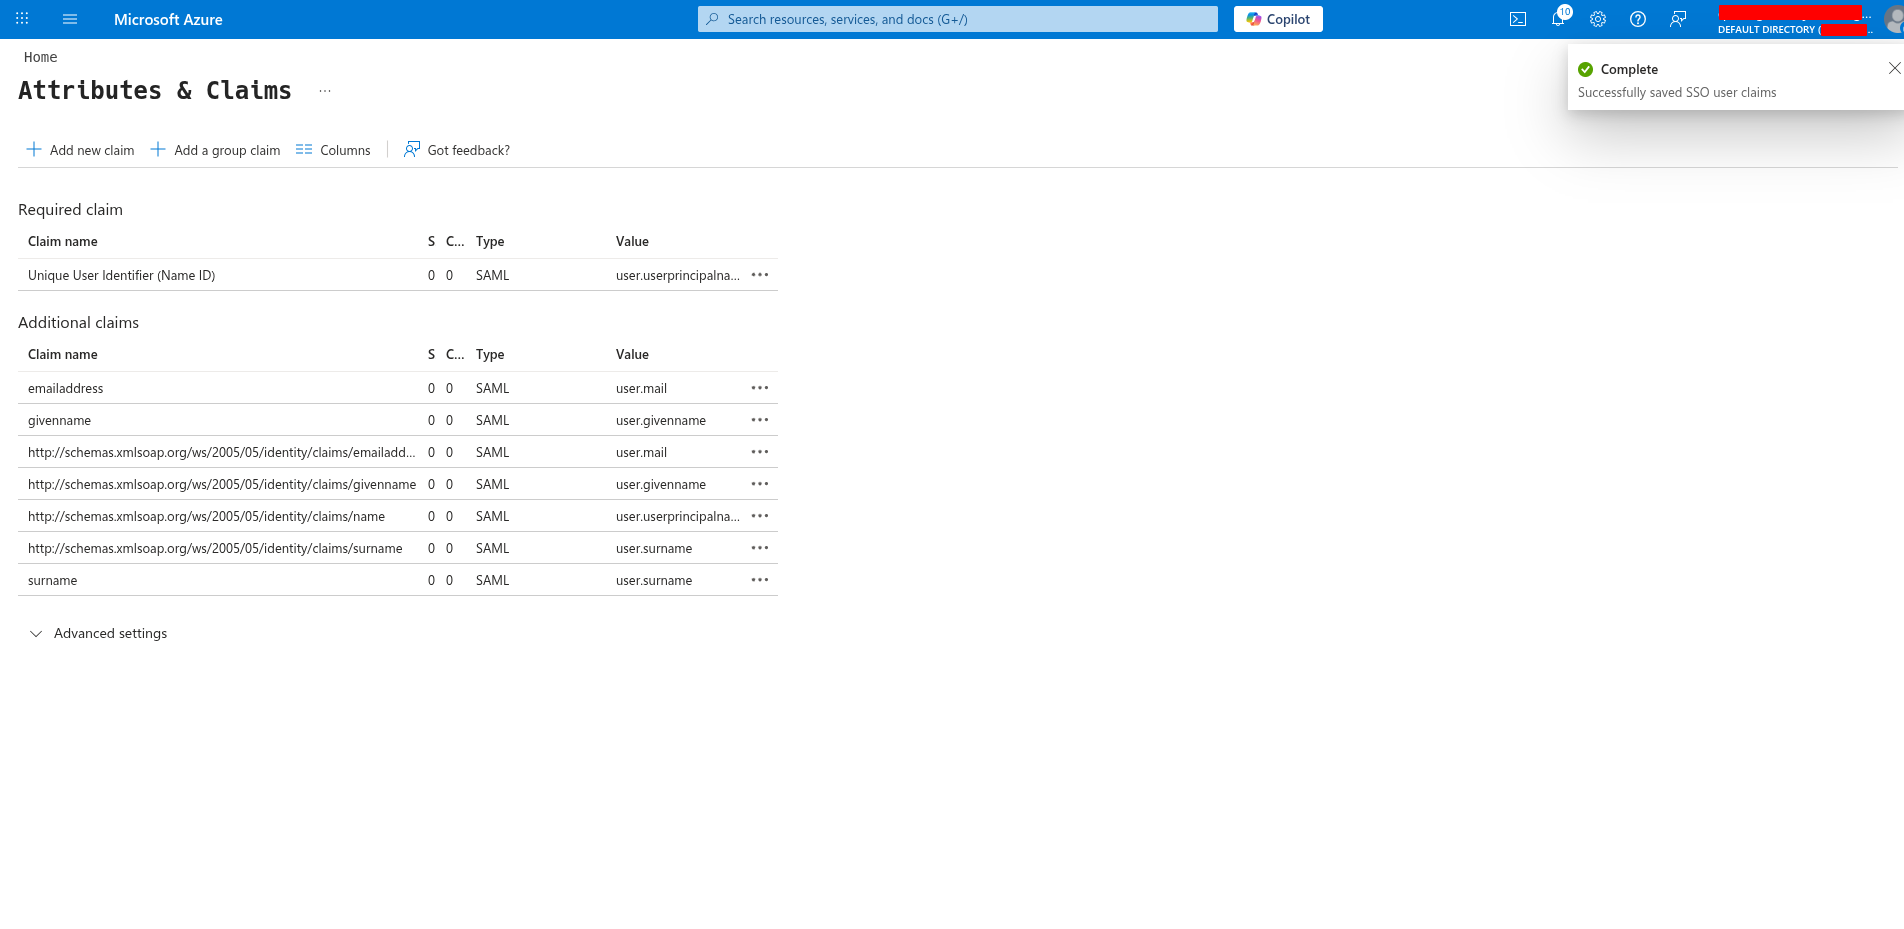
- SAML
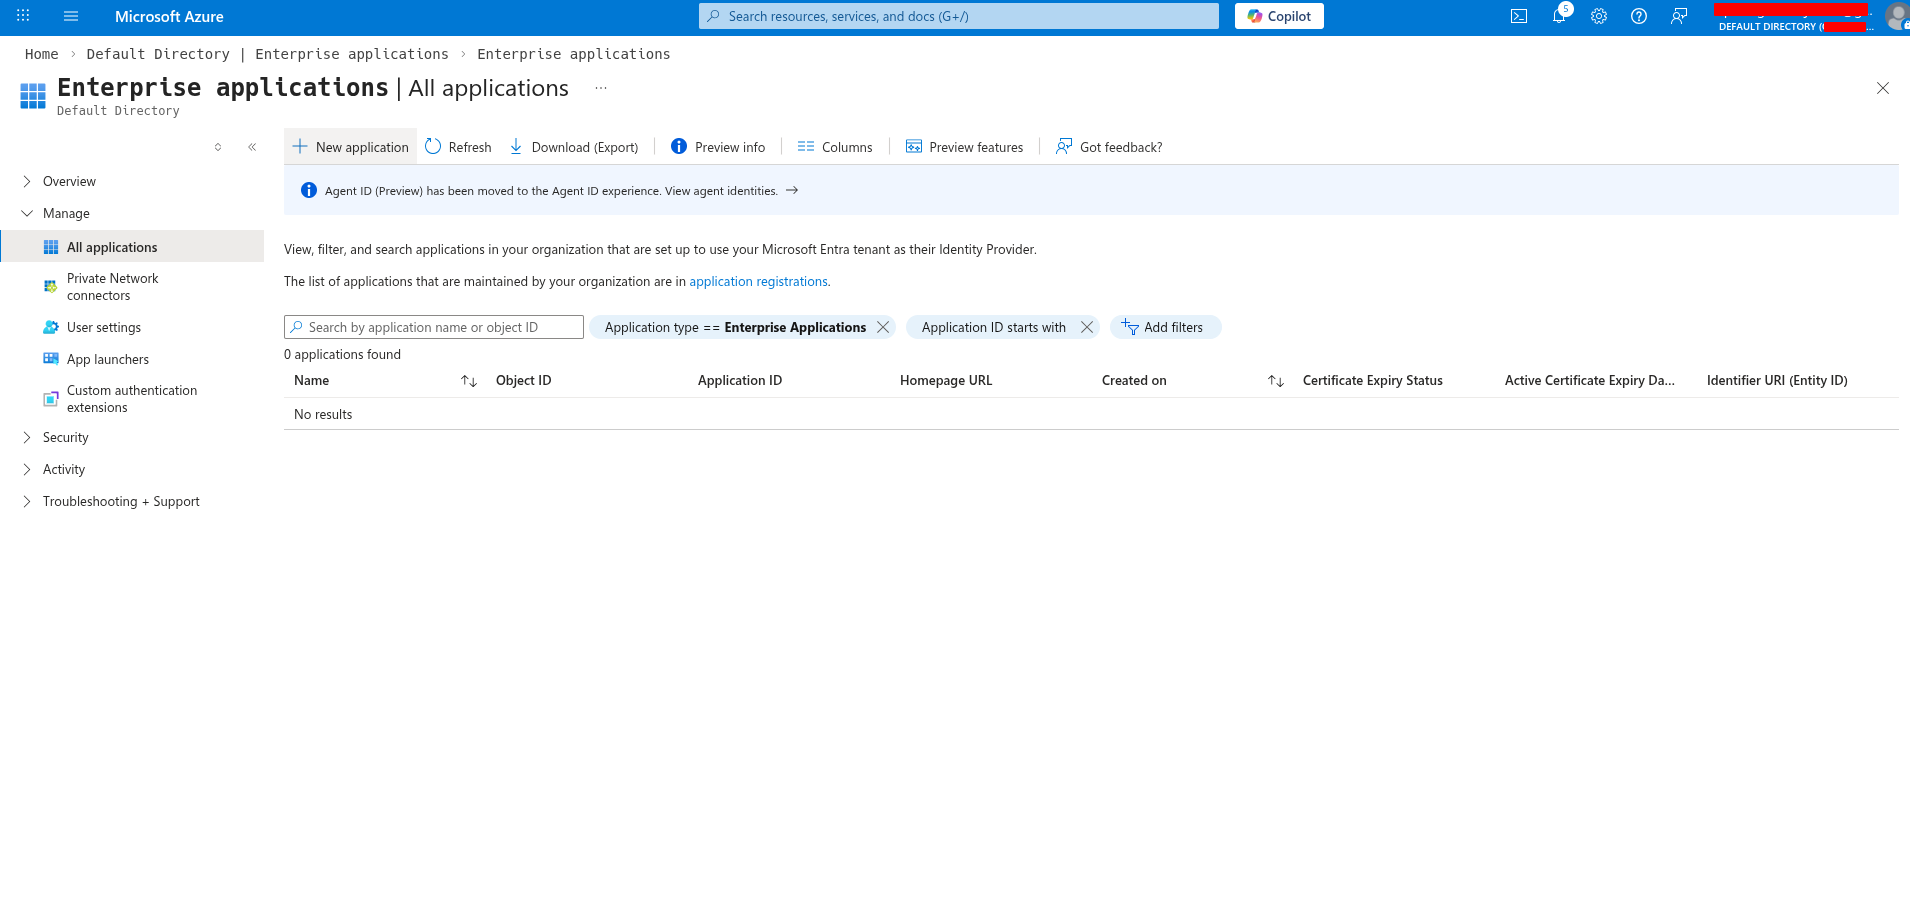
Register an application in Azure
Sign in to the Azure portal and navigate to Microsoft Entra ID → App registrations.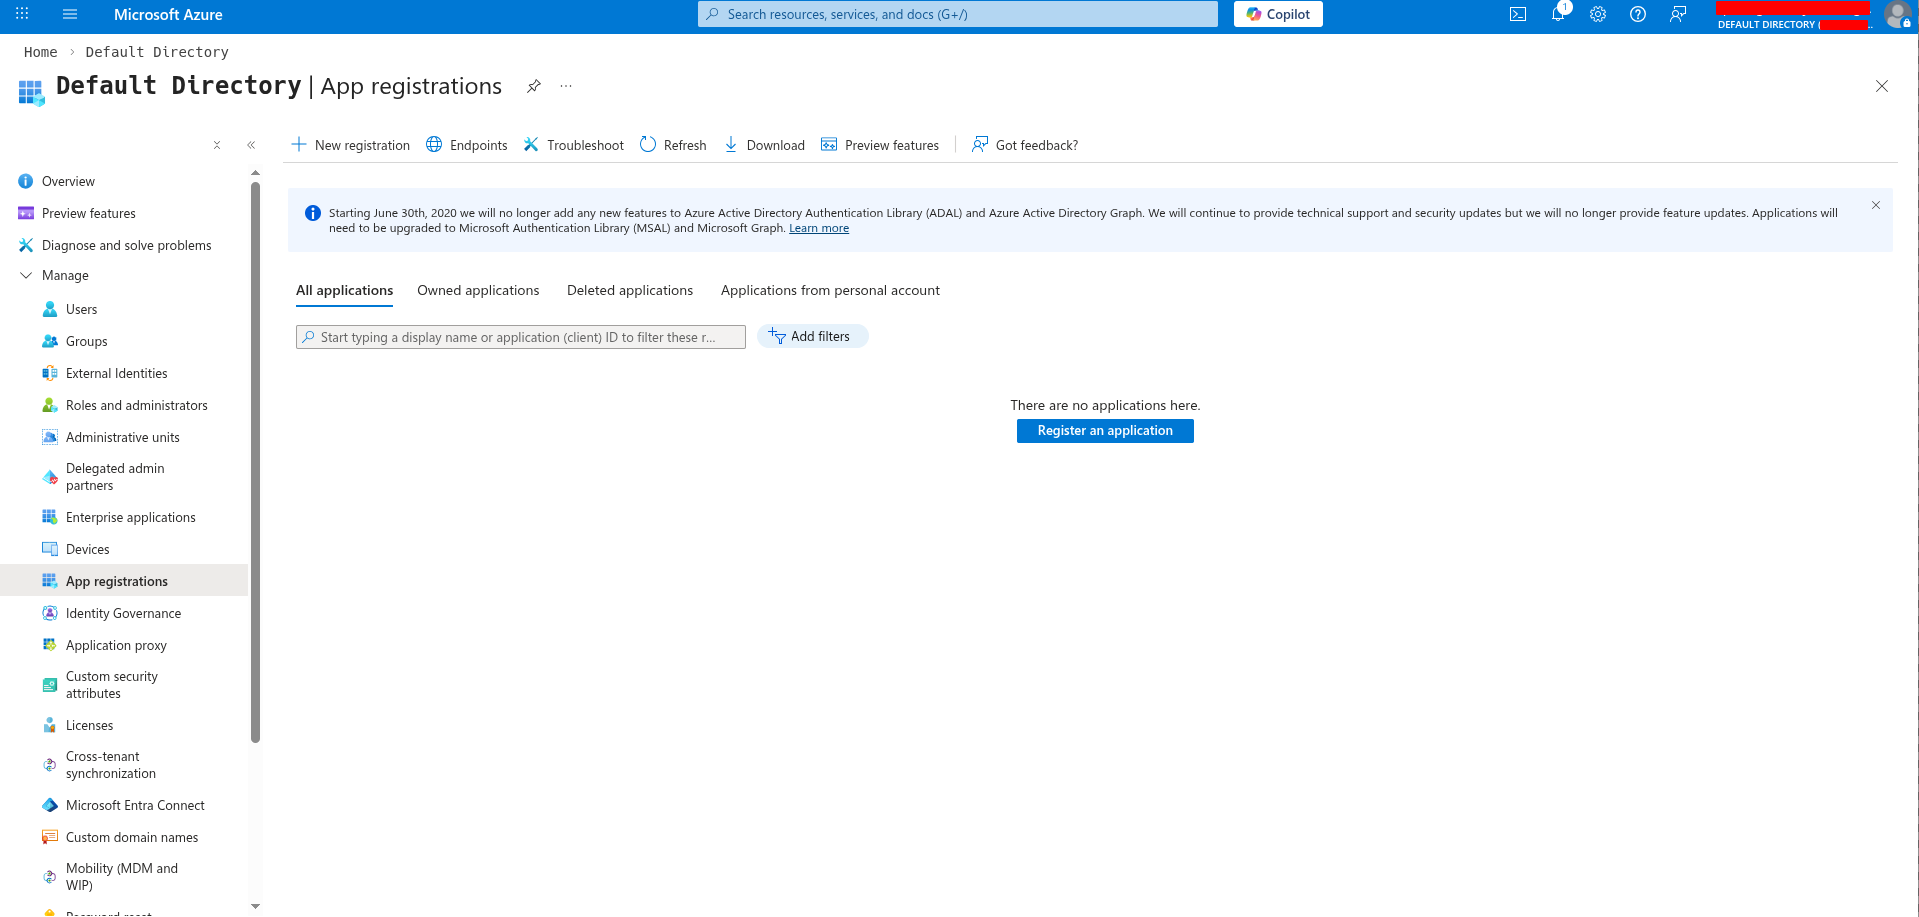
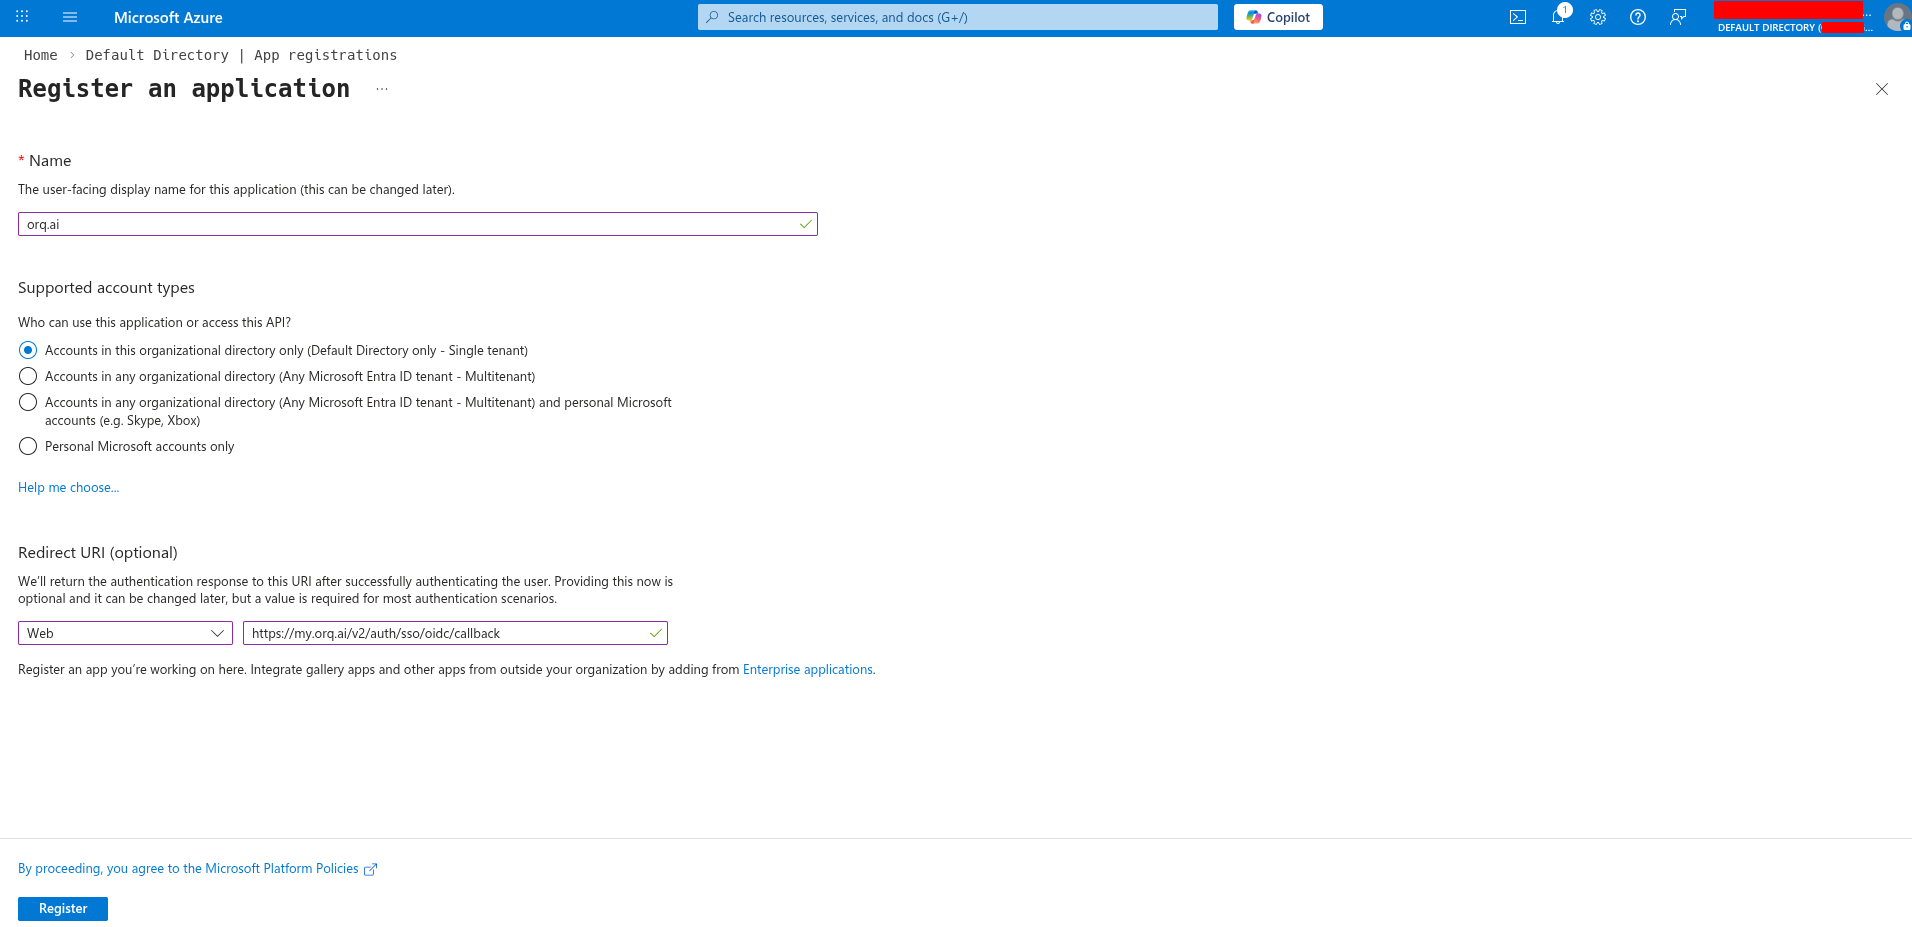
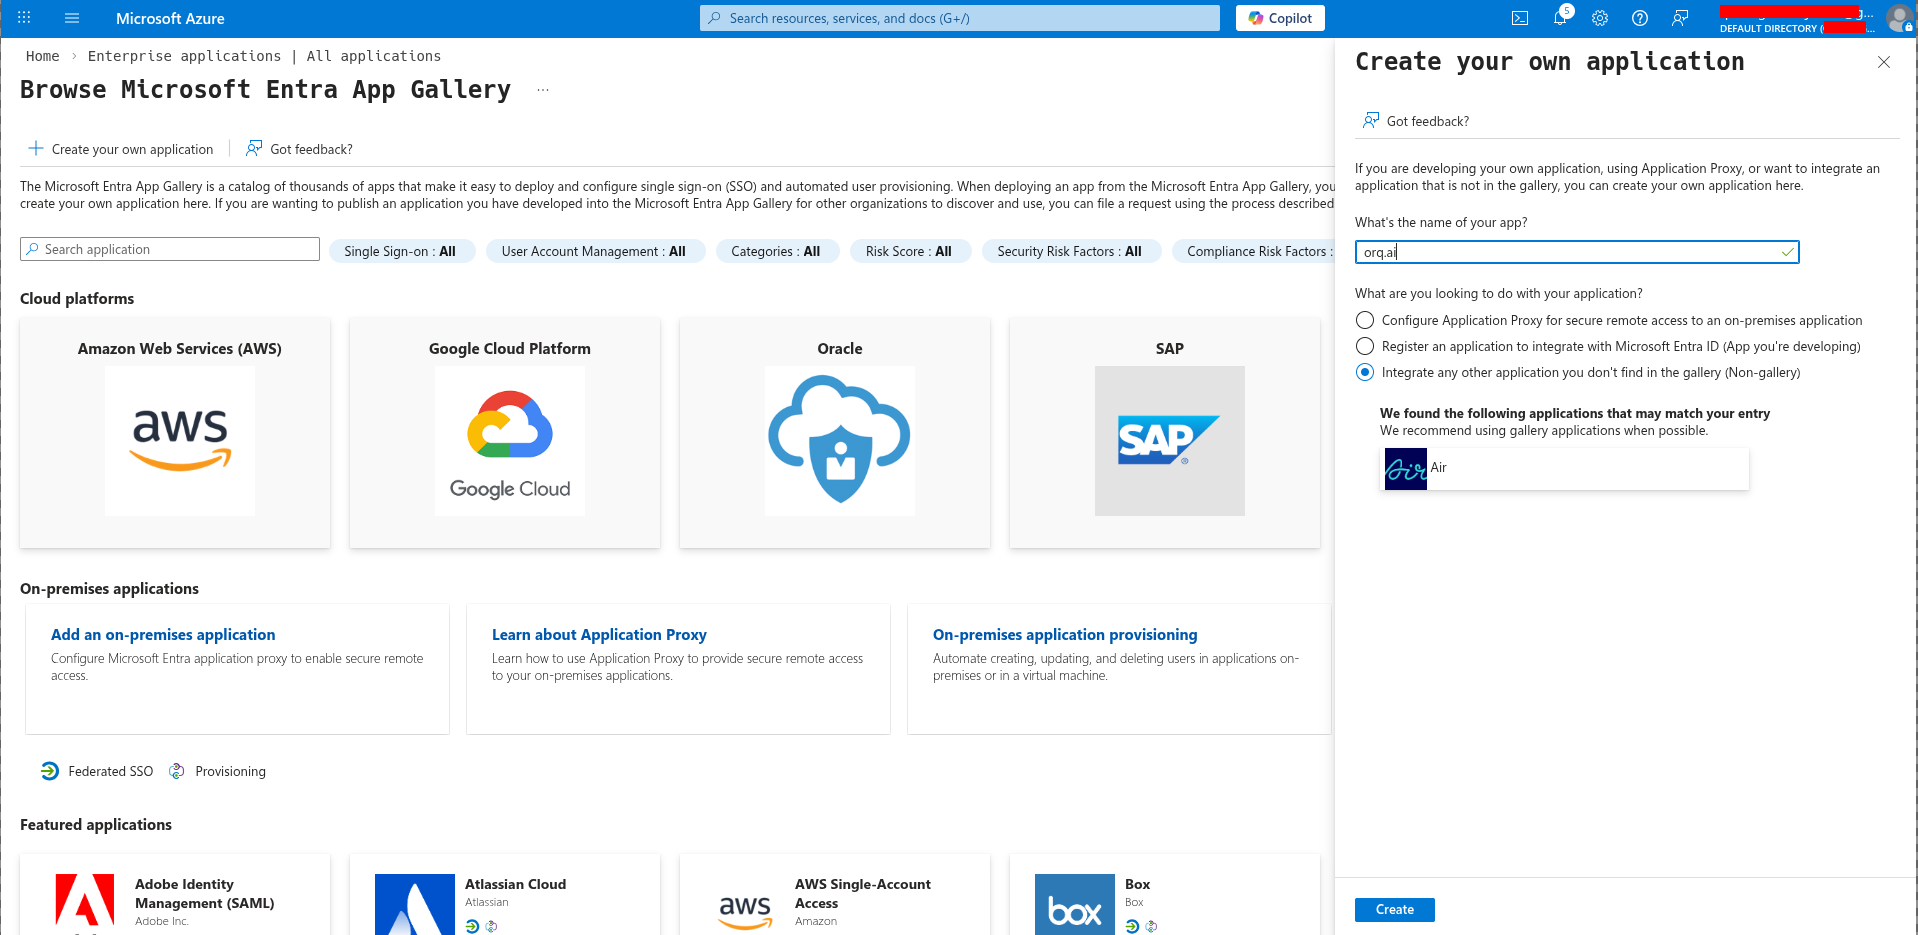
- Name:
Orq.ai(or your preferred name) - Supported account types: Select based on your organization’s needs
- Redirect URI: Select Web and enter:
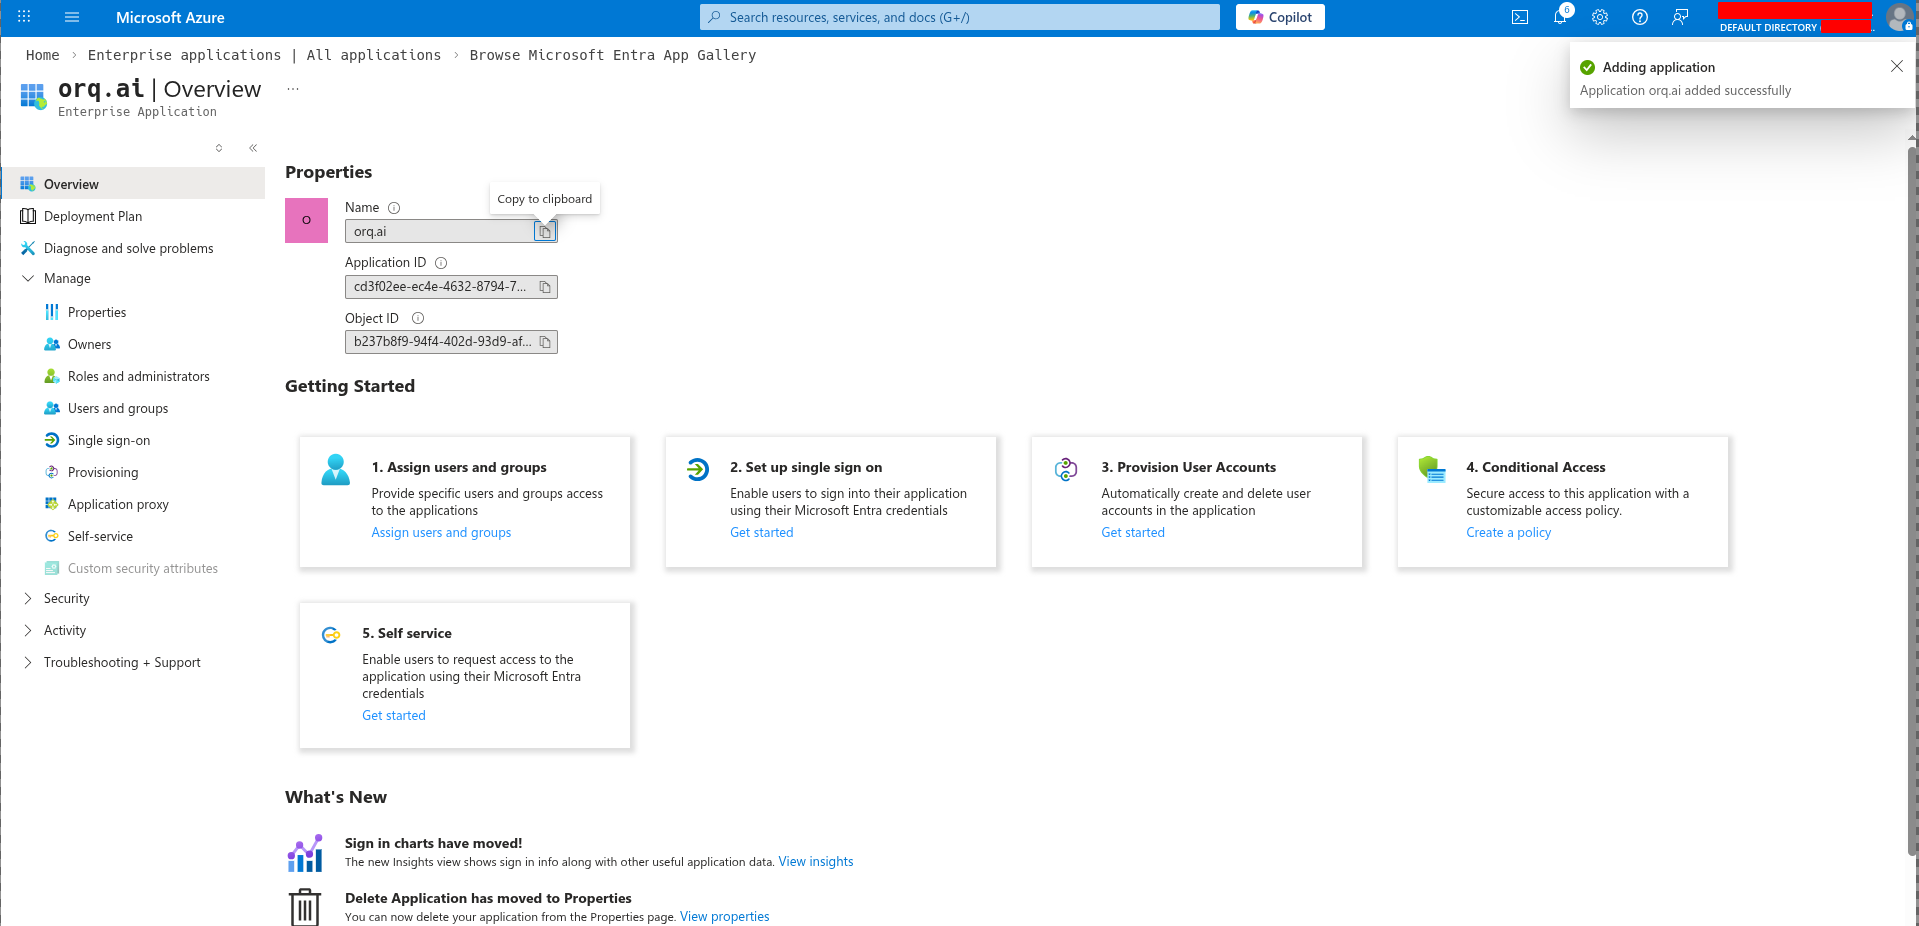
Gather credentials
Get the Client ID:From the app registration Overview page, copy the Application (client) ID - this is your Client ID for Orq.ai.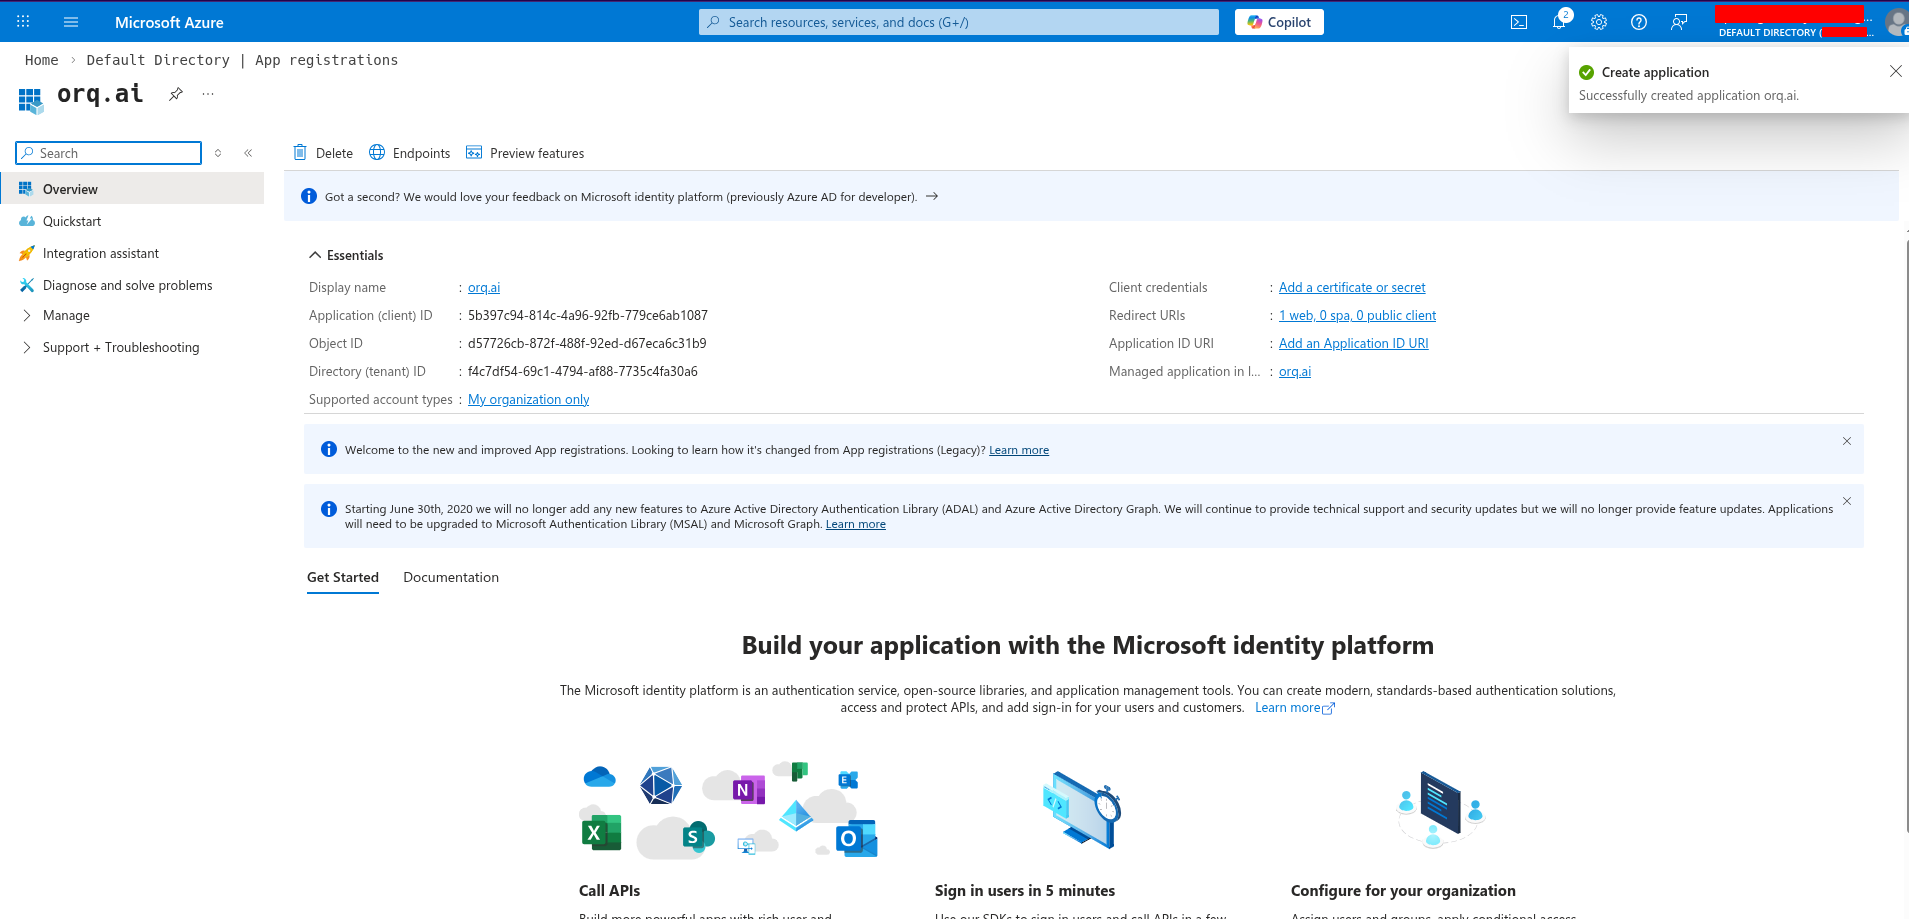
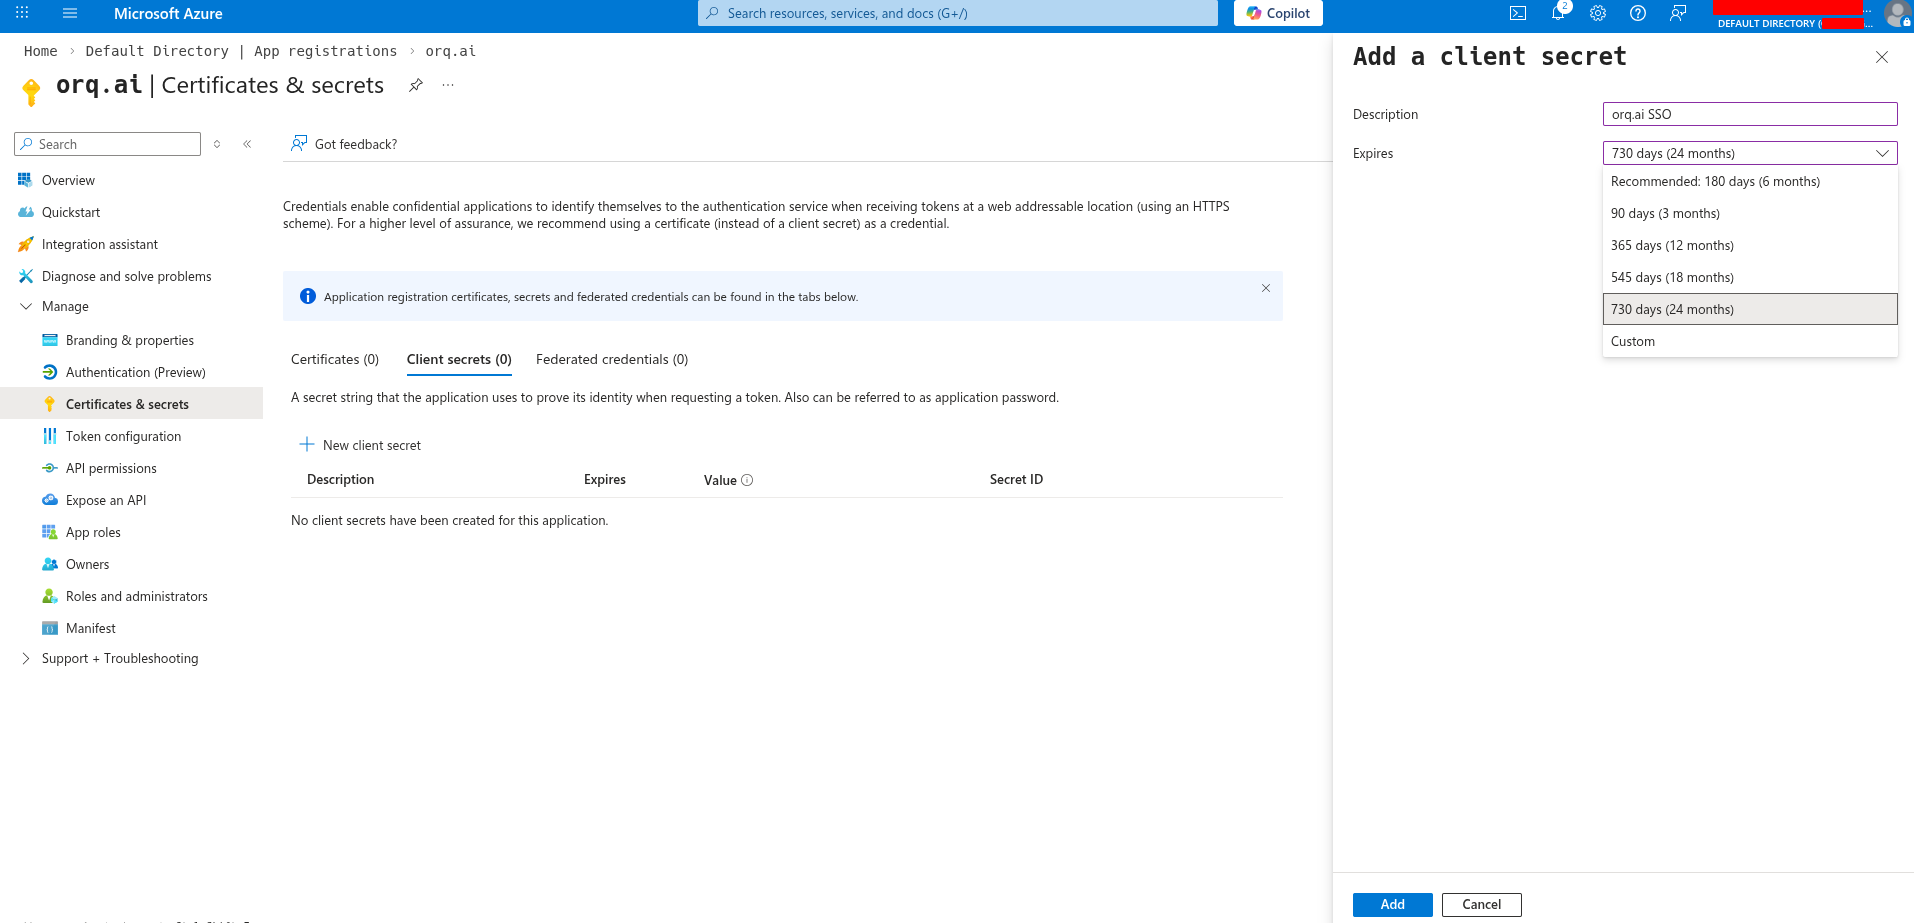
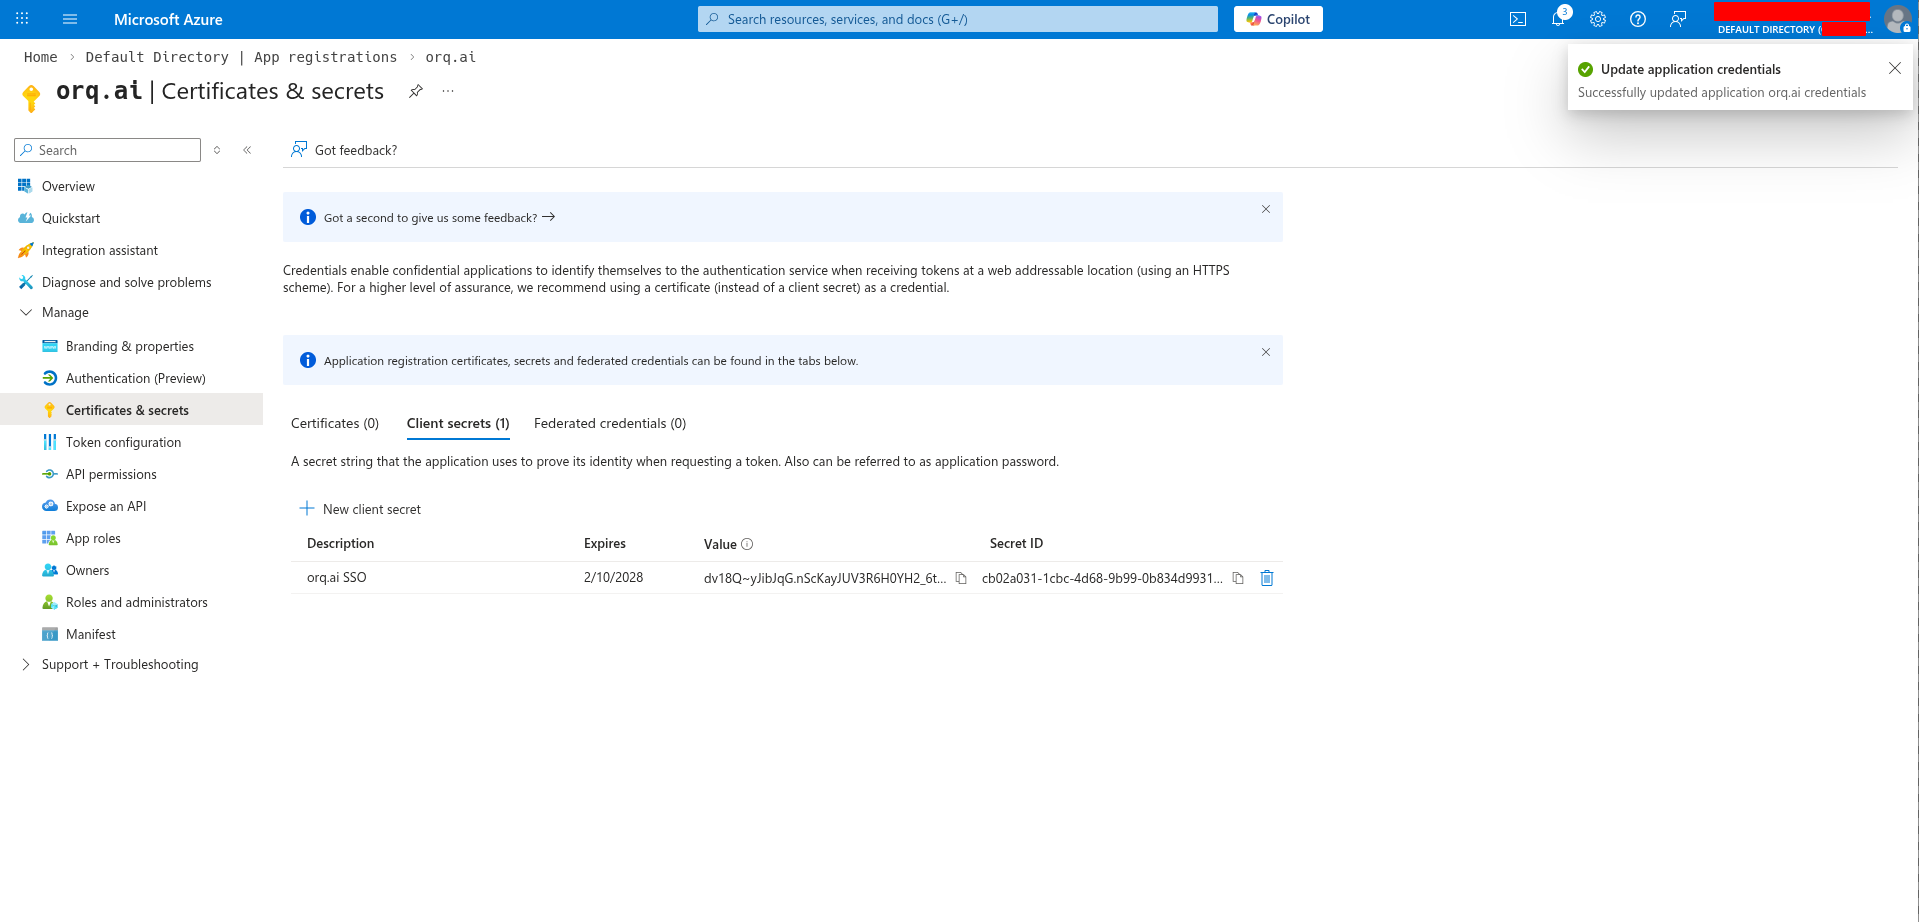
Orq.ai SSO), select an expiration period, and click Add.Get the Provider URL
Your Provider URL is your tenant’s issuer URL:Replace
{tenant-id} with your Directory (tenant) ID, found on the app registration overview page.Configure API permissions
Go to API permissions and ensure these Microsoft Graph permissions are granted: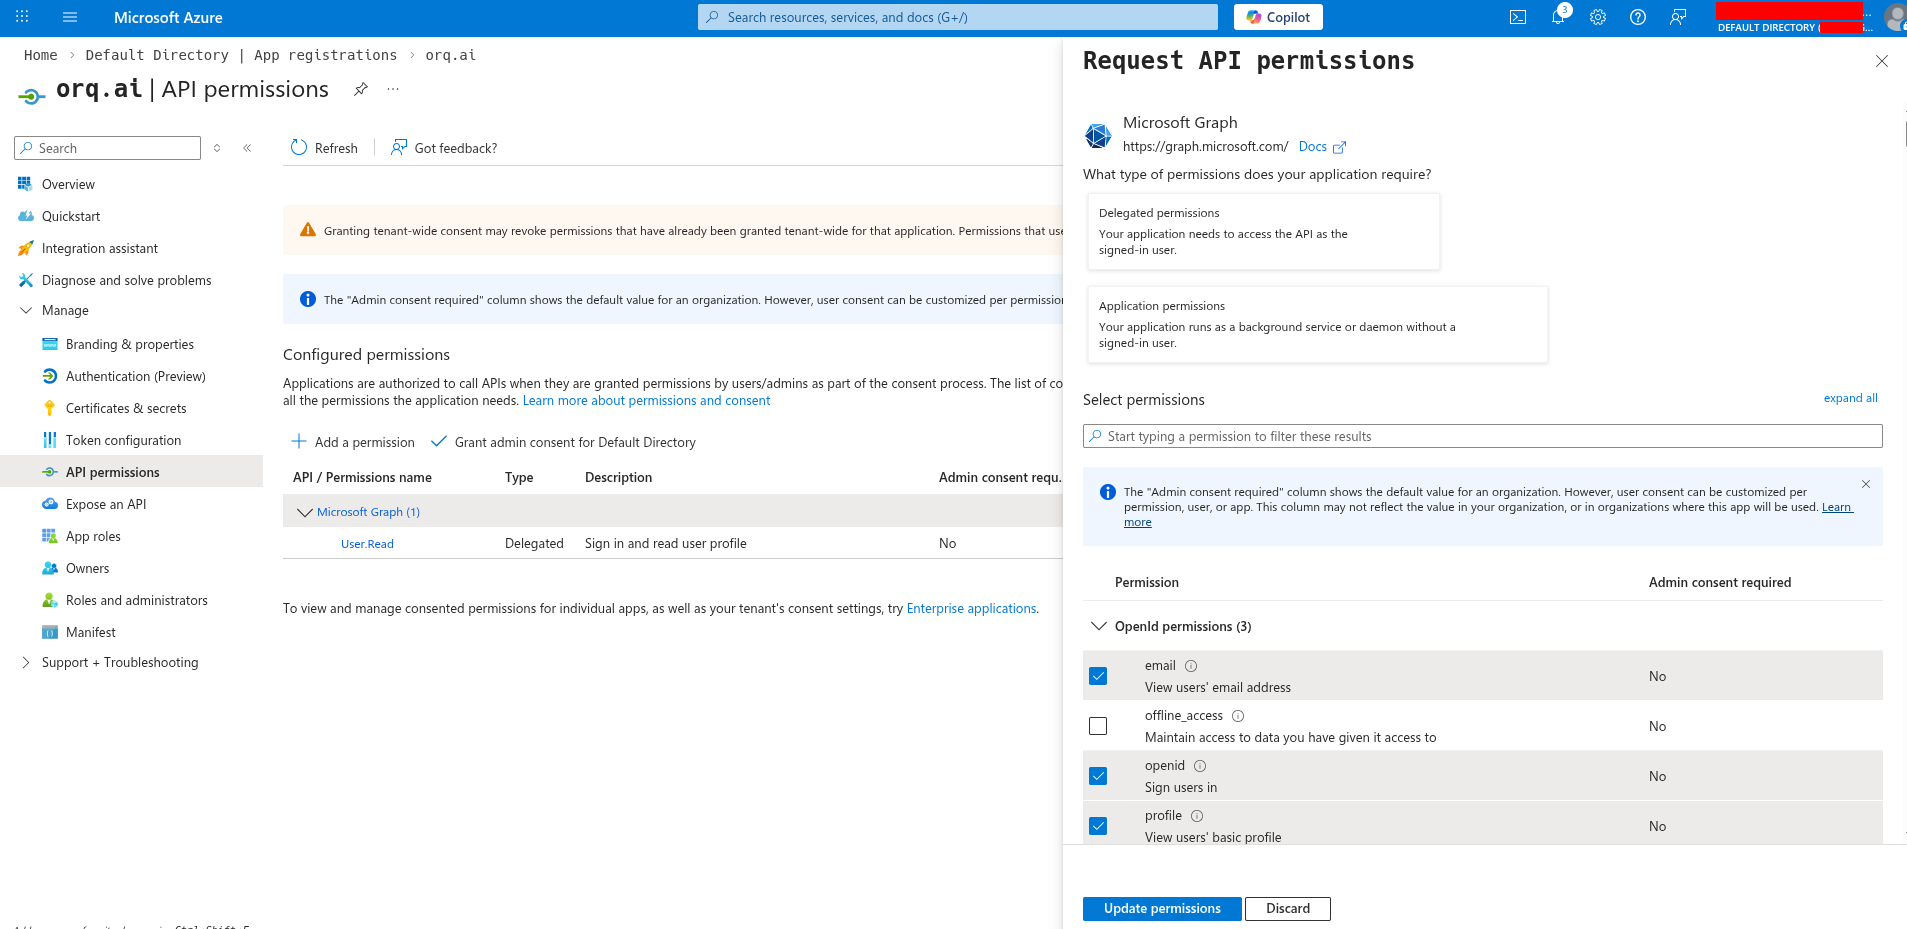
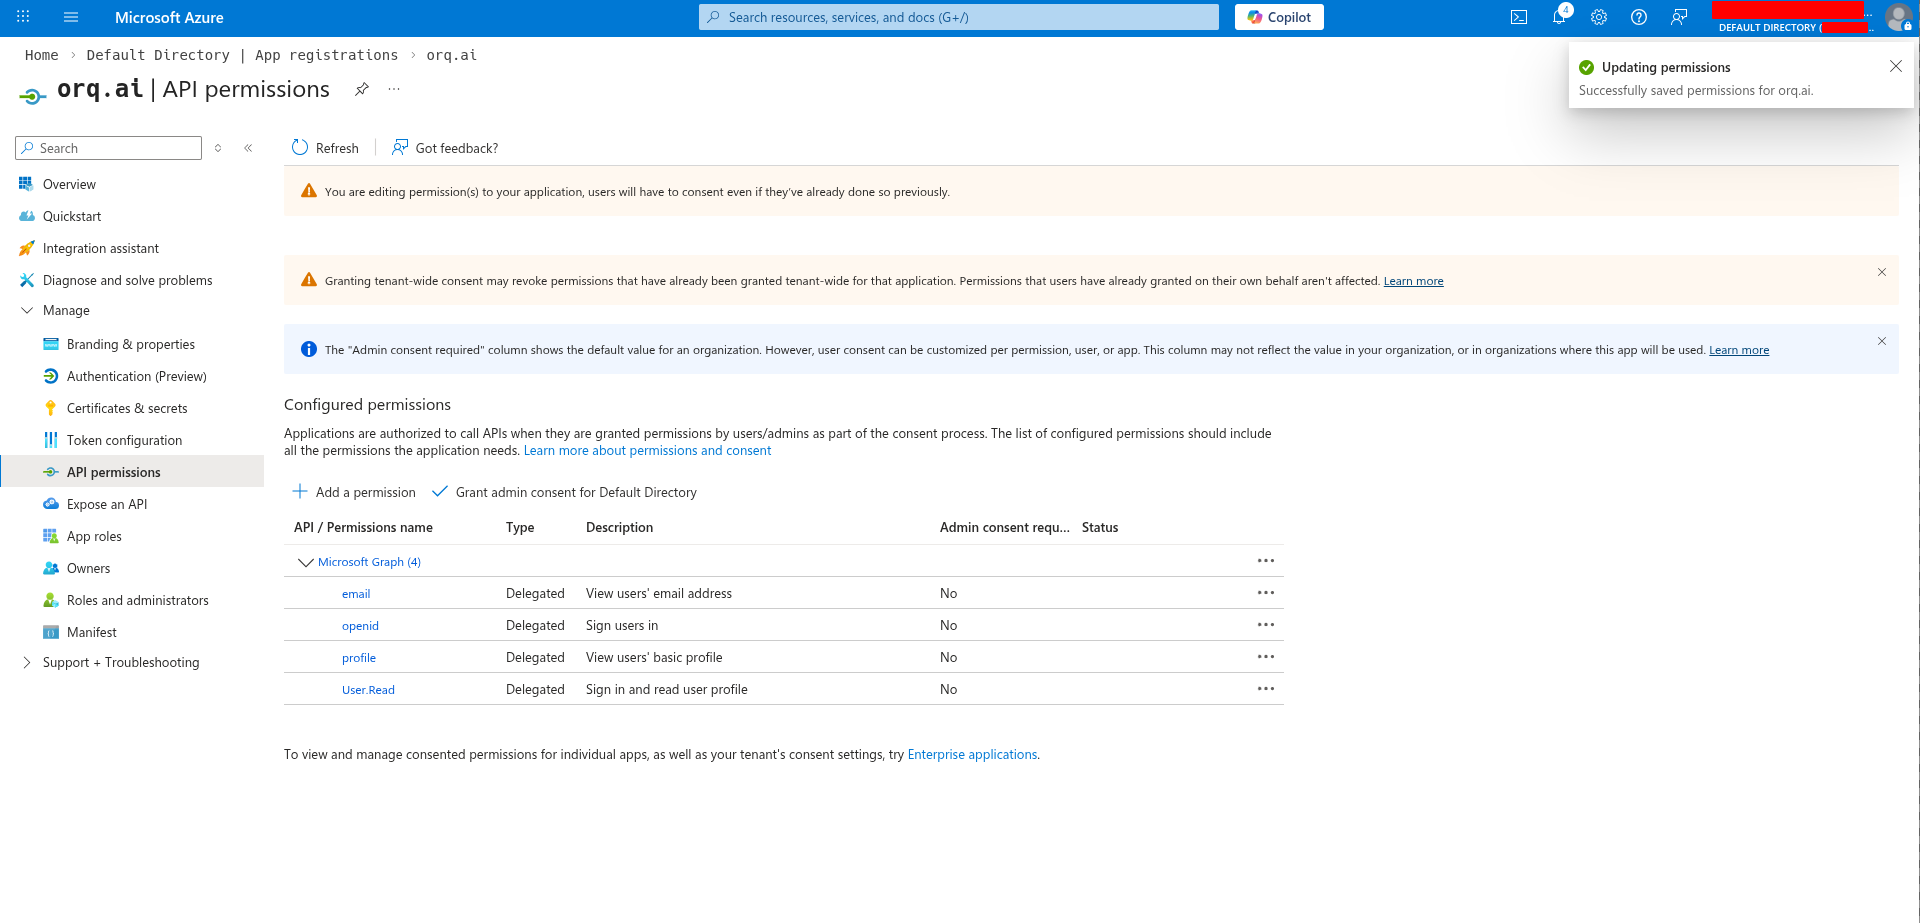
openidemailprofile
Orq.ai automatically requests the
User.Read scope to retrieve user email addresses when the standard OIDC email claim is not available.Configure in Orq.ai
Navigate to AI Studio → Organization → Auth.
- Select OIDC (selected by default)
- Enter your Client ID
- Enter your Client Secret
- Enter your Provider URL
- Enter your organization’s email domain(s) in Allowed domains (e.g.,
acme.com) - Click Activate


Testing
Before rolling out to your entire organization:- Test the configuration with a single user
- Verify the user is created automatically in Orq.ai (if auto-provisioning is enabled)
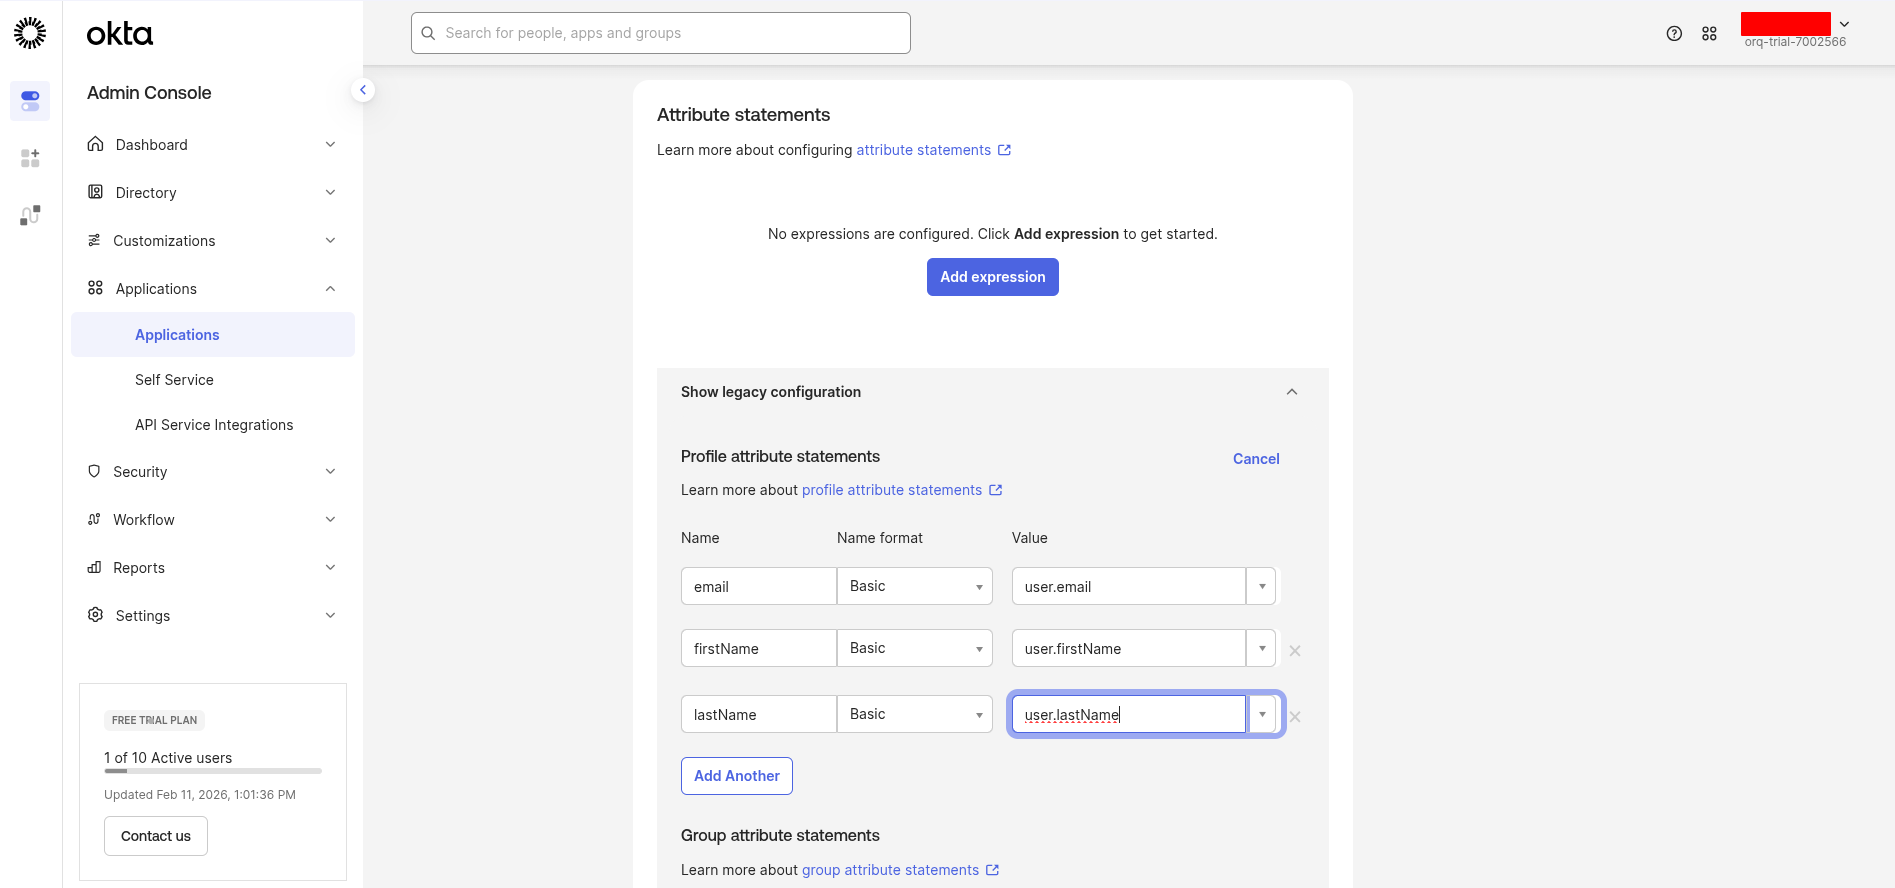
- Check that the user’s profile information (name, email) is correct
Troubleshooting
Redirect URI mismatch
Redirect URI mismatch
Error: “redirect_uri_mismatch” or “Invalid redirect URI”Solution: Verify the callback URL in your IdP exactly matches:
- OIDC:
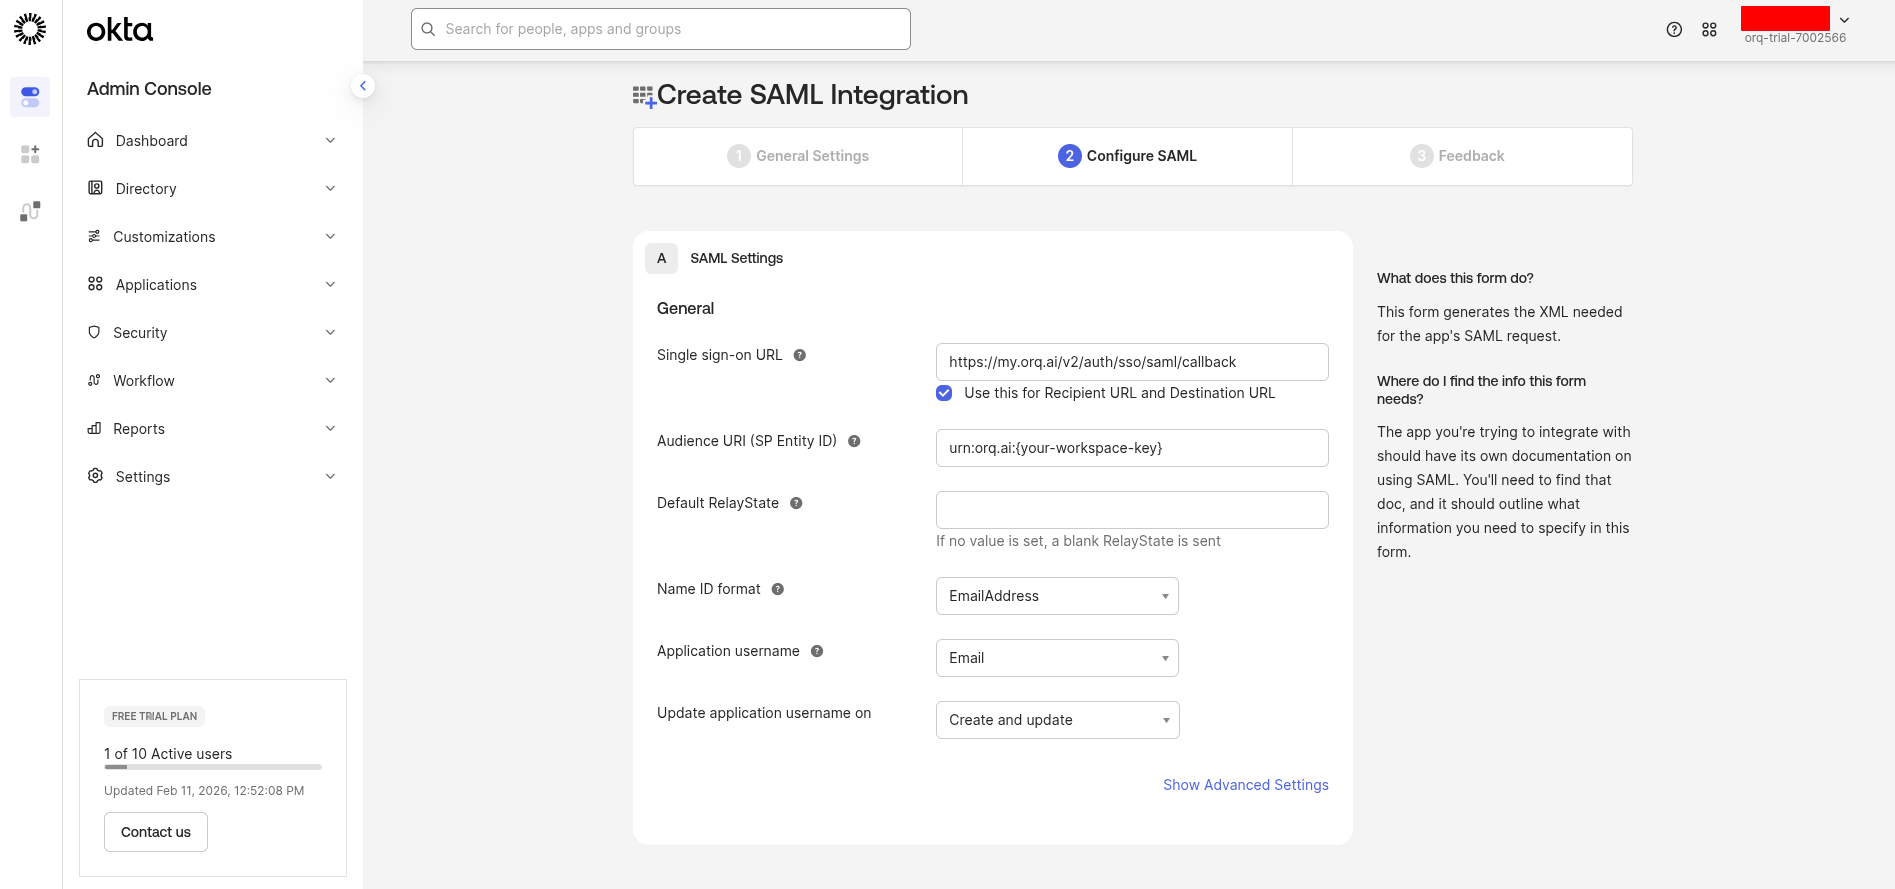
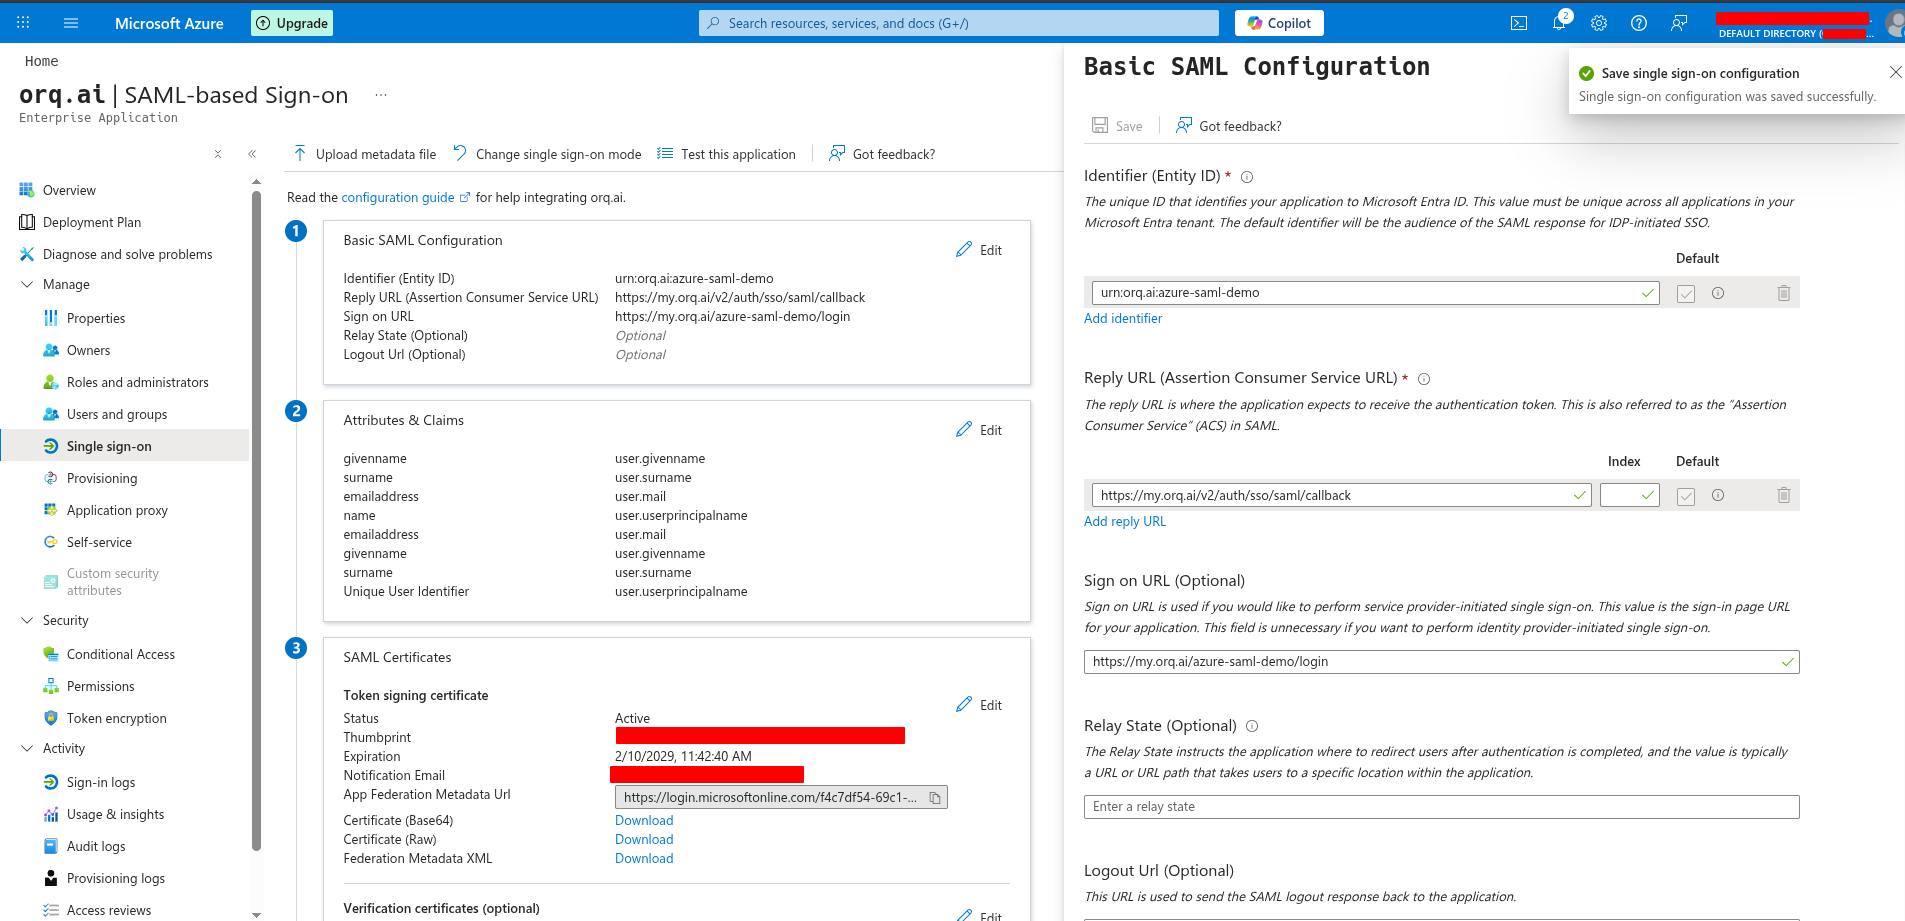
https://my.orq.ai/v2/auth/sso/oidc/callback - SAML:
https://my.orq.ai/v2/auth/sso/saml/callback
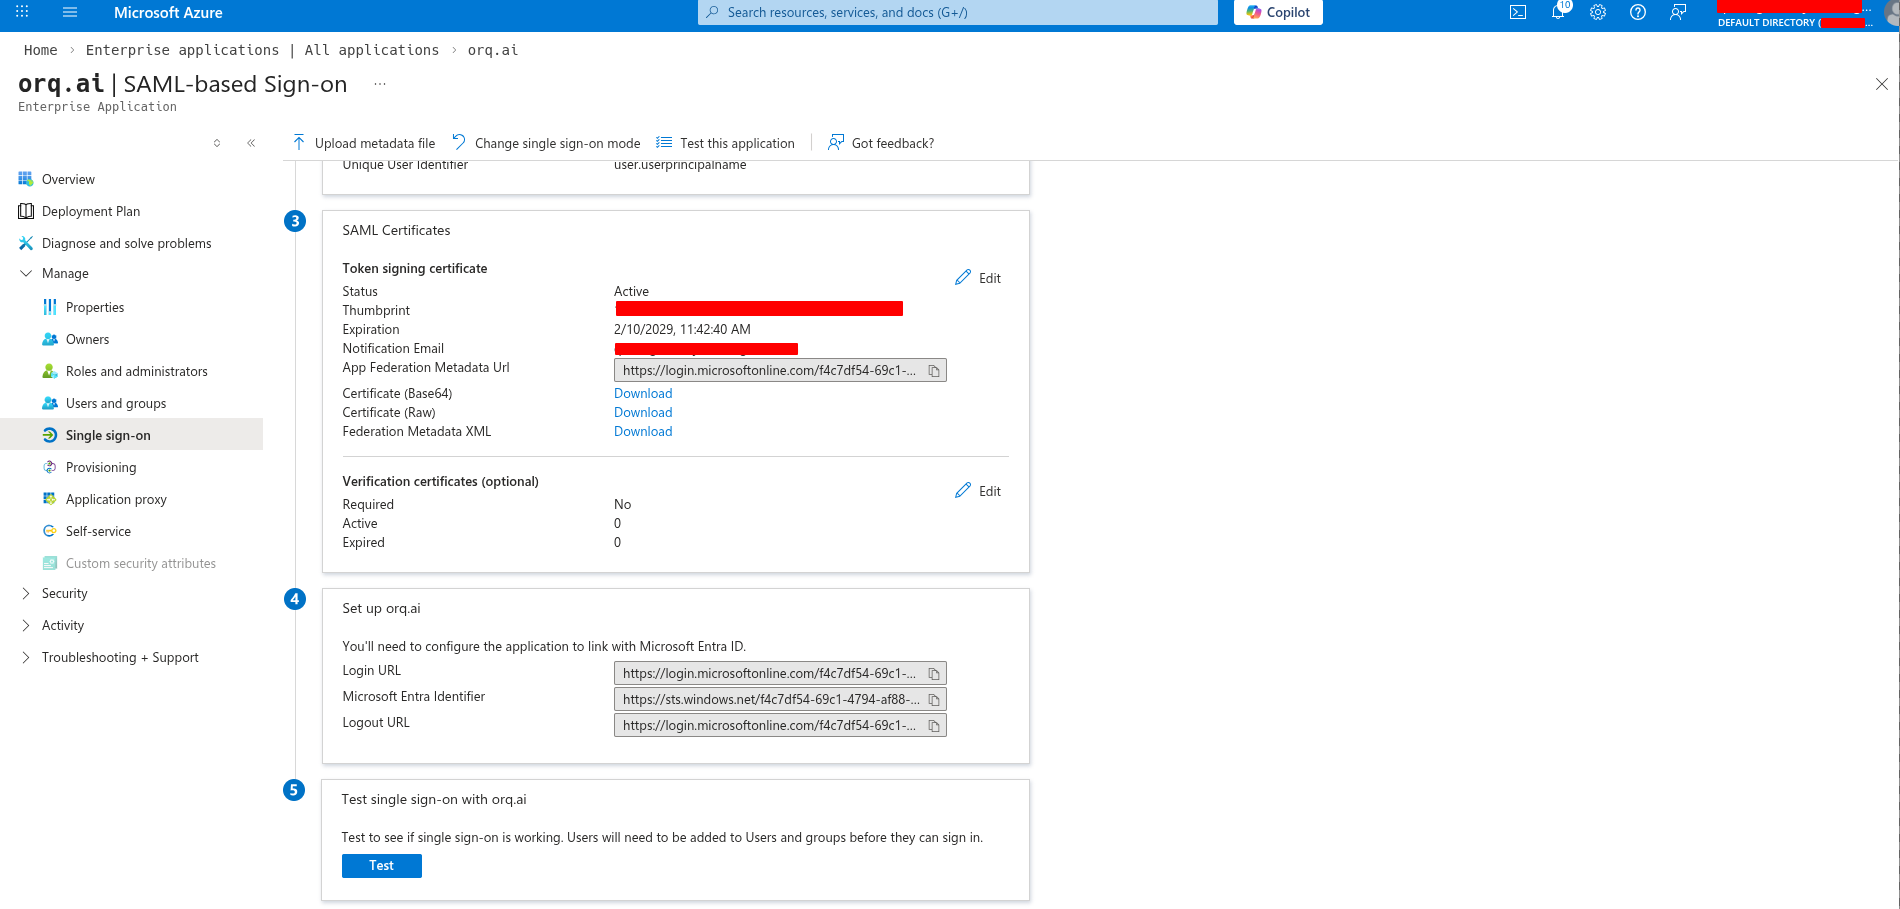
Entity ID mismatch (SAML)
Entity ID mismatch (SAML)
Error: “Audience restriction” or “Invalid audience”Solution: Verify the SP Entity ID matches exactly in both your IdP and Orq.ai configuration. It’s case-sensitive.
Invalid client secret (OIDC)
Invalid client secret (OIDC)
Error: “invalid_client” or “unauthorized_client”Solution: Regenerate the client secret in your IdP and update it in Orq.ai. Make sure to copy the secret immediately after creation.
User not assigned
User not assigned
Symptom: User can’t see the app or gets “access denied”Solution:
- Okta: Go to application → Assignments and assign the user or their group
- Azure: Go to Enterprise application → Users and groups → Add user/group
Certificate expired (SAML)
Certificate expired (SAML)
Symptom: SAML authentication suddenly stops workingSolution:
- Download new certificate from your IdP
- Update certificate in Orq.ai (AI Studio → Organization → Auth → Edit)
- Click Save Changes
Email domain not allowed
Email domain not allowed
Error: “Email domain not allowed”Solution: Add the user’s email domain to “Allowed domains” in your Orq.ai SSO configuration. Separate multiple domains with commas (e.g.,
acme.com, acme.io).Missing email claim (Azure OIDC)
Missing email claim (Azure OIDC)
Symptom: Authentication succeeds but user has no emailSolution: Orq.ai automatically requests the
User.Read Microsoft Graph scope. Verify this permission is granted:- Go to API permissions in your app registration
- Verify
User.Readis present - Click “Grant admin consent” if needed
Need Help?
Contact support@orq.ai with:- Your workspace key
- Identity provider and protocol (e.g., “Okta SAML”)
- Error message or screenshot