

Enabling new Models
To see available Models and enable them for use, head to the AI Gateway section in AI Studio and open the Models page.
The Models page showing available models with pricing, features, and metadata columns.
- Name: full model name and provider
- Input / Output pricing: per-token cost for input and output
- Features: capability badges indicating support for ZDR, BYOK, and other model-specific features
- Released: the model’s release date
- Max Output Tokens: maximum tokens the model can generate per response
- Context Length: total token window (input + output)
- Location: the region where the model is served
Use the Status Toggle to Enable a model for use with the AI Gateway.
Filters
Use the modality tabs at the top of the list to scope models by type: All Text Image Audio Speech Embedding Moderation Rerank The sidebar provides additional filters:
To enable a model, toggle it on. It will immediately be available to call with the AI Gateway.
Restrict Model Access by Project
Once a model is enabled, workspace admins can see an Access control icon next to it. Select it to choose which projects can use the model, in one of two modes:- All projects (default): every project in the workspace can use the model.
- Custom: each project gets its own on/off toggle, letting admins grant or revoke access per project.
Access control is admin-only. Members with other roles see only the models an admin has approved within their chosen projects.
Onboarding Private Models
Onboard private models by choosing Model at the top-right of the screen. This is useful when hosting a fine-tuned model or any model deployed on a private provider such as Azure AI Foundry or Vertex AI.Private Models Providers
Show Azure AI Foundry
Show Azure AI Foundry
From the Azure AI Foundry project homepage, copy the API key and one of the two endpoints shown at the top. Orq.ai accepts the following endpoints:Reference imported models in code using
Paste the endpoint URL exactly as shown in Azure AI Foundry. Orq.ai does not append any path suffix.
To learn more about the Azure AI Foundry deployment, see our Provider Documentation.
1
Open Add Model
In the AI Gateway sidebar, go to Models, then click Model at the top-right and select Azure.
2
Enter credentials
Enter the Base URL and API Key.
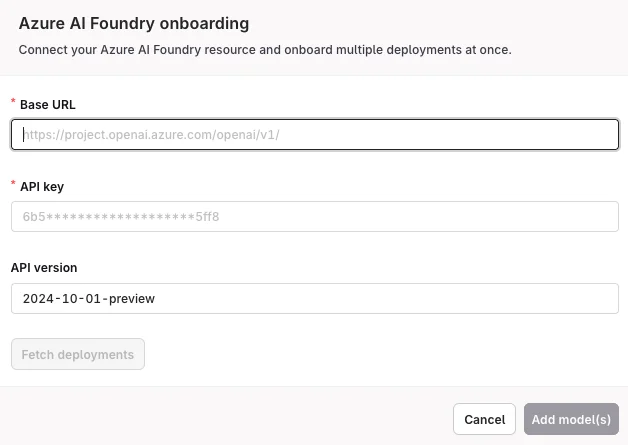
3
Fetch deployments
Click Fetch deployments to automatically import all available deployments. The imported models appear in the Models list. Toggle each model Enabled before use. Enabled models are available in Deployments, Agents, Playground, and Experiments.
<workspacename>@azure/<modelname> (see Referencing Private Models in Code).Show Vertex AI
Show Vertex AI
In the AI Gateway sidebar, go to Models, then click Model at the top-right and select Vertex AI. Enter the JSON configuration from your Google Cloud project to make the model available on the platform.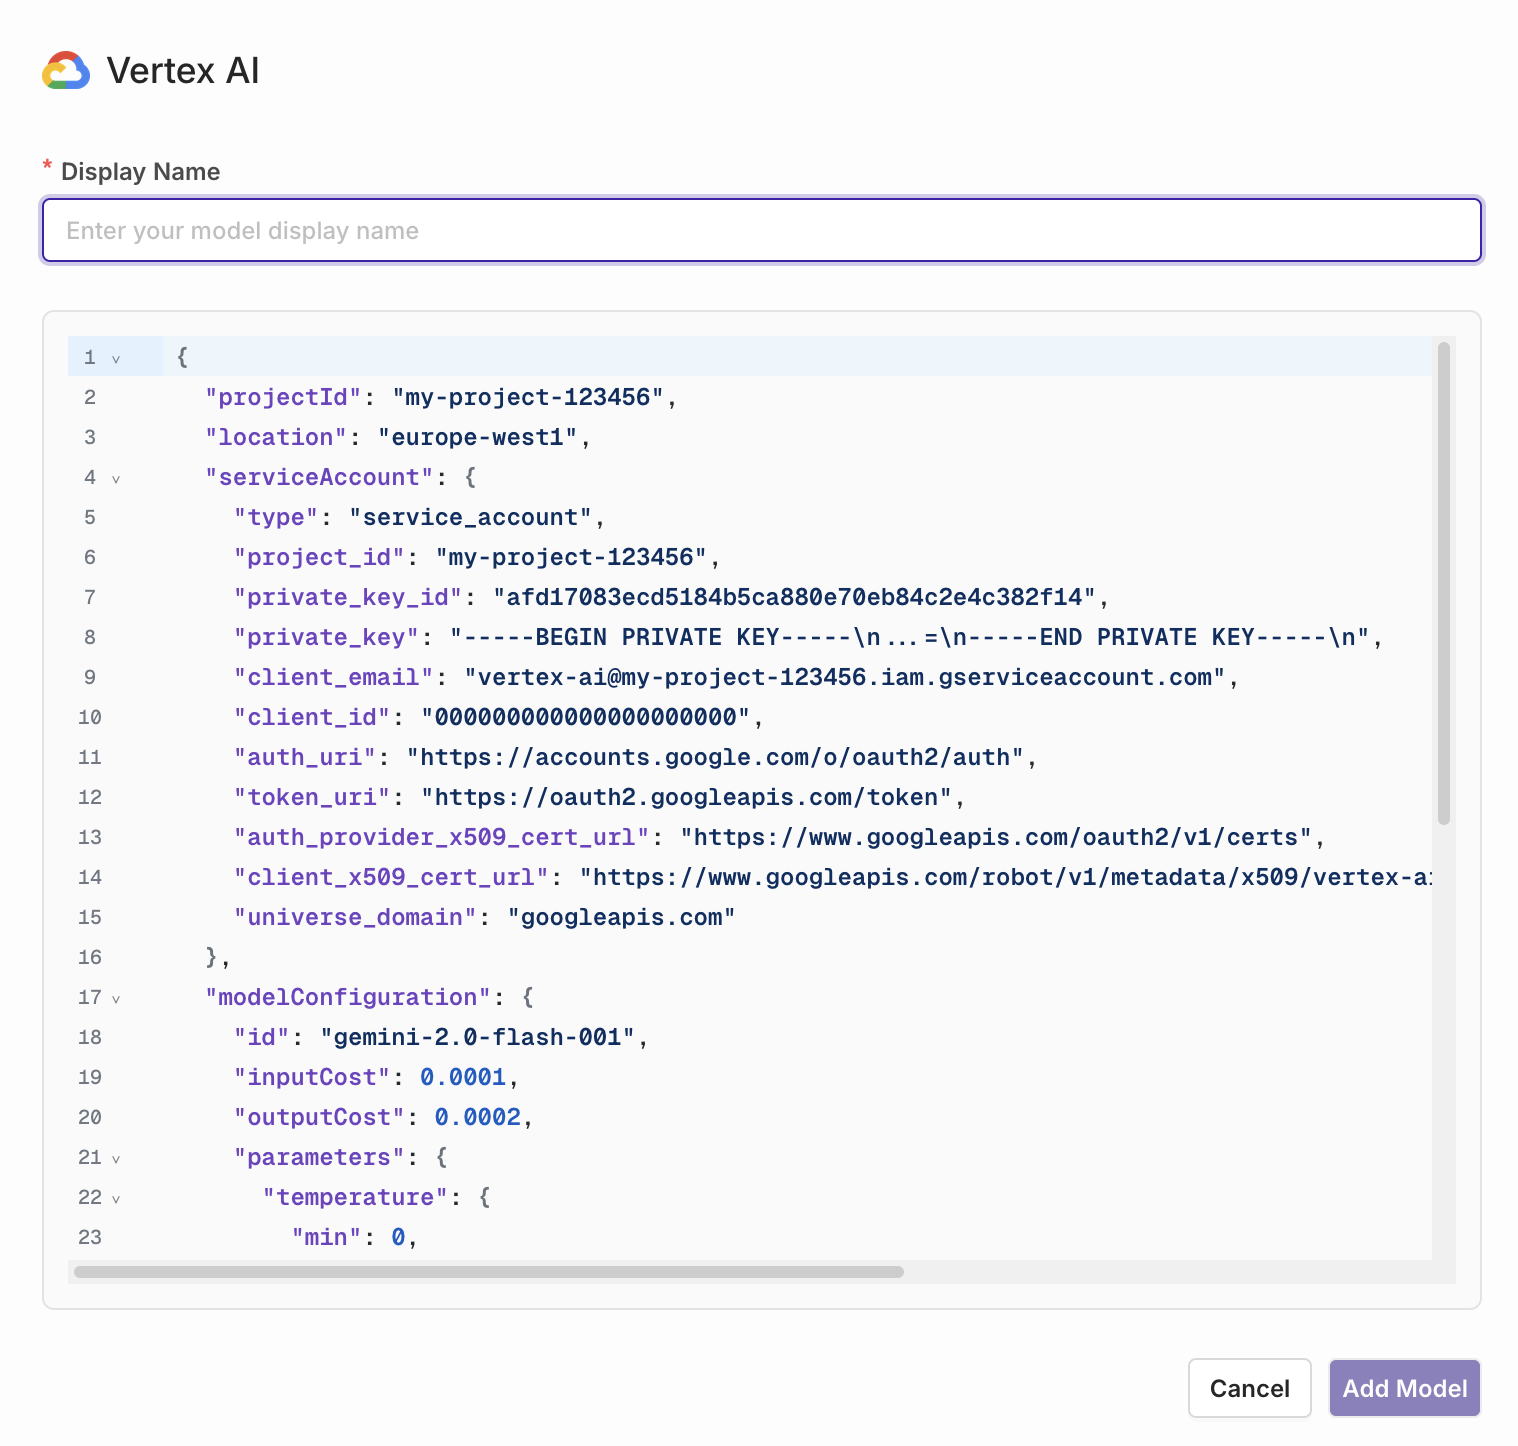
Show LiteLLM
Show LiteLLM
To import LiteLLM models, first create an Integration for the LiteLLM instance. After creation, return to the AI Gateway and import models from the connected instance.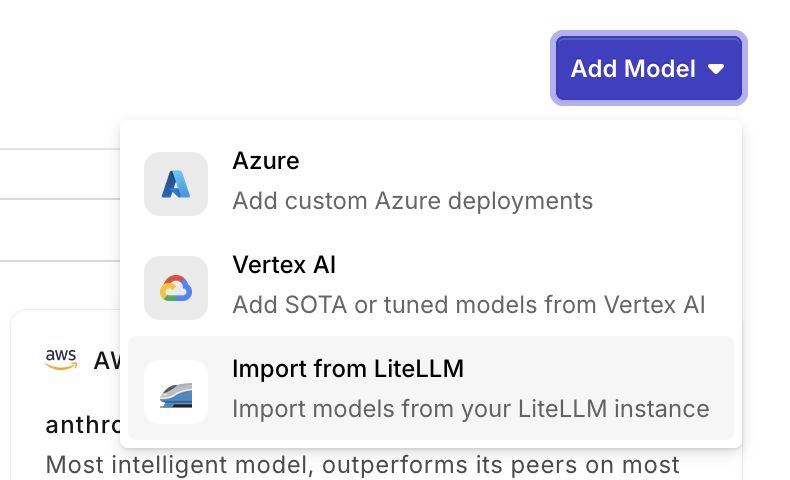
Referencing Private Models in Code
When referencing private models through the SDKs, API, or Supported Libraries, the model is referenced by the following string:<workspacename>@<provider>/<modelname>.
Example: corp@azure/gpt-4o-2024-05-13