Welcome to orq.ai
This page covers the fastest way to create an initial deployment and make a first LLM call through the platform.Prerequisite
An account within the orq.ai Studio is required.Sign Up Here to create an orq.ai Account.
Step 1: Setup an API Key with the available providers
To start using models, first add an API key with the chosen provider. To do so, open the Model Garden > Providers tab, select a provider, and choose Setup own API Key.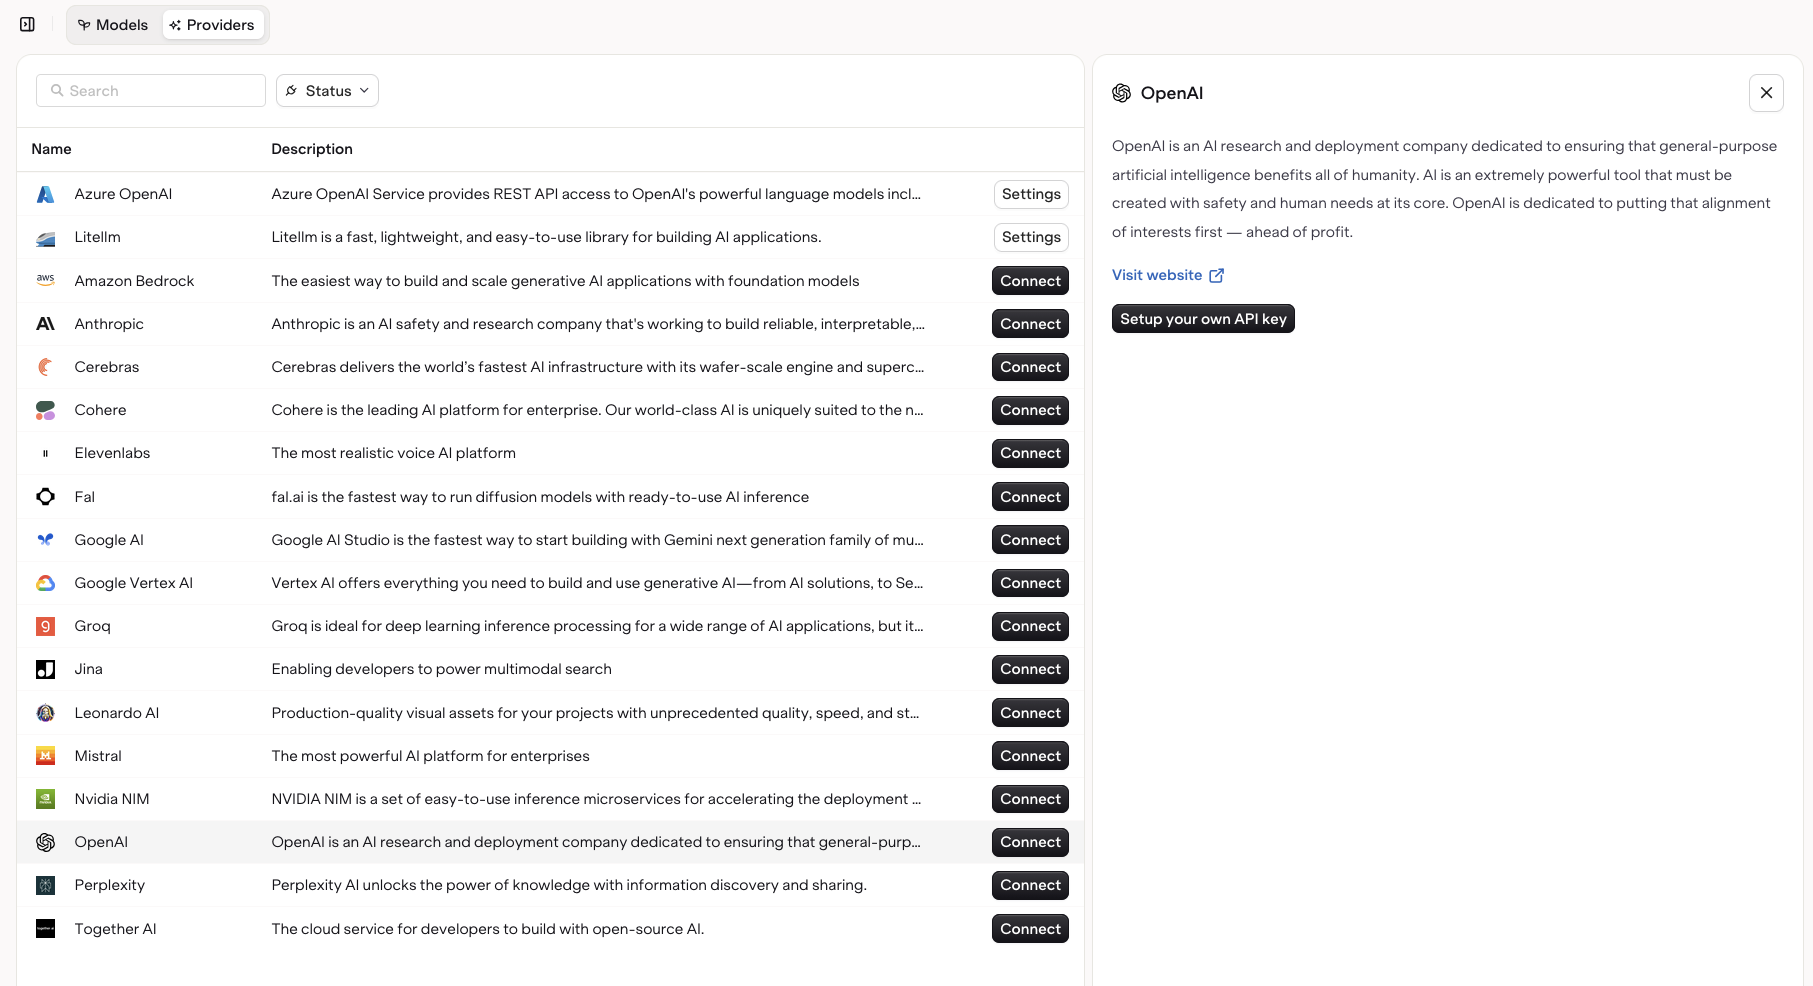
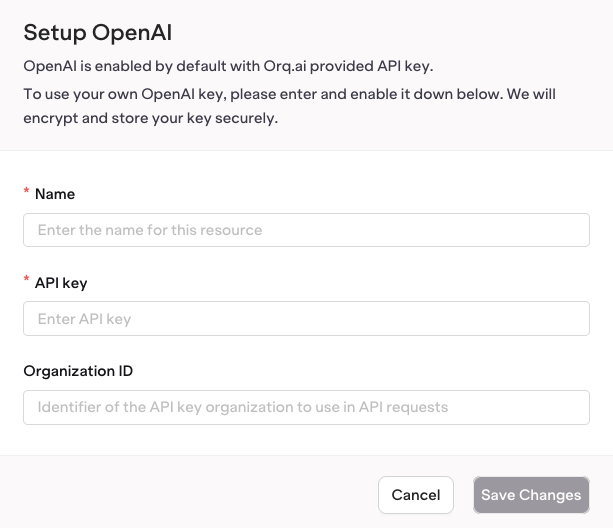
To learn more about setting up Integrations, see API keys & Endpoints.
Step 2: Enable models in the Model Garden
Browse the Model Garden by going to the Model Garden tab. Here, find all models available to use within orq.ai, including their capabilities and a short description. To make any model available, toggle the button next to its name, it will then be usable in a first Deployment. To use custom API keys, head to the Integration tab.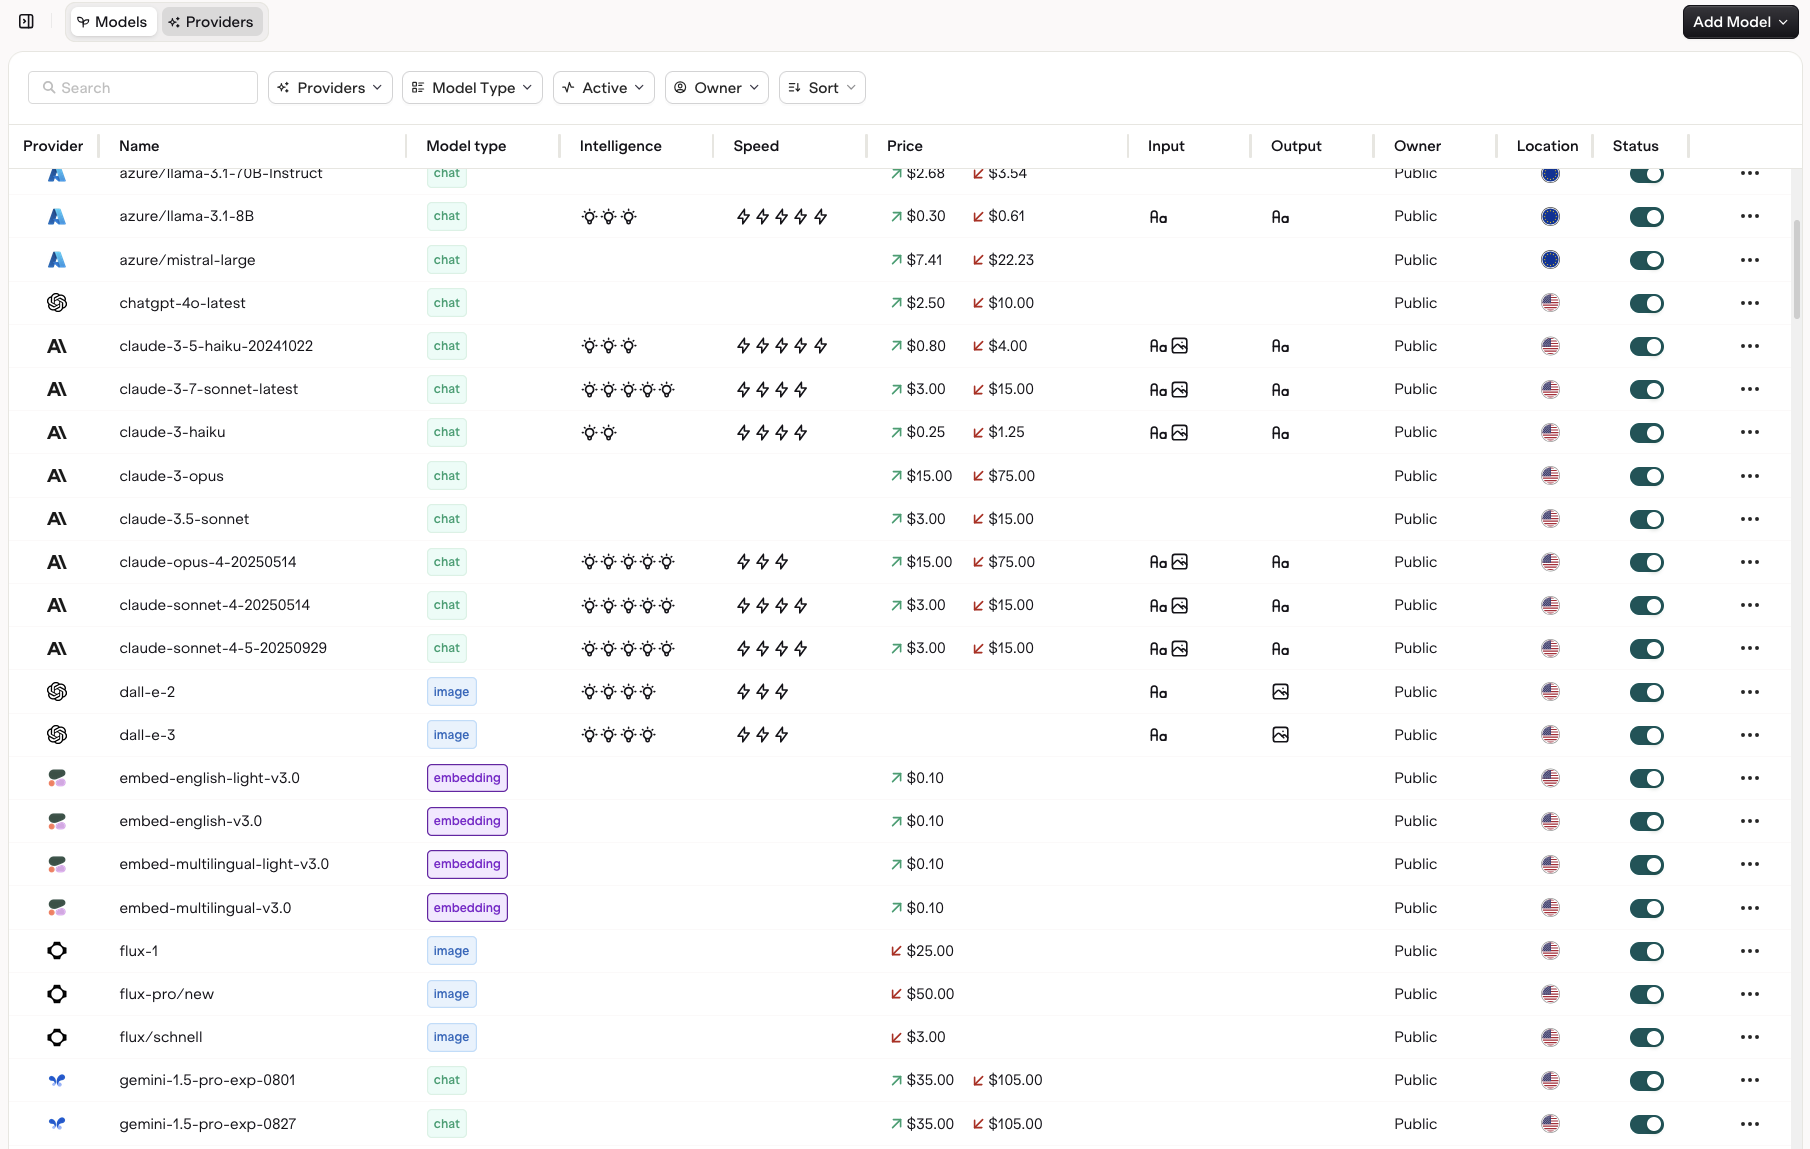
To learn more about all the models available, see Model Garden.
Step 3: Set up a first Deployment
To create a first deployment, head to the Deployment tab, then select Create Deployment.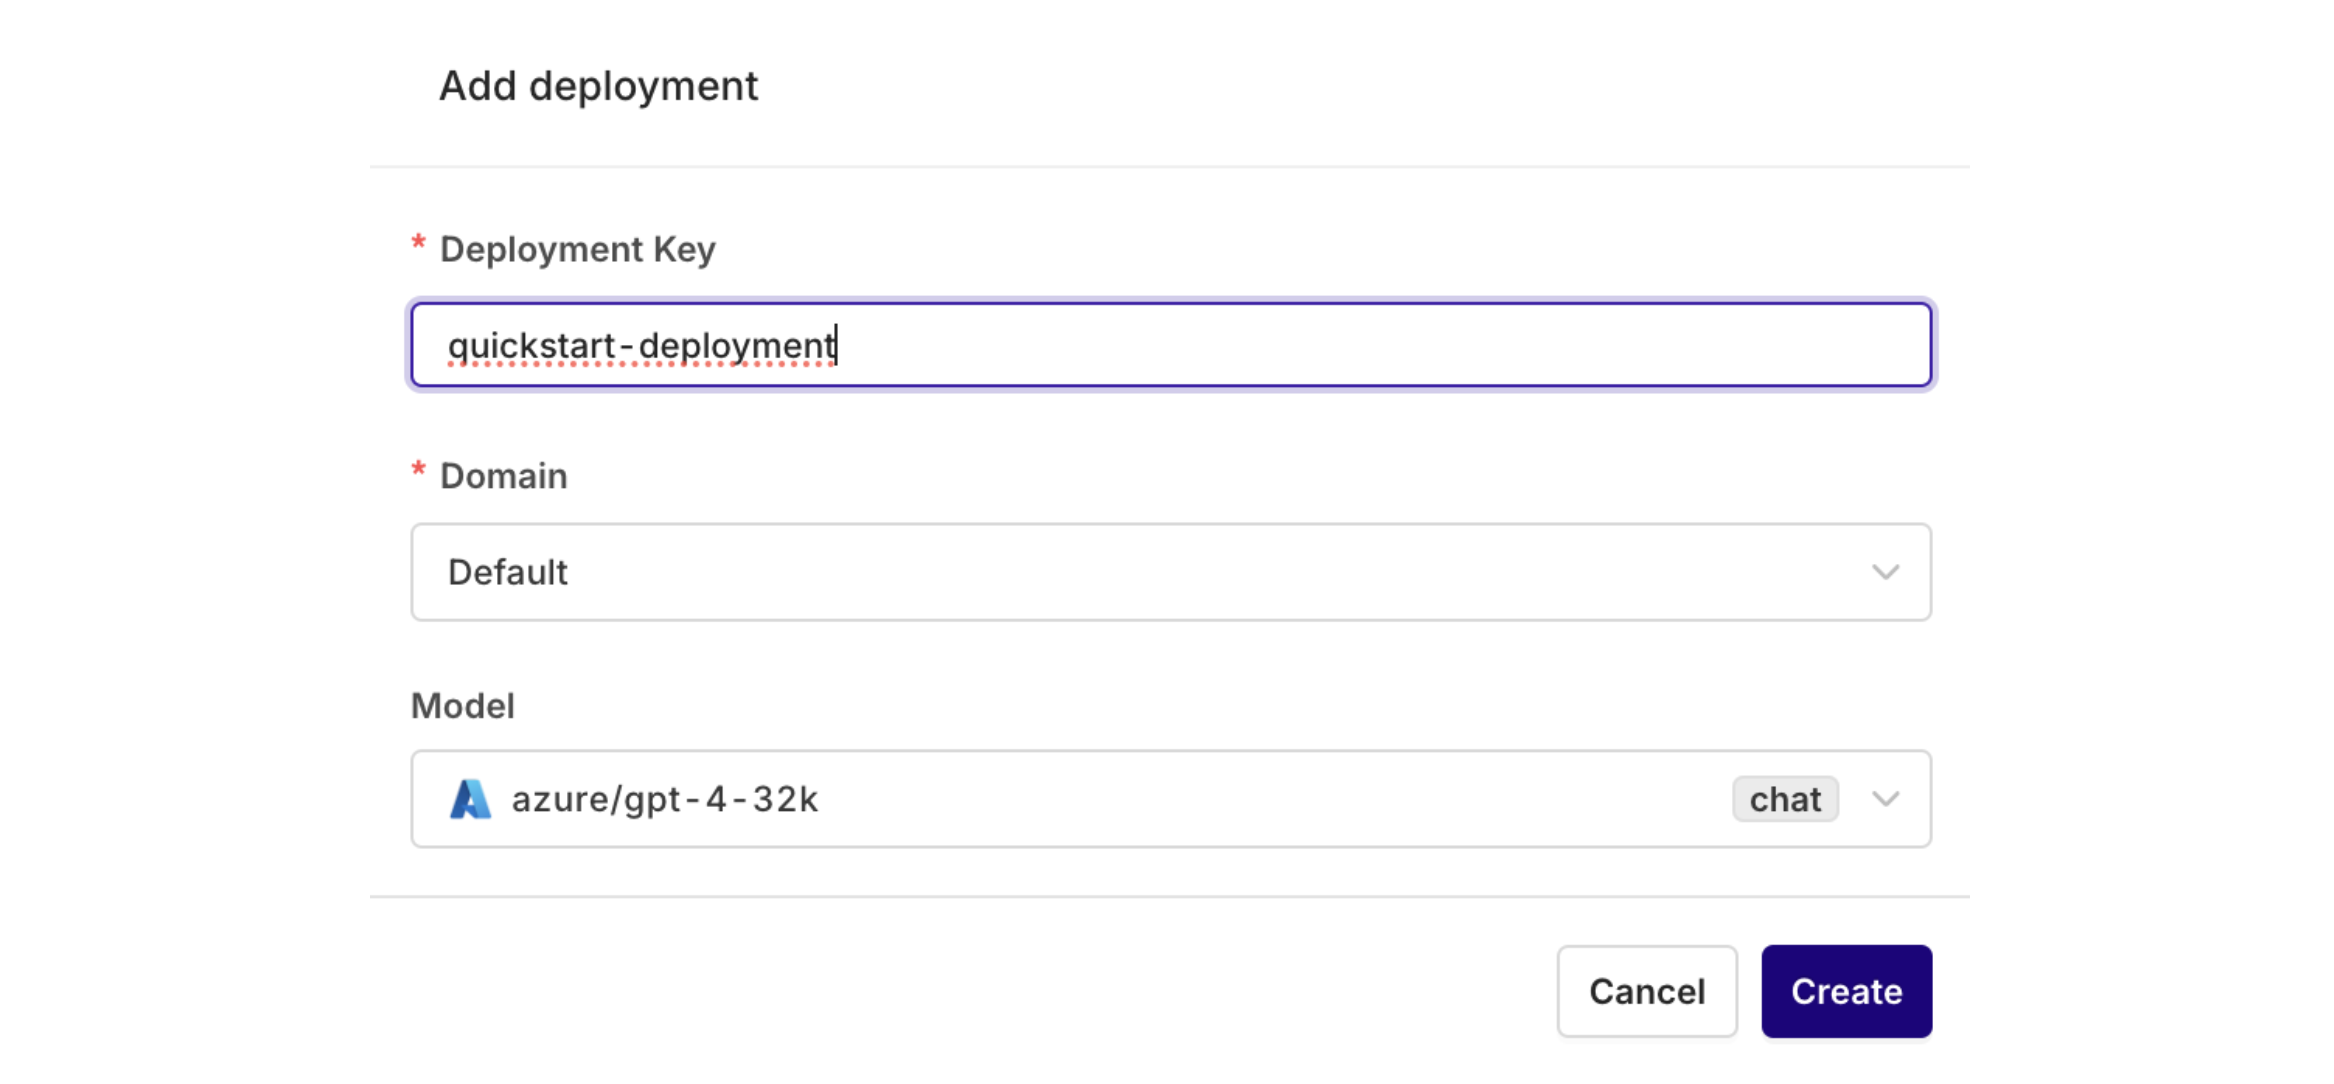
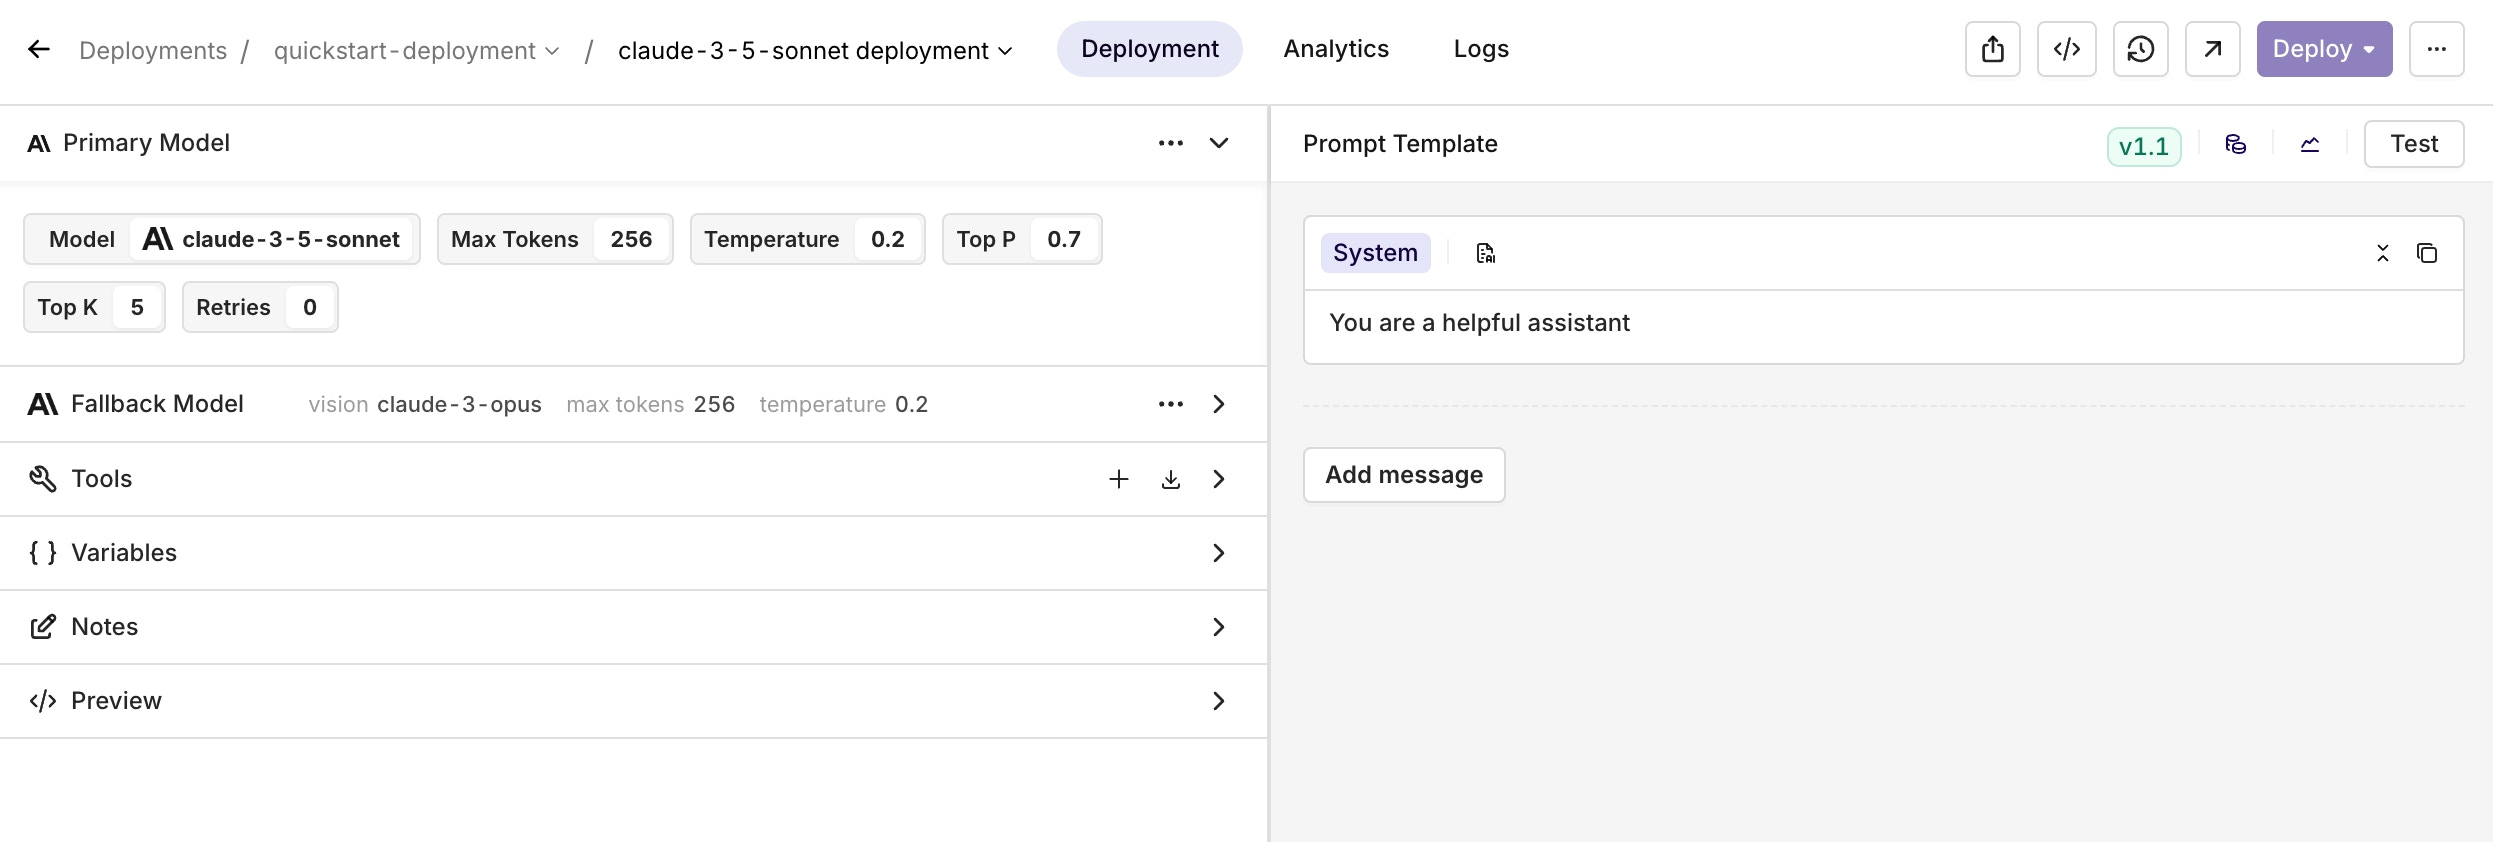
There are many more features available to configure a Deployment. Including setting up multiple models, fallbacks, function calling, etc. To learn more, see Creating a Deployment.
Step 4: Install the orq.ai SDK
Within the Deployment page, open the code snippet panel to find instructions to install and run the SDK for the current deployment.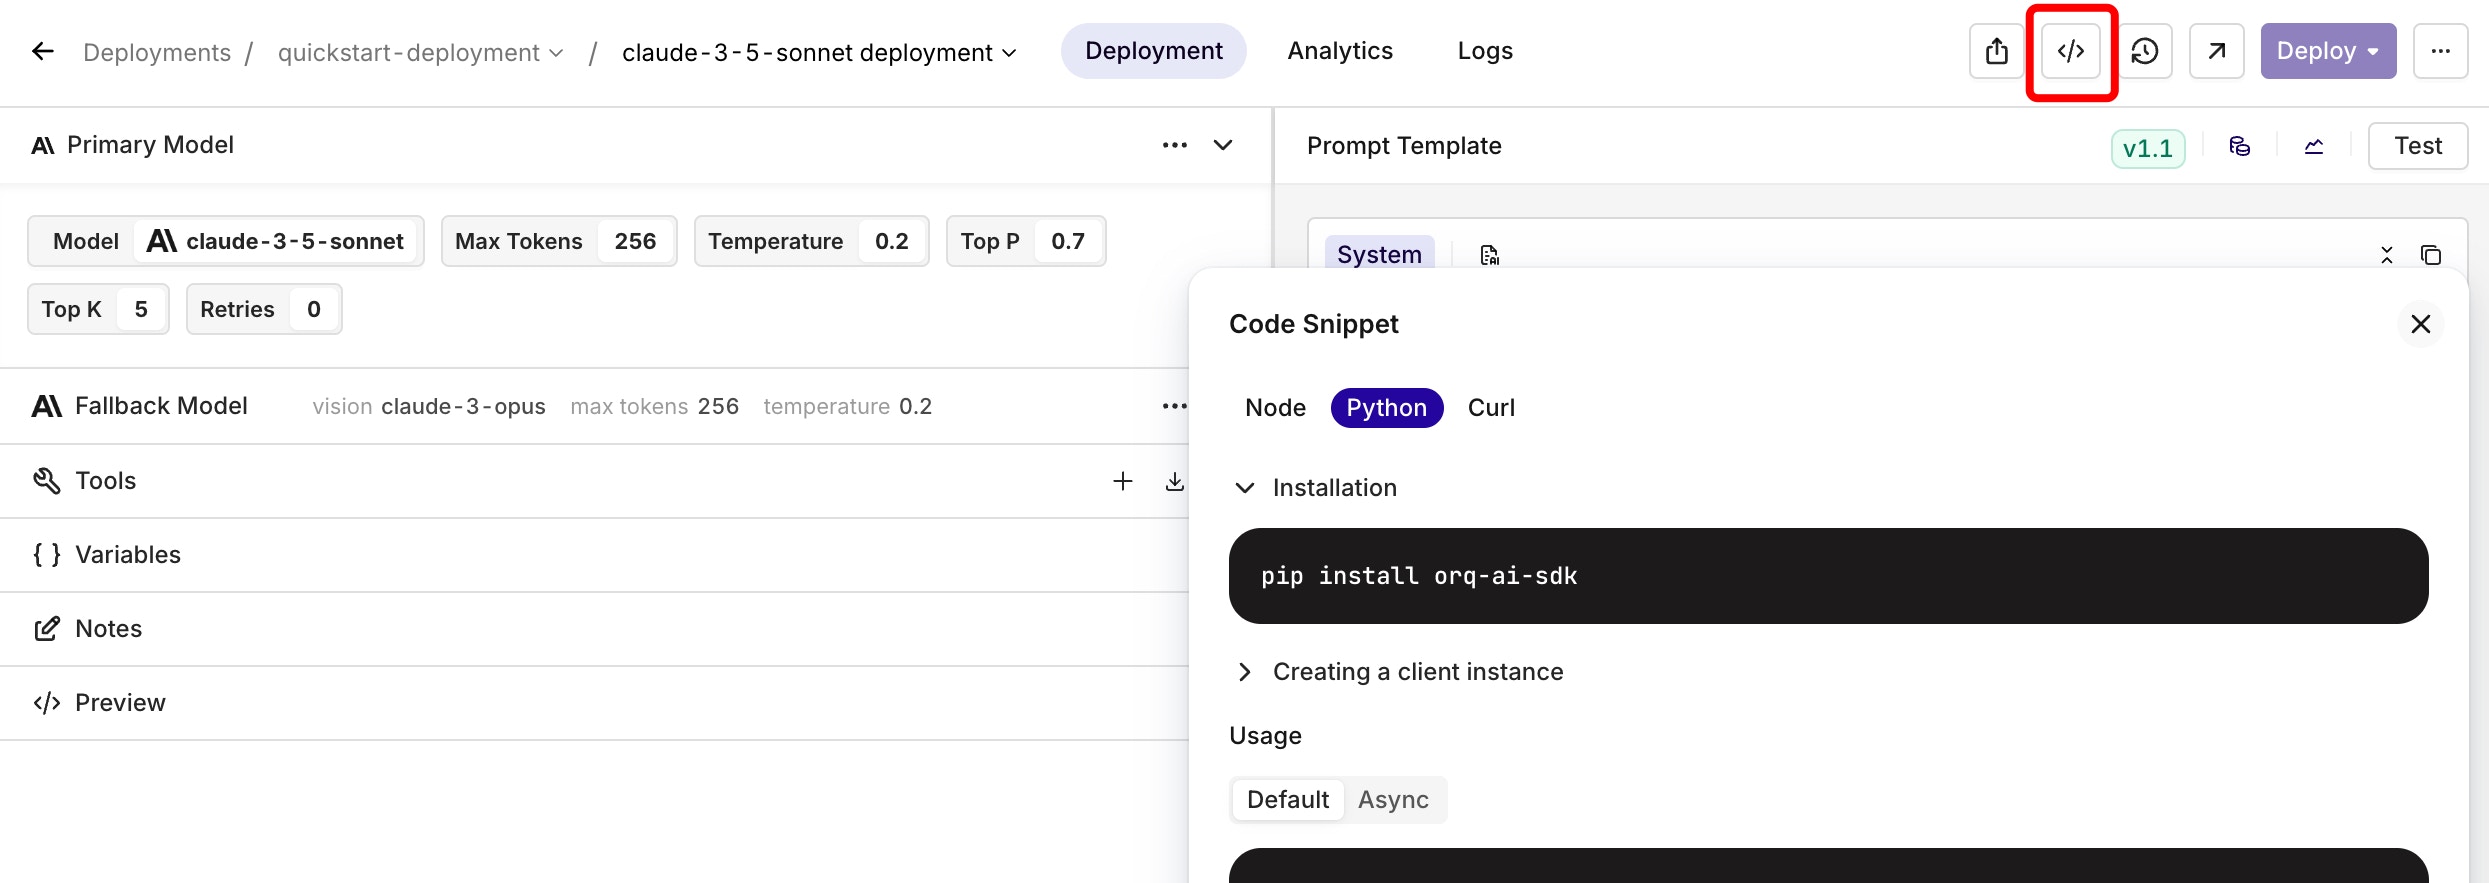
Step 5: Get an API Token
An API key is needed to set up the client. This can be found within the Workspace Settings > API Keys menu.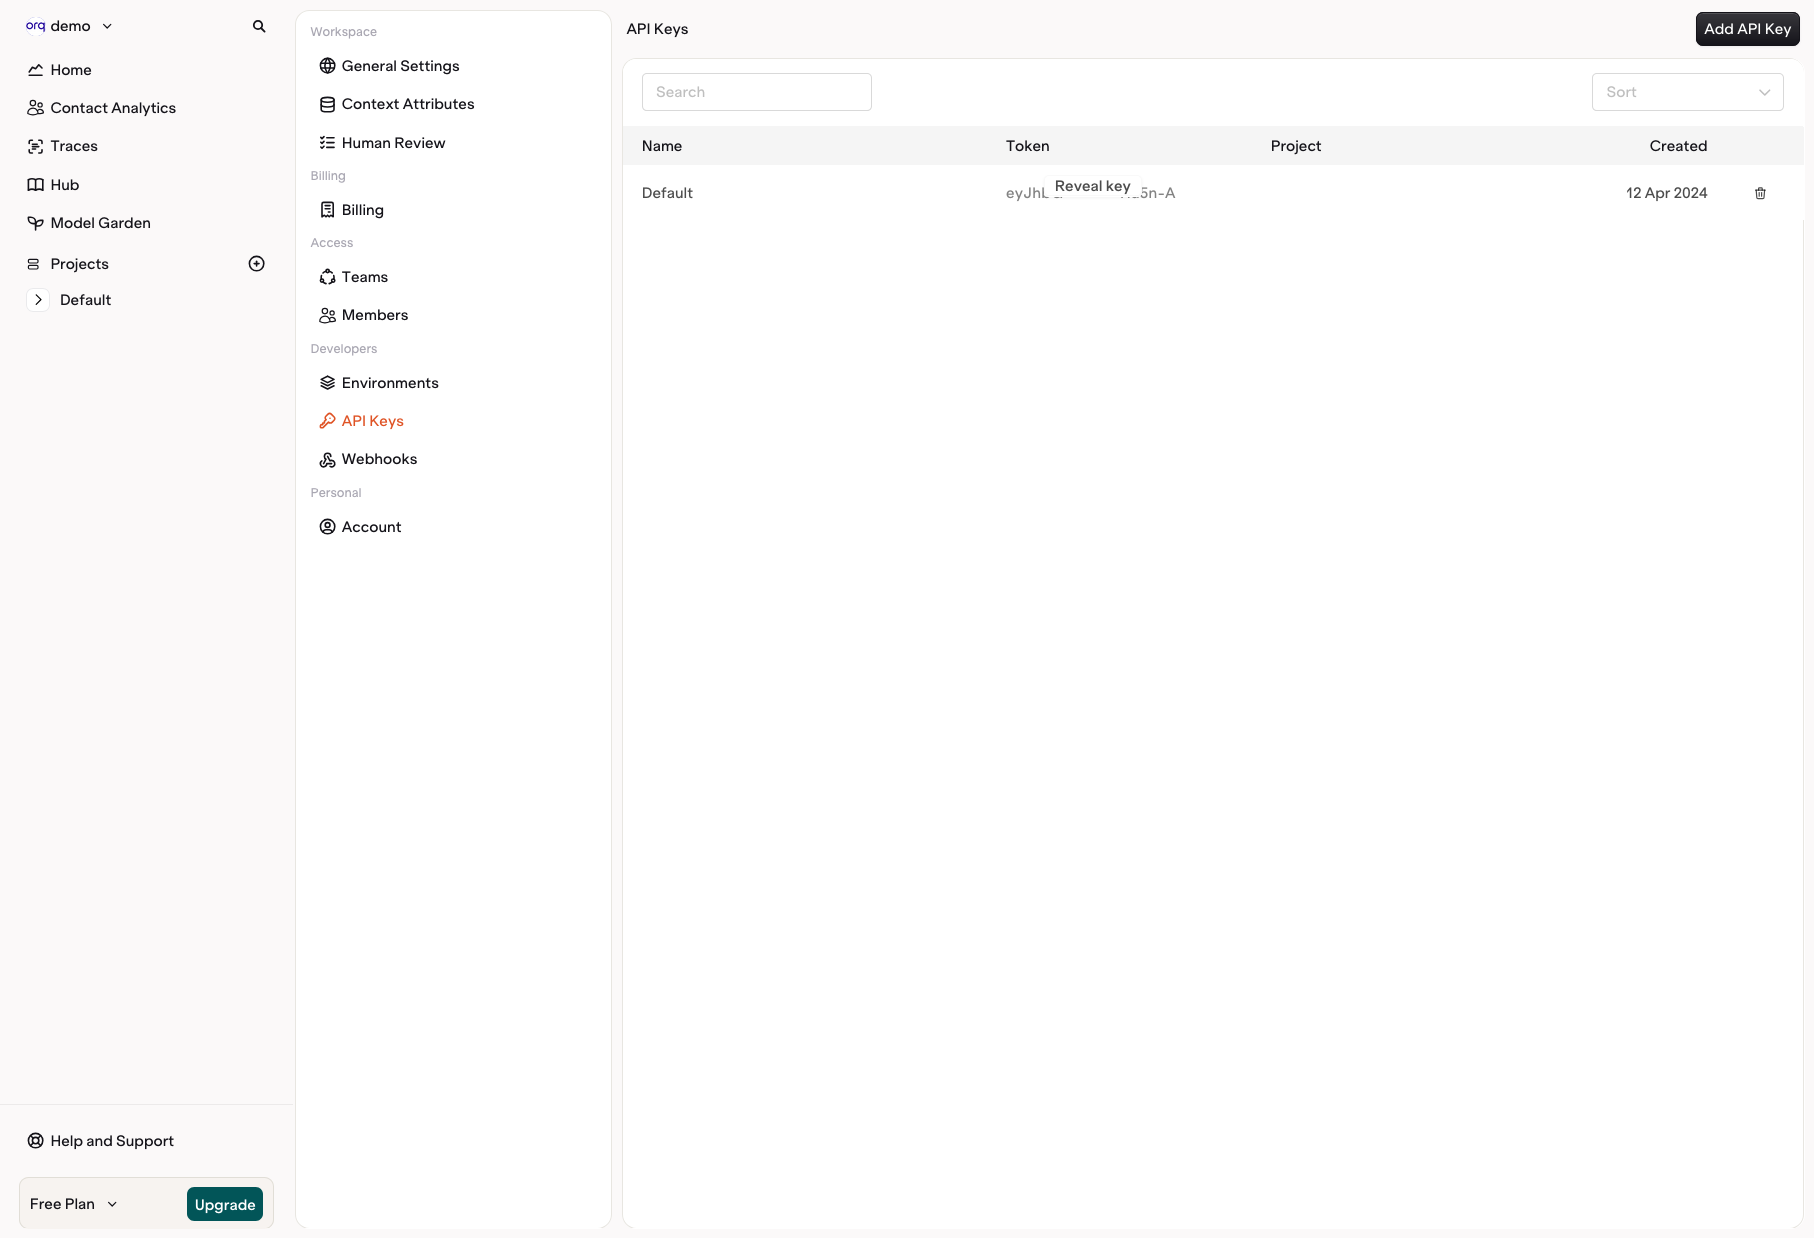
To learn more about API Authentication, see Authentication.
Step 6: Use the SDK to invoke a Deployment
Once the API Token has been saved for use, refer back to the code snippet accessed before the Deployment to fetch the code to initialize and invoke a deployment:
Don’t forget to replace <API_KEY> with the API key fetched previously.
Congratulations, the first deployment invocation with orq.ai was successfully run. To learn more about deployments and all the possibilities they offer, see Creating a Deployment.
Step 7: Track projects and costs
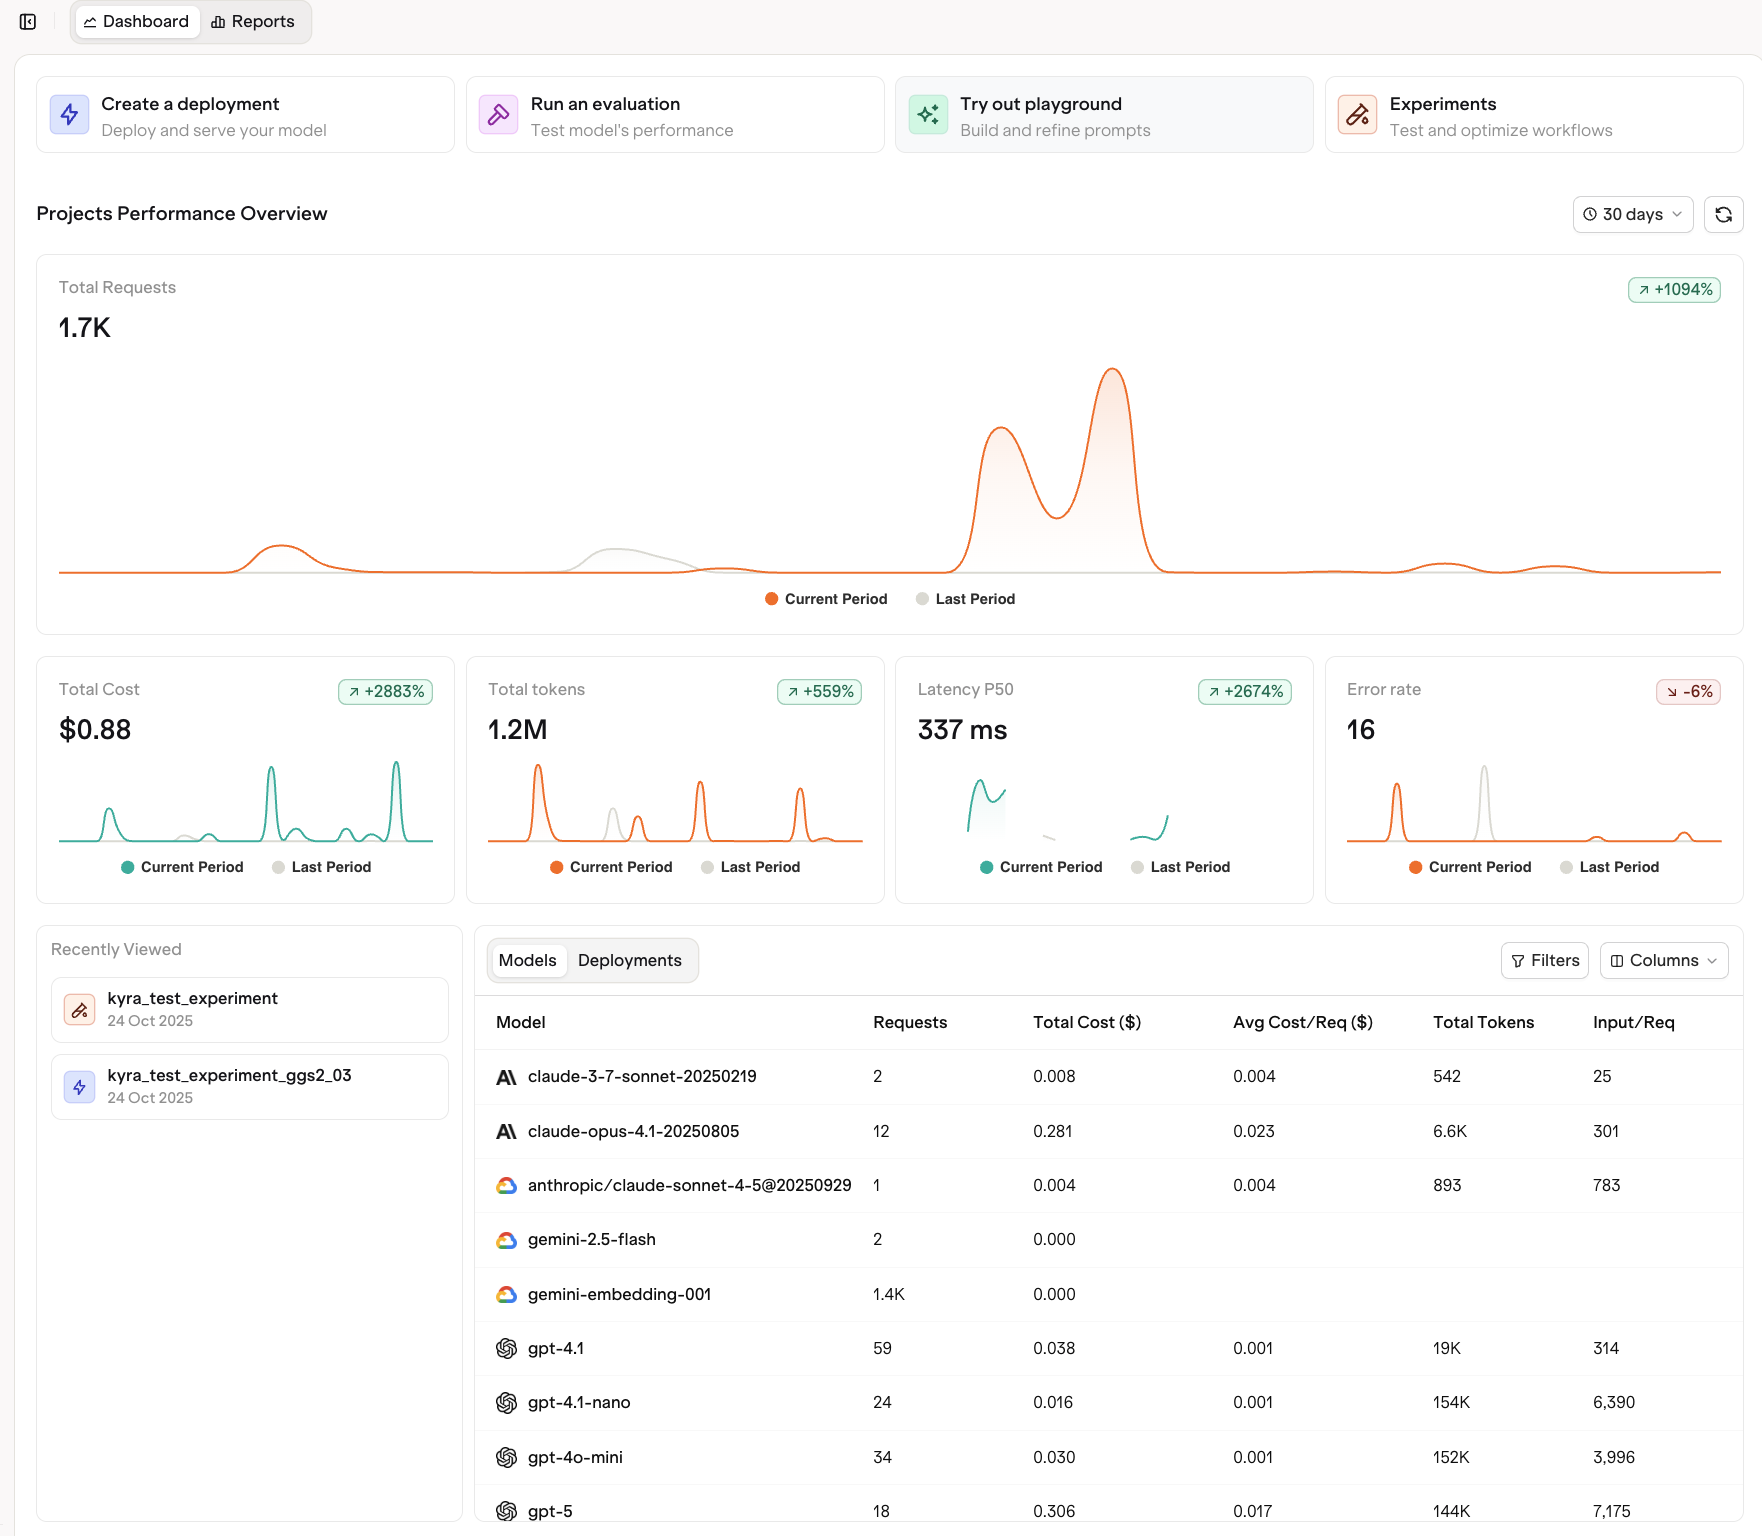
Identities can also be created using the SDK. See how with the Node SDK and Python SDK.
To learn more about Identities and the resulting Analytics, see Using Identity Metrics.

