

Models
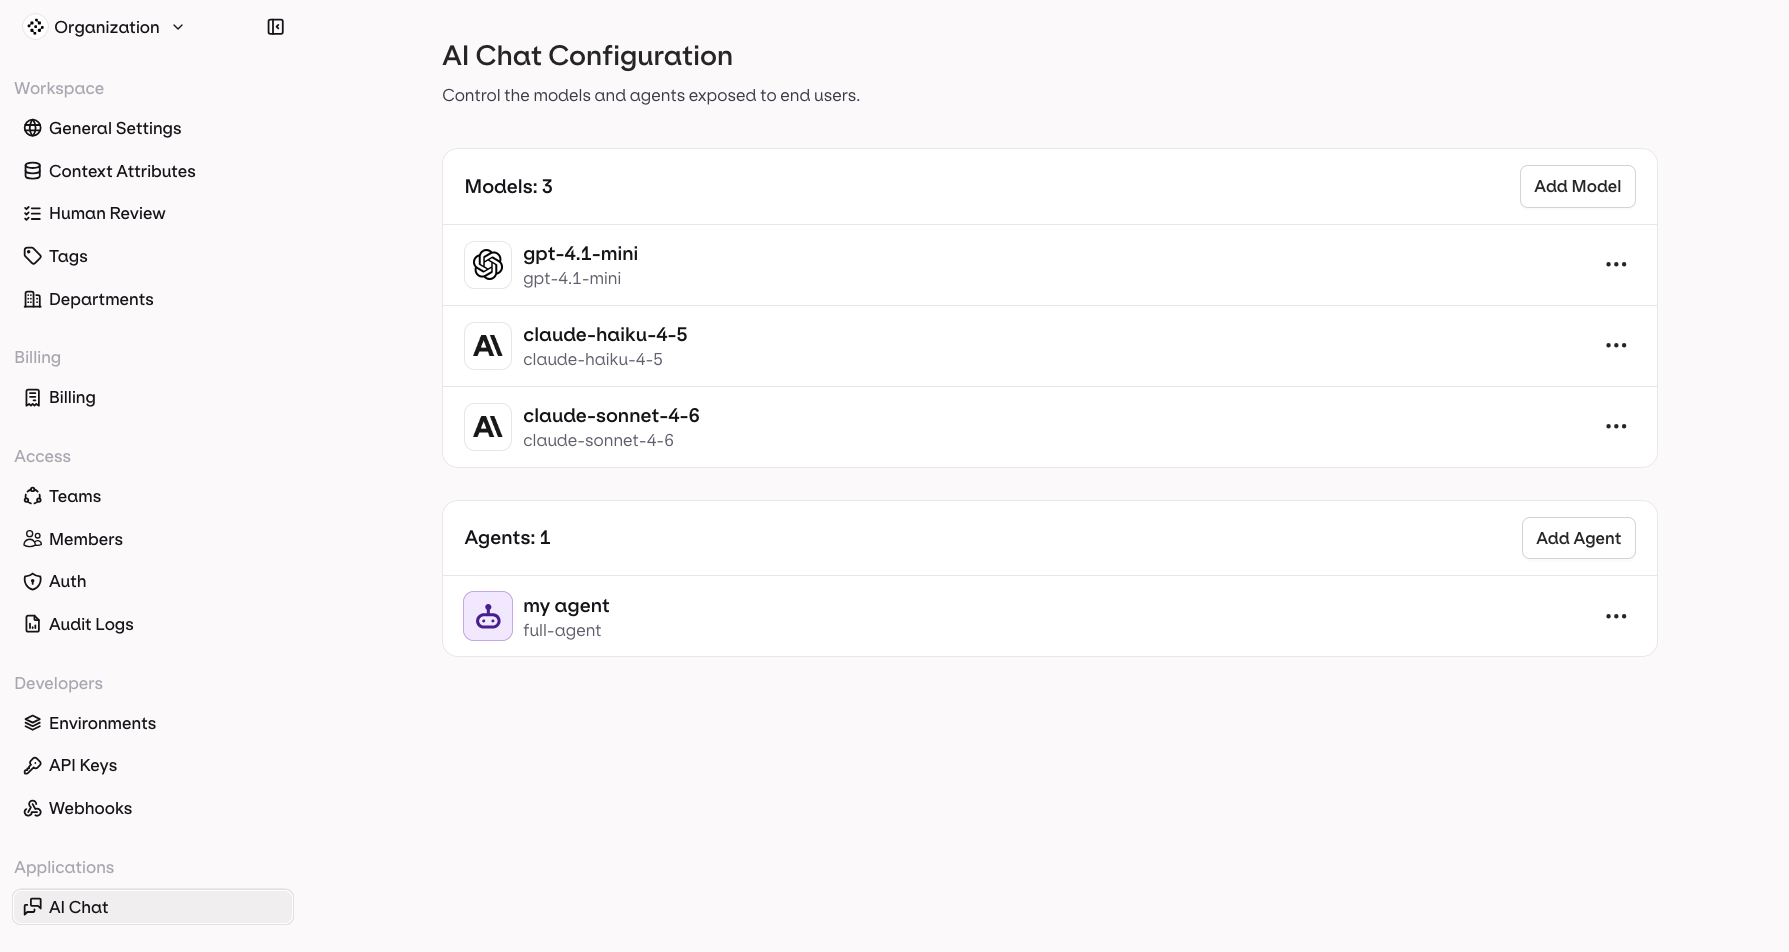
The Models section lists all models currently enabled for AI Chat. End users can select any model in this list from the chat input bar.Adding a Model
- Click Add Model in the top-right of the Models section.
- Select a model from your AI Gateway.
- Optionally give it a custom name — this is what end users see in the model selector.
- The model becomes immediately available to all users in the workspace.
Editing a Model
Click the menu next to any model to rename it or remove it. The name you set is what end users see in the model selector inside AI Chat.Removing a Model
Click the menu next to any model and select Remove to stop exposing it to end users.Agents
The Agents section lists all agents enabled for AI Chat. End users can select and chat with any agent in this list, just like a regular model.Adding an Agent
- Click Add Agent in the top-right of the Agents section.
- Select an agent from your workspace. Agents are created and managed in AI Studio.
- Optionally give it a custom name — this is what end users see in the selector.
- The agent becomes immediately selectable in the AI Chat input bar.
Editing an Agent
Click the menu next to any agent to rename it or remove it. The name you set is what end users see in the selector.Removing an Agent
Click the menu next to any agent and select Remove to hide it from end users.Only agents created in AI Studio are available to add here. See Agents to learn how to build and configure agents.