

tools tag in the AI Gateway.
The following Tools are available:
Function Tool
JSON Schema Tool
HTTP Tool

MCP Tool
Python Tool
Choosing a tool type
Orq.ai executes every tool type except Function: the model calls the tool, the platform runs it, and the run continues without the application being involved. A Function Tool is the one that gets handed back. The platform returns the call and waits for the application to execute it and send the result, which makes it the escape hatch for anything the platform cannot reach on its own. Pick a Function Tool when the code needs the application’s own environment: a database connection, an internal client library, credentials that never leave the application, or logic that no single request can express. An HTTP Tool is less work when the capability is already a REST endpoint, because Orq.ai makes the request. An MCP Tool removes the schema work entirely for anything already behind a Model Context Protocol server. Small self-contained logic can go in a Python Tool, which runs on the platform with no application code at all.Function Tool
A Function Tool lets the model call custom code that runs in the application invoking the agent, not on the Orq.ai platform. Use it for database queries, internal APIs, or any logic that requires access to the application’s environment. The worked example below runs the whole flow end to end, and Use Tools documents the request and response shapes field by field. The name refers to how the tool is defined, a function signature described with JSON Schema, and not to function calling in general. Every tool type on this page is exposed to the model through function calling. Only this one is executed by the caller.- AI Studio
- API & SDK
- CLI
 AI Studio
Add a new Tool to a Project

Select Function Tool
Enter Tool Details
- Key, used by models to reference the tool
- Name, used in the studio to find the tool
- Description, used to describe the tool
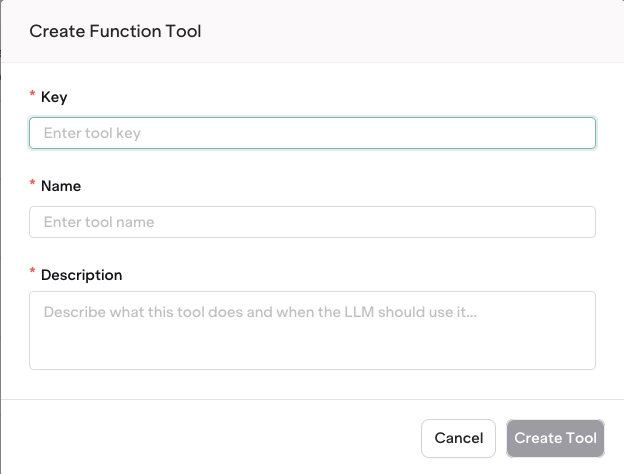
Configure all fields
Configure your Function Tool
get_current_weather that declares the fields location (string) and unit (string):object, string, integer, number, array, etc. The top-level type will most commonly be an object holding other properties.Learn more about all JSON types in the JSON Schema definition.PropertiesProperties are definitions of fields within an object. Here you can define any new variable. Nested properties are allowed.RequiredThe required array within an object defines which fields must be entered for a JSON payload to be validated.Publish your Tool
Worked example: an Agent that checks stock
A support Agent answers stock questions against an internal inventory database. The database is only reachable from the application, which is what makes this a Function Tool rather than an HTTP Tool.Write the tool definition
Attach the tool to the Agent
tools array in the request. Attach the tool from the Agent configuration in Studio, or by key through the API. See Function Tools.Send the request
let declaration matters in TypeScript: the loop in the next step reassigns response.The model answers with a function_call output item instead of text. See Use Tools for the exact item shape.Run the tool loop
function_call item, and the model can call tools again after seeing the results. Execute every call in the response, send all the outputs back in one continuation request, and repeat until the response contains no function_call items.inventory_db and session below are the application’s own database client and request session, not part of the SDK.out_of_stock from unknown_skus tells the model the difference between a real SKU with no stock, which is an answer, and a SKU it invented, which is a signal to look the product up again instead of reporting it as unavailable.- Validate
argumentsagainst the schema before execution. The model can send values that do not fit, and a malformedargumentsstring is a tool error to report back, not an exception that ends the run. - Keep tenant, account, and user identifiers out of the schema and supply them from the session, so the model cannot send the wrong one.
- Return tool errors as a
function_call_outputdescribing the failure so the model can recover. Reserve raised exceptions for failures the model cannot act on. - Cap the number of rounds so a model that keeps calling tools cannot loop indefinitely.
{"type": "orq:function", "tool_id": "..."} in the request tools array and repeat that array on every continuation request. Tool Calling covers the model-level patterns in depth, including parallel execution and retries.
JSON Schema Tool
- AI Studio
- API & SDK
- CLI
Add a new Tool to a Project
Select JSON Schema Tool
Enter Tool Details
- Key, used by models to reference the tool
- Name, used in the studio to find the tool
- Description, used to describe the tool
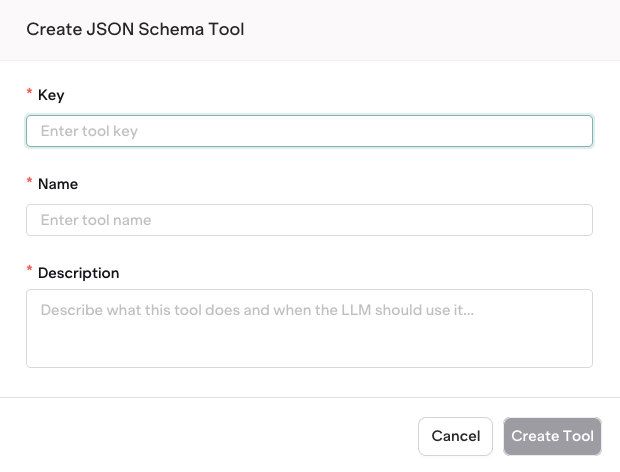
Configure all fields
Configure your JSON Schema Tool
get_current_weather that declares the fields location (string) and unit (string):object, string, integer, number, array, etc. The top-level type will most commonly be an object holding other properties.Learn more about all JSON types in the JSON Schema definition.PropertiesProperties are definitions of fields within an object. Here you can define any new variable. Nested properties are allowed.RequiredThe required array within an object defines which fields must be entered for a JSON payload to be validated.Publish your Tool
HTTP Tool
- AI Studio
- API & SDK
- CLI
{{variable}} syntax to inject dynamic values into any field.Add a new Tool to a Project
Select HTTP Tool
Enter Tool Details
- Key, used by models to reference the tool
- Name, used in the studio to find the tool
- Description, used to describe the tool
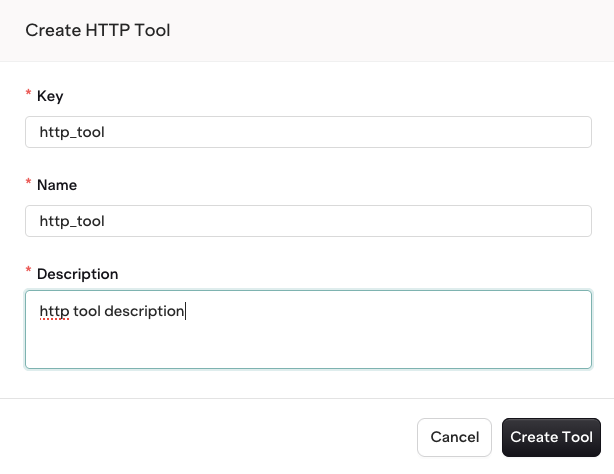
Configure all fields
Configure your HTTP Tool
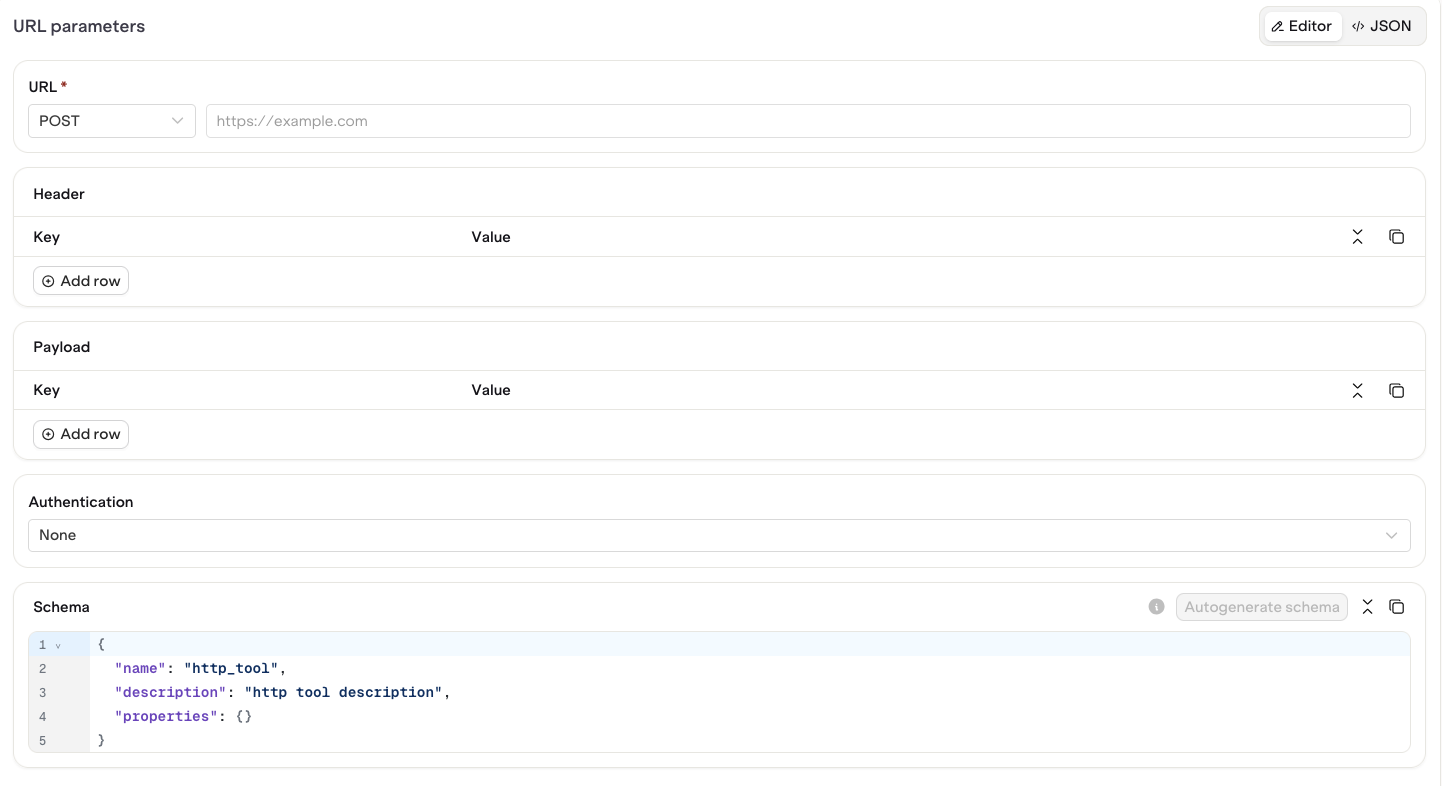
Configure your HTTP Tool
{{variable}} syntax within any configuration field. The variable will be resolved at runtime when the payload is built for the HTTP call.Autogenerate Schema when using variables to ensure variable definition is correctly created.Publish your Tool
MCP Tool
- AI Studio
- API & SDK
- CLI
Add a new Tool to a Project
Select MCP Tool
Enter Tool Details
- Key, used by models to reference the tool
- Name, used in the studio to find the tool
- Description, used to describe the tool
- MCP Server URL, a valid MCP server endpoint
-
Header, key-value pairs sent with every request to the MCP server. Use
{{variable}}syntax for sensitive values such as API keys.
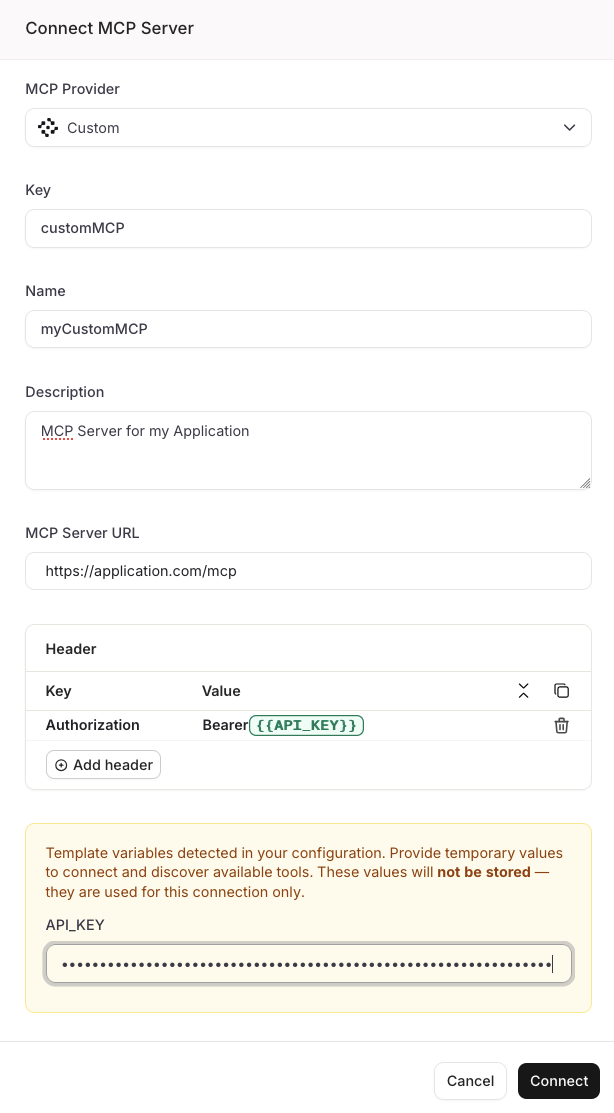
Configure all fields
{{variable}} placeholders.When template variables are detected, a prompt appears below the form asking for temporary values. These values are used only to connect to the MCP server and discover its available tools. They are not stored after the connection.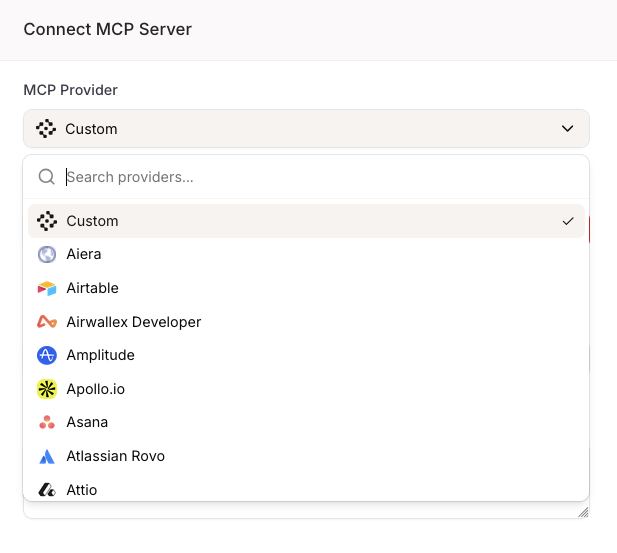
Select a provider to pre-fill connection details
View all supported providers
View all supported providers
View your MCP configuration
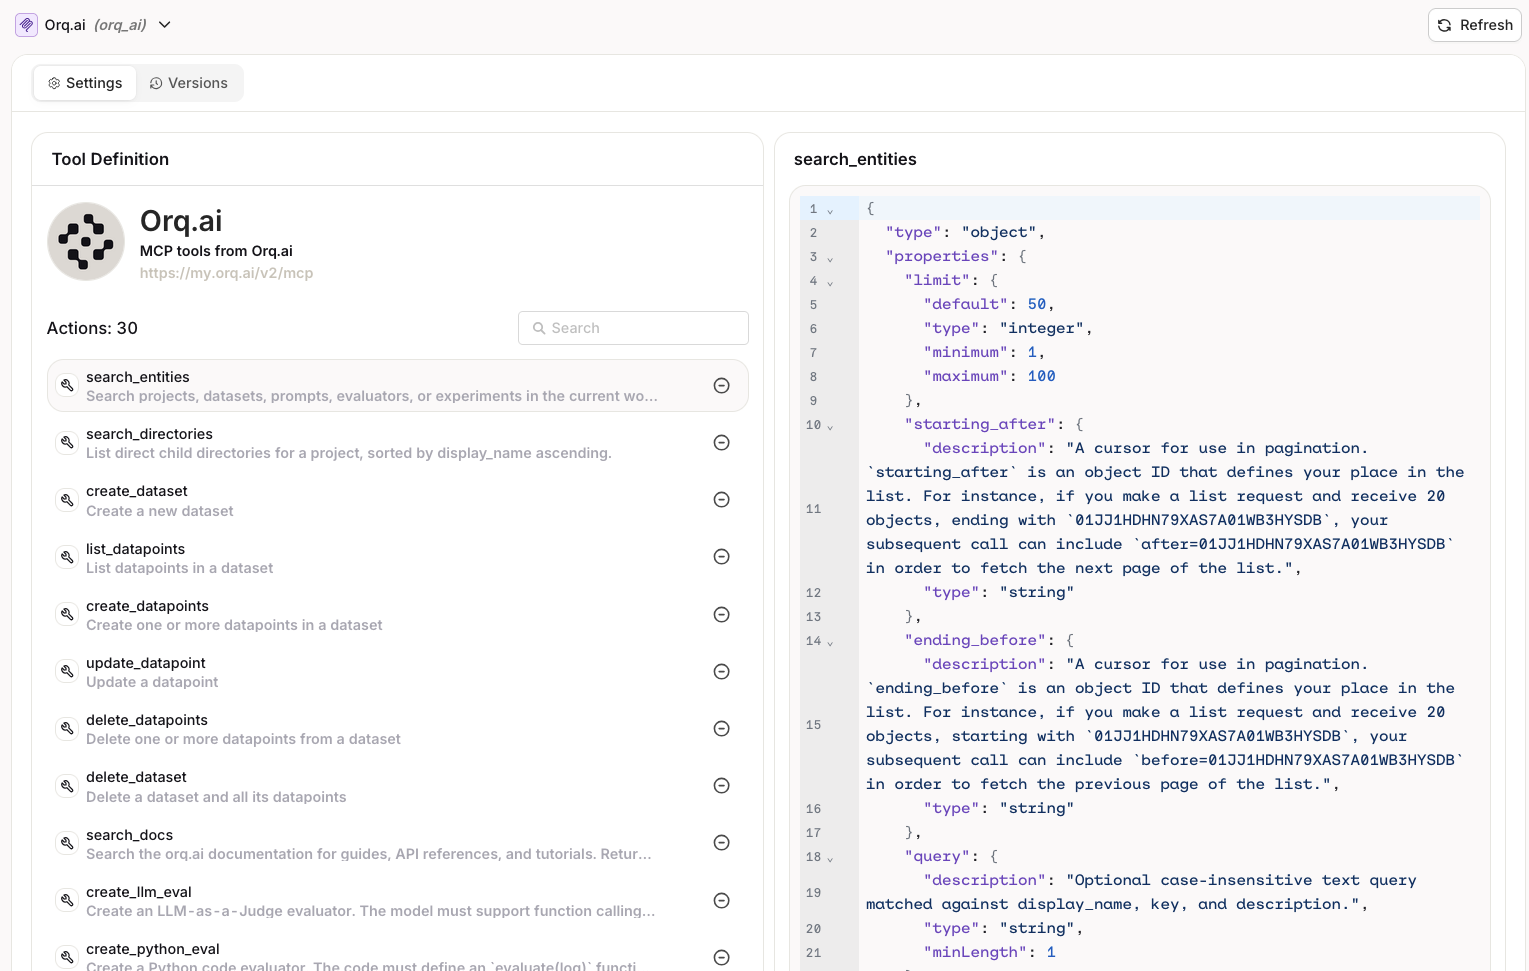
View MCP Tool Actions
Python Tool
Code exceeds maximum size error and does not run.- AI Studio
- API & SDK
- CLI
params and store the result in result.Add a new Tool to a Project
Select Python Tool
Enter Tool Details
- Key, used by models to reference the tool
- Name, used in the studio to find the tool
- Description, used to describe the tool
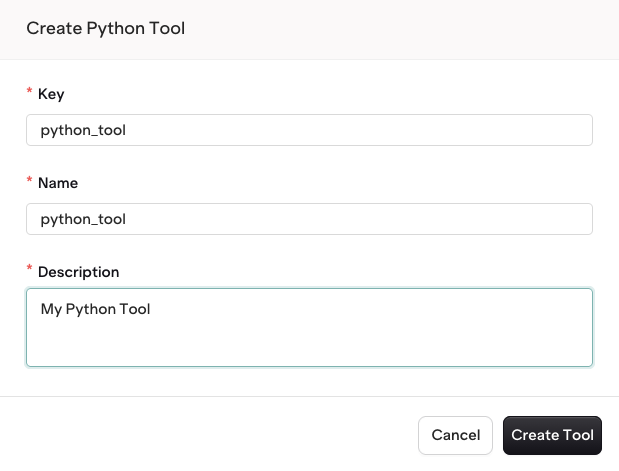
Configure all fields
Configure your Python Tool
name field defined and then further fetched using params.get('name').Ensure your return value is stored within the result field.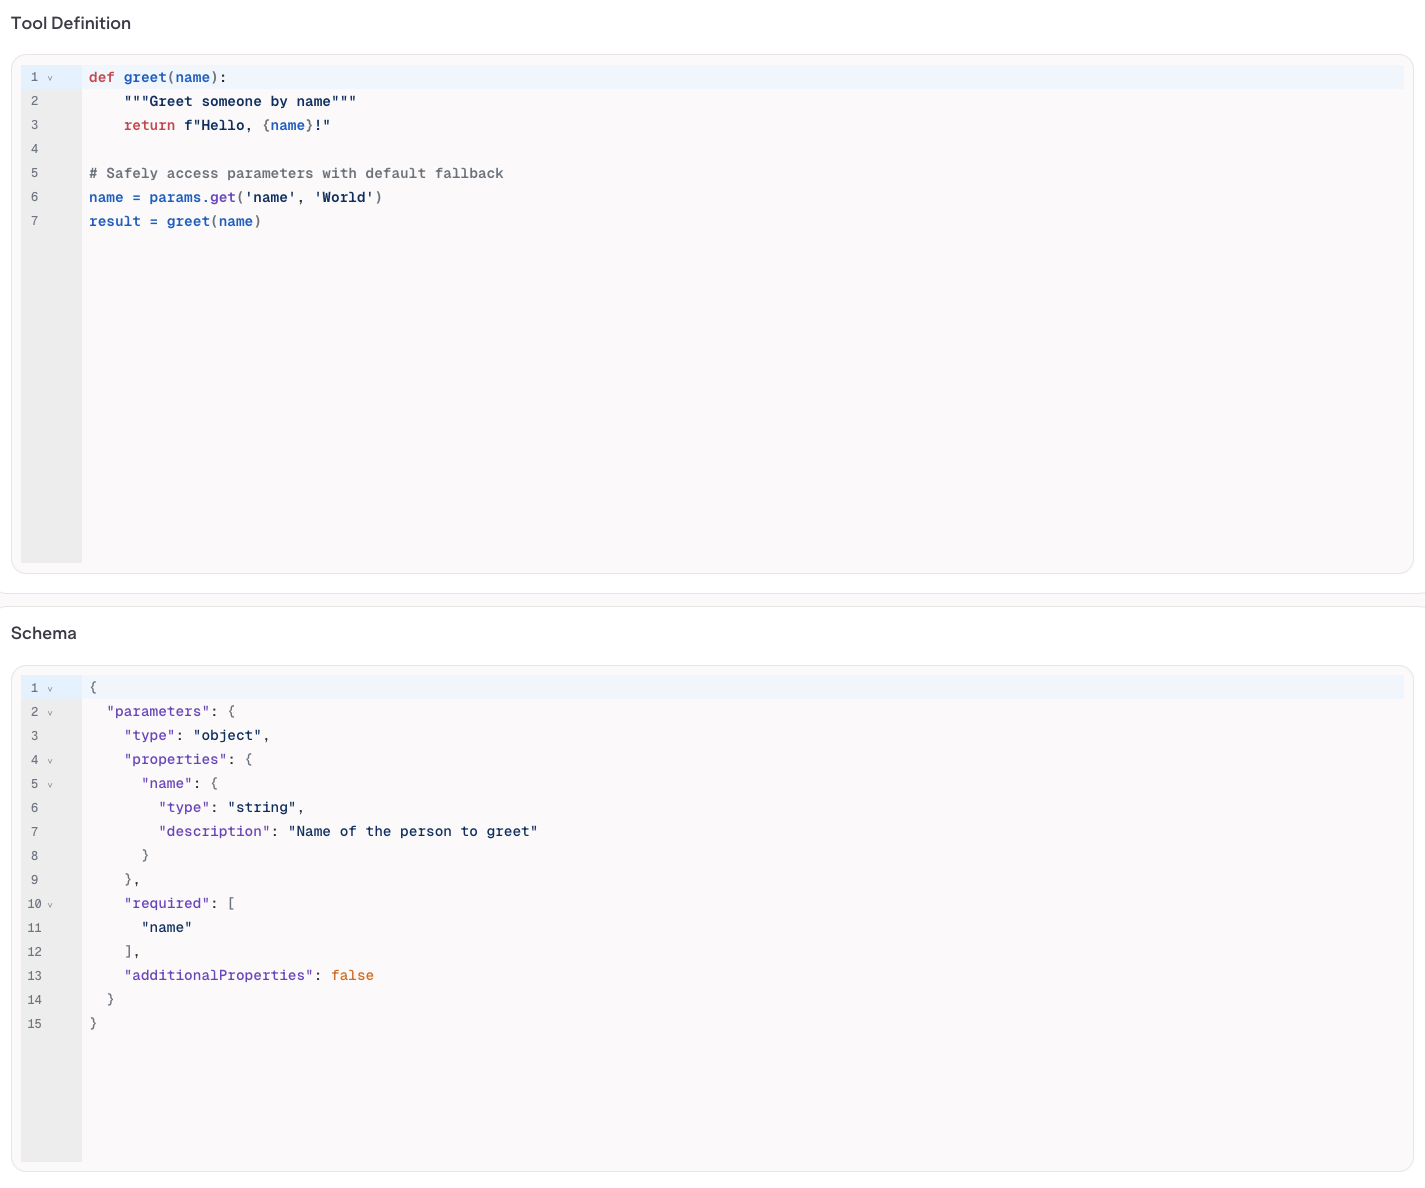
Configure your Python Tool
Publish your Tool
Versions
When you are done editing, click Publish to save your changes. You will be prompted to write a commit message and choose a version bump: major, minor, or patch.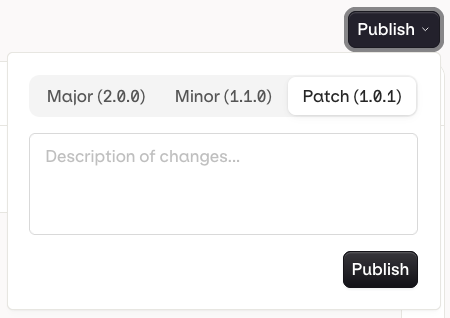
Publish a new version of your Tool
- Patch (e.g.
v1.0.0tov1.0.1): small fixes, no behavior change - Minor (e.g.
v1.0.0tov1.1.0): new functionality, backwards compatible - Major (e.g.
v1.0.0tov2.0.0): breaking change or significant rework
v1.0.0, v1.1.0) and each entry shows the author and publish timestamp.
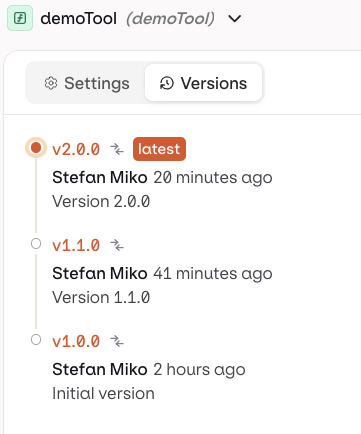
Version history in the Versions tab
Using Tools
Agents
Agents
key in the settings.tools array. Your agent’s instructions must explicitly describe each tool and when to use it.Deployments
Deployments