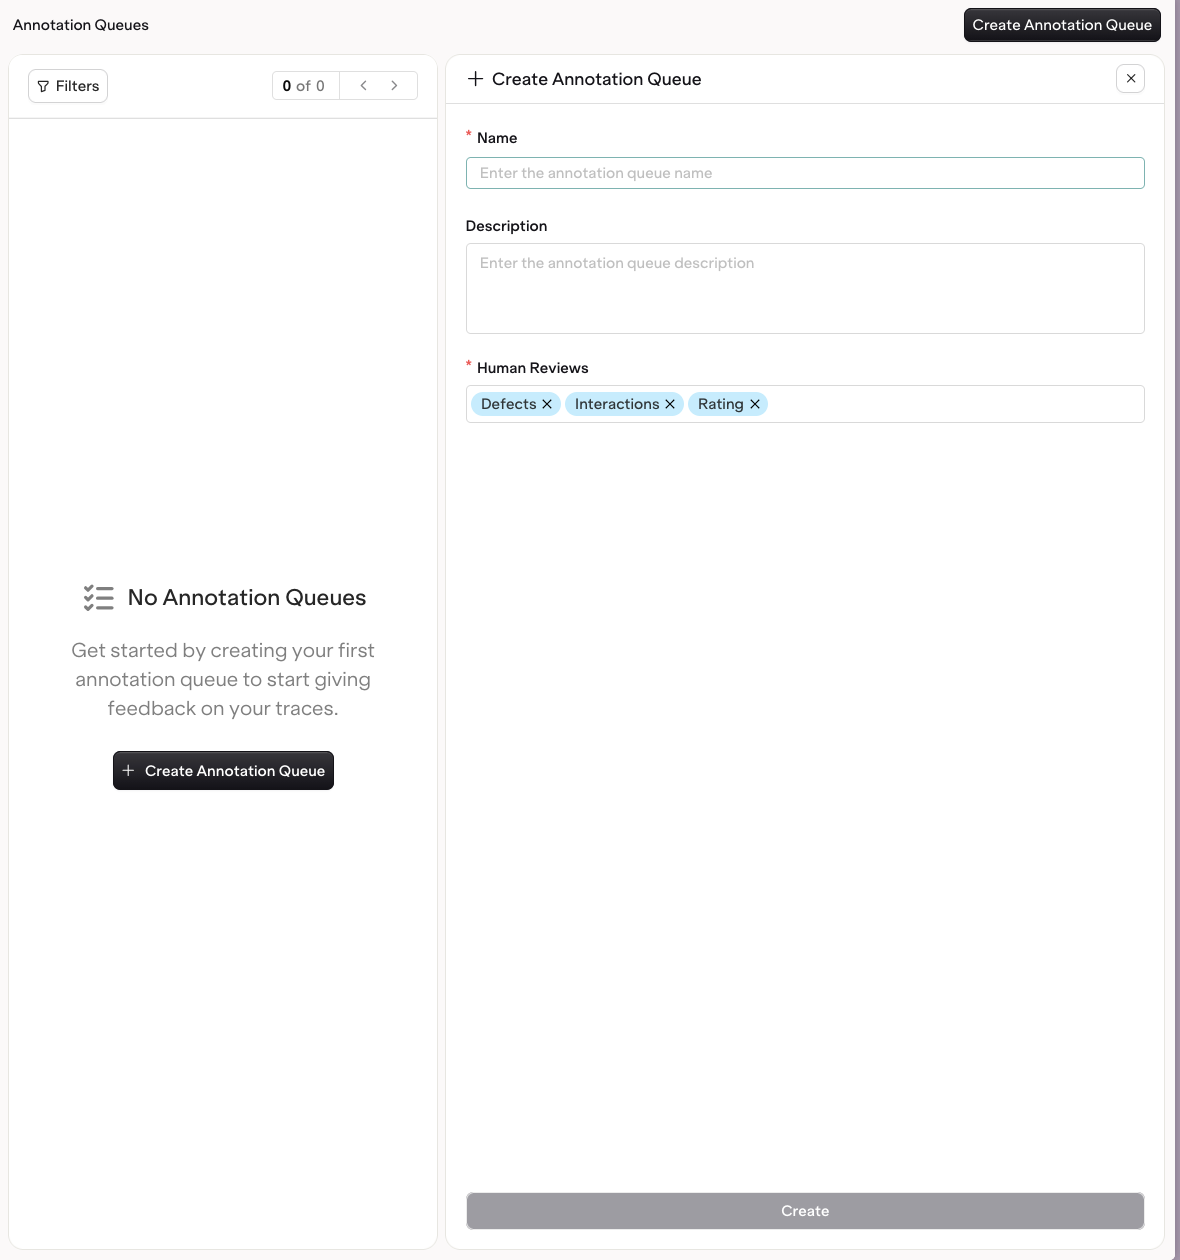
Organize production traces into annotation queues in AI Studio to review LLM outputs and apply human feedback annotations in bulk.
Annotation Queues organize Traces into review workflows so Annotations can be applied in bulk in AI Studio. To define annotations and apply them individually, through the API and SDK, or the CLI, see Annotations.
Once a queue exists, fill it with the Traces to review. Traces can be added automatically or manually.
Automatically
Manually
Use Trace Automations to route Traces into a queue based on configured rules. Add an Add to Annotation Queue action to an automation and select the target queue. As matching Traces arrive, they are added to the queue without manual effort, which keeps a steady stream of relevant Traces ready for review.
An automation with an Add to Annotation Queue action routing matching Traces into a queue.
Open a Trace, select a span, and choose Add to annotation queue to send it to a queue one at a time. This is useful for ad hoc review of specific Traces that are worth a closer look.
The Add to annotation queue button on a selected span in the Traces view.
Open an Annotation Queue to step through its Traces one at a time in the review screen.
Annotation Queue review screen. Left: Inputs, Metrics, and Task. Center: the full interaction. Right: the Annotations panel.
The screen is divided into three panels:
Left: details for the selected Trace.
Inputs: the variables mapped to inputs, when configured.
Metrics: latency, cost, and token usage.
Task: the model, provider, and other configuration parameters.
The header shows the current position, the total number of items in the queue, and how many have already been reviewed.
Center: the full interaction for the selected Trace.
Right: the Annotations panel with the Annotations configured for the queue, such as a rating with categorical buttons or an open comment field. Selecting a value saves immediately and marks the Trace as reviewed.
Navigate between items with K (previous) and J (next), or use the up and down buttons at the top left.When a data point is worth reusing, select Add to dataset to send the Trace to a Dataset for use in a future Experiment.
Adding a Trace to a Dataset does not copy its annotations for now. The annotation values stay on the originating Trace, where they remain queryable via the Orq MCP.
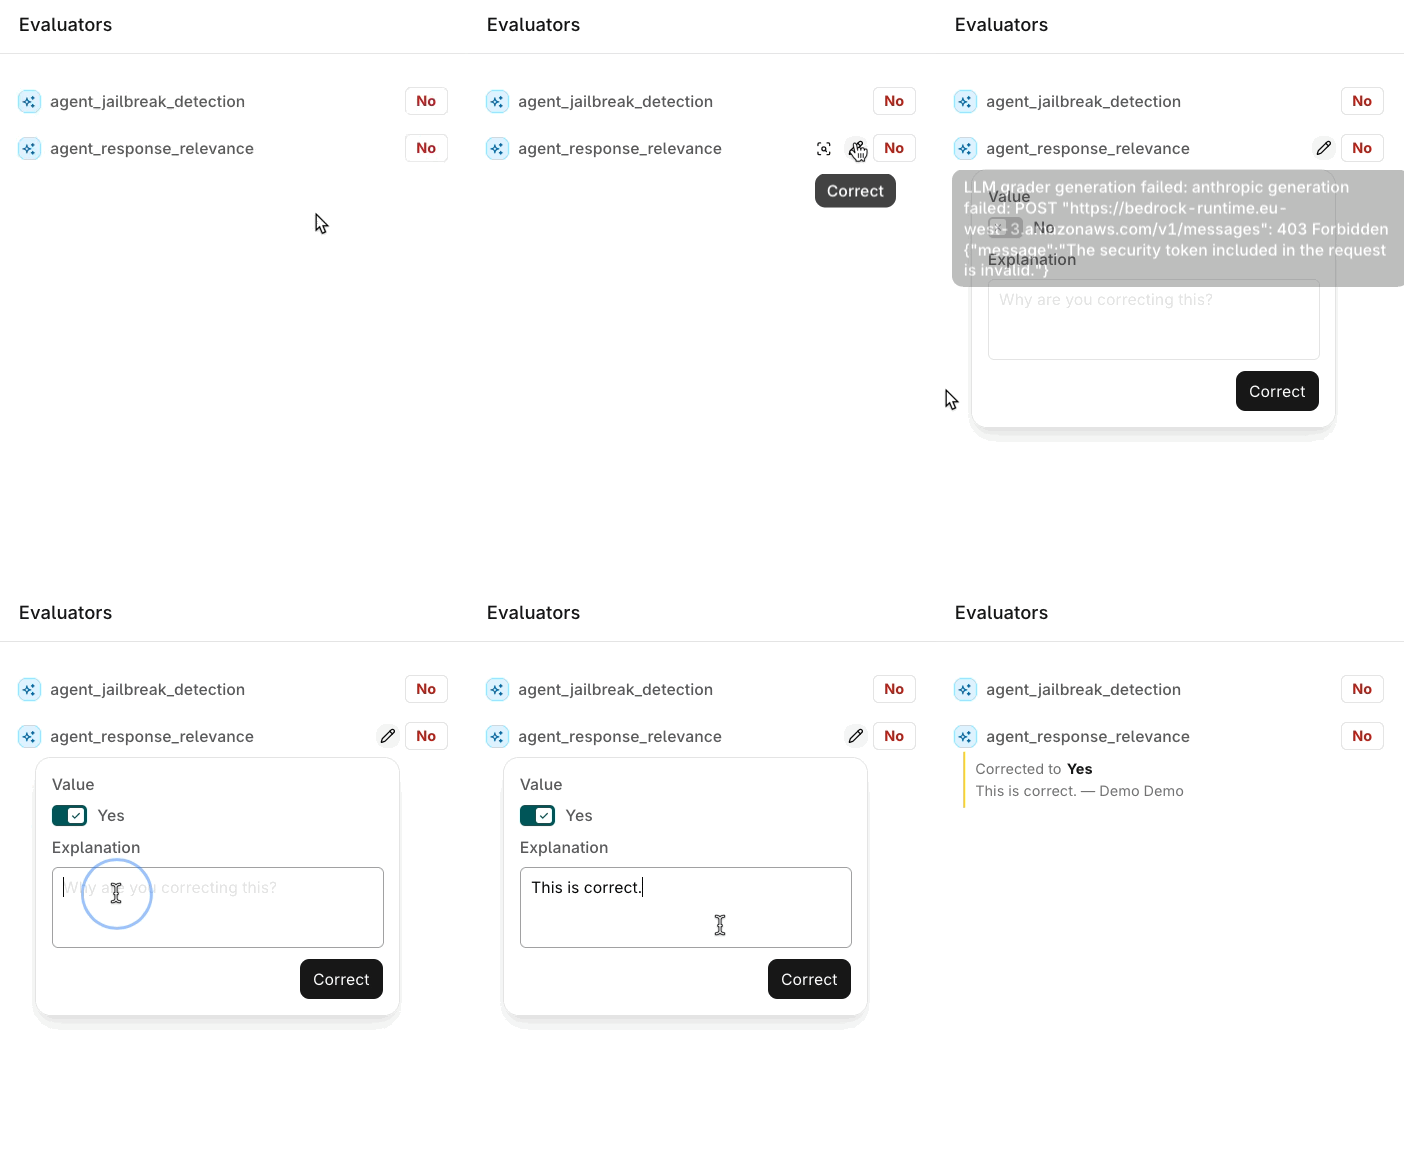
Evaluator results shown in the review screen can also be corrected, not just annotated.
Correcting an Evaluator result in the review screen.


 AI Studio