AI Studio
 Control Tower
 AI Router
Creating a Dataset
To create a new Dataset use the+ button on a Project Folder and select Dataset.
Once you enter a title for your dataset you will be taken to the Table View for your Dataset.
Your table has 3 columns:
- Inputs.
- Messages.
- Expected Outputs.
Adding an entry to the Dataset
To manually add a new entry click on theAdd Row button. Here by clicking on each cell, you can fill in corresponding data.
Importing a CSV into a Data
To easily import Datasets you can choose to upload a .csv file containing your messages and reference details. To do so, choose Import and drag-and-drop your file. You will then be able to configure the mapping from column in your csv to fields in the Dataset collection. Each row represents a separate dataset entry.Creating an Experiment from Dataset
The next step to use a Dataset is to create an ExperimentTo learn more about creating an Experiment, see Creating an Experiment.
Creating an Image Dataset
To create a dataset with images using the Orq Studio UI, start by creating a dataset and then add messages with images.Adding Images to Messages
When adding a message to your dataset, you can include images to create image-text paired datapoints:- Add a message by clicking the message cell in your dataset row
- Click the Add image button in the message editor

- Choose how you want to provide the image:
- Upload locally: Select an image file from your computer
- Enter URL: Paste an image URL directly


Supported Image Formats
The following image formats are supported:- JPEG (
.jpg,.jpeg) - PNG (
.png) - GIF (
.gif) - WebP (
.webp)
Working with Image-Text Pairs
Each message can contain:- Text content (your prompt or instructions)
- One or more images
- Image analysis
- Visual question answering
- Image captioning
- Object detection descriptions
For programmatic dataset creation with images via API, see Creating an Image Dataset via API.
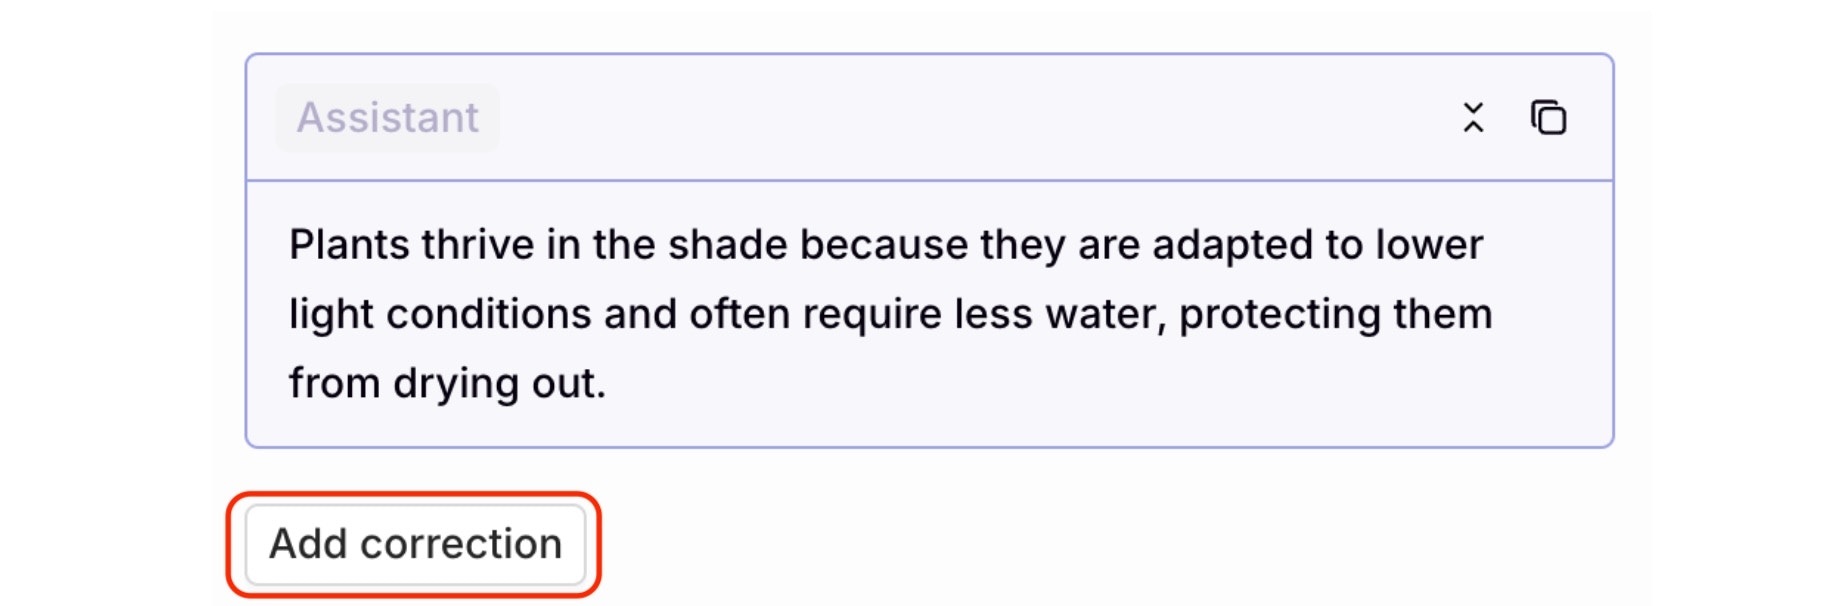
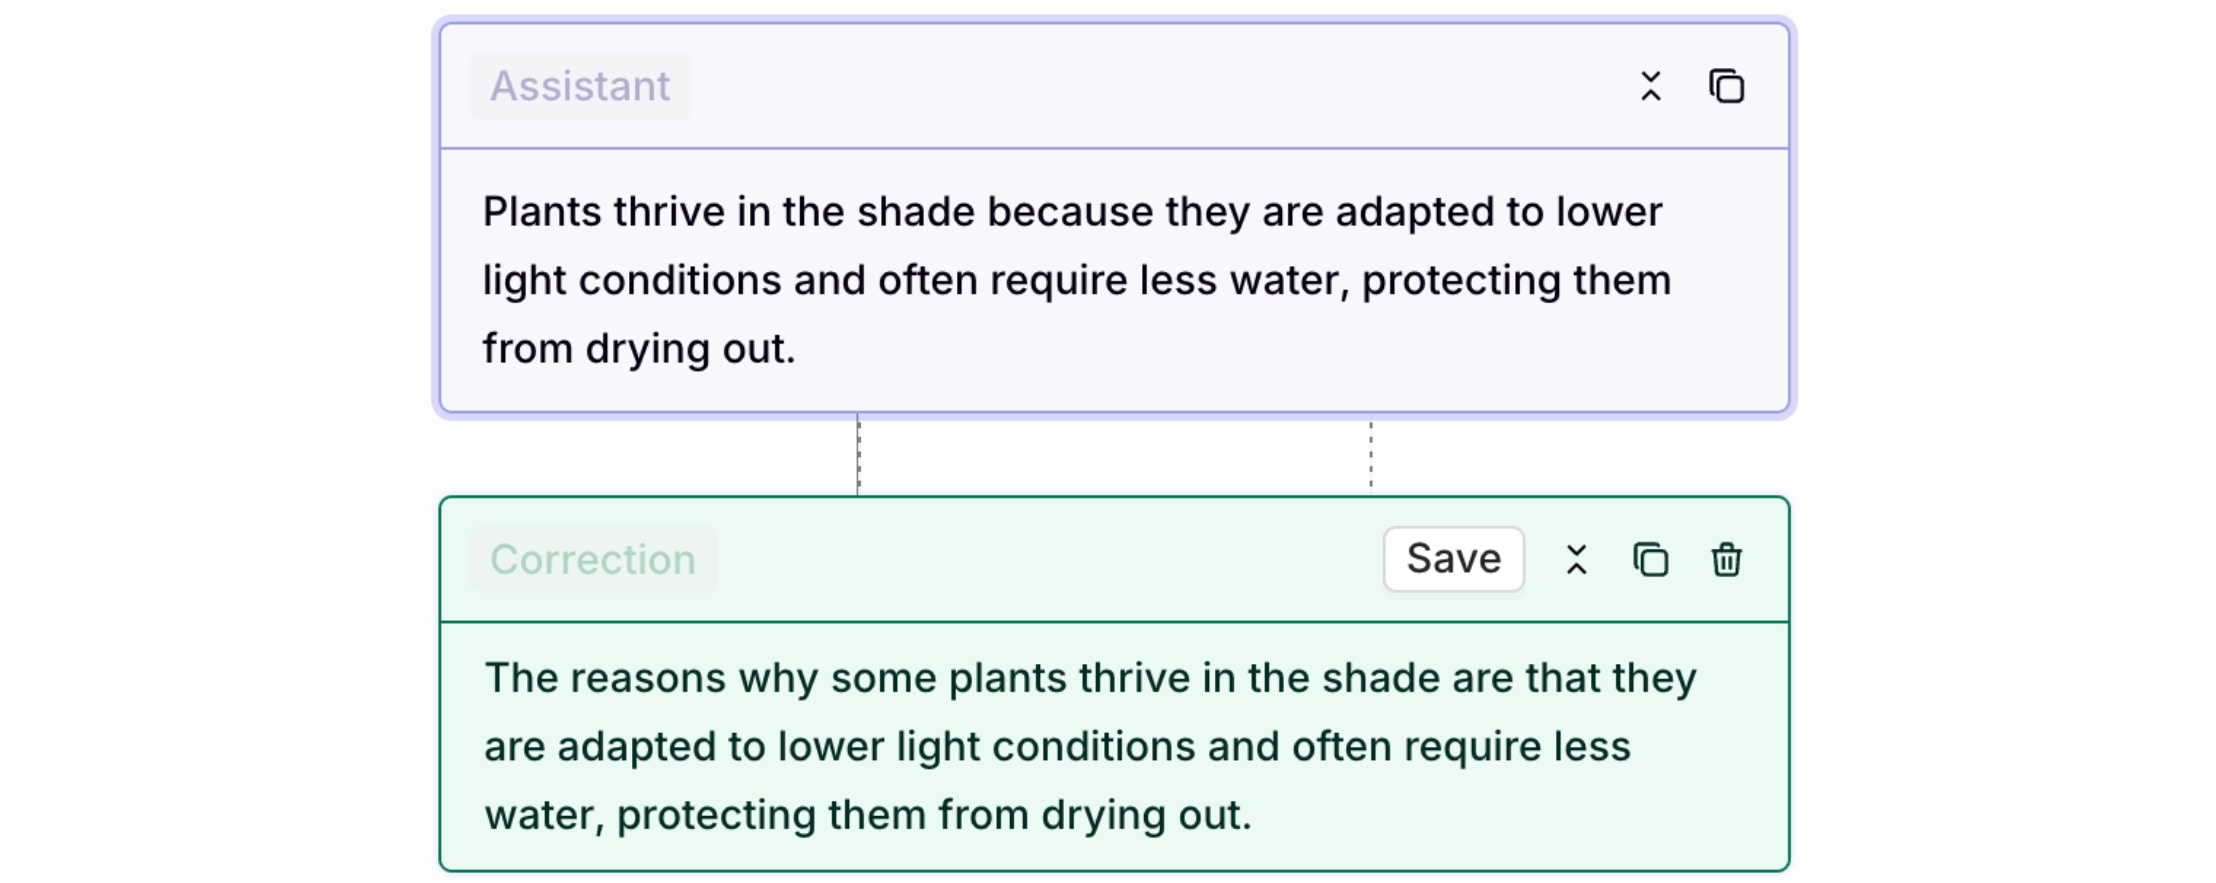
Creating a Curated Dataset
A normal dataset consists of a prompt and an attached reference. Within Orq.ai you have the ability to create curated datasets. Curated datasets are human-evaluated input and output sets. In other words, you have a set with a prompt with an expected output. These curated datasets can be used to fine-tune a model. Because you’re providing a model with specific examples, you can help tune its behavior more precisely to your needs. Within any module, by choosing the Logs tab and then selecting a single Log, the Feedback panel will be displayed on the right. A domain expert can review the logs to verify and correct the output. To add a correction, find the Add correction button: