

- Each employee can be invited as a Member
- A Member has one of three roles: Admin, Developer, or Researcher
- Members can be grouped into Teams
- Teams are assigned access to Projects
Managing teams and project assignment is available from the Growth plan and above. It is not available on the Developer plan.
Members
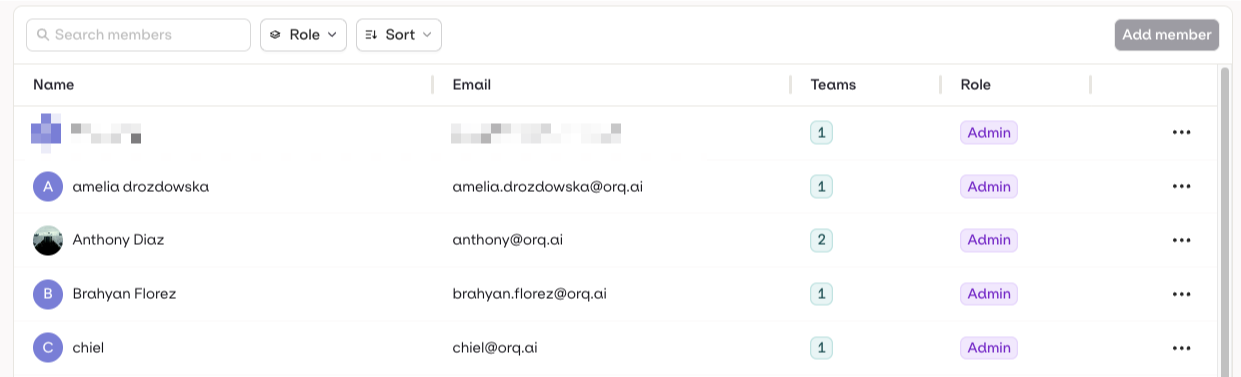
The Members overview shows all workspace members, their roles, and team assignments.
Adding a Member
On the Growth plan, you must have an available seat before inviting a new member. Manage your seats from Settings → Organization → Billing. See Seats for details.
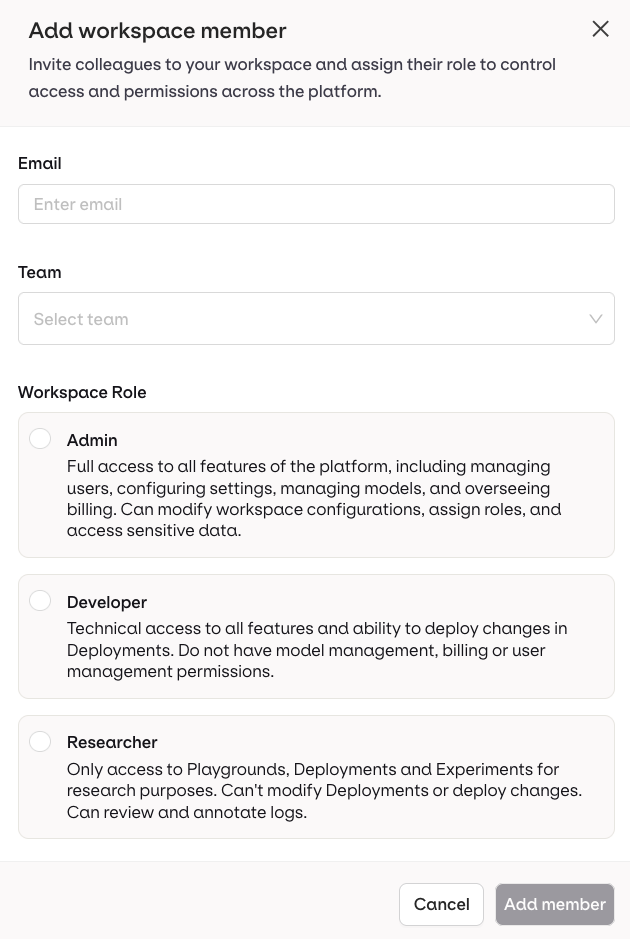
Enter the member's email, role, and team. These can all be updated later.
On the Growth plan, every member is an Admin. Developer and Researcher roles are available on the Enterprise plan only.
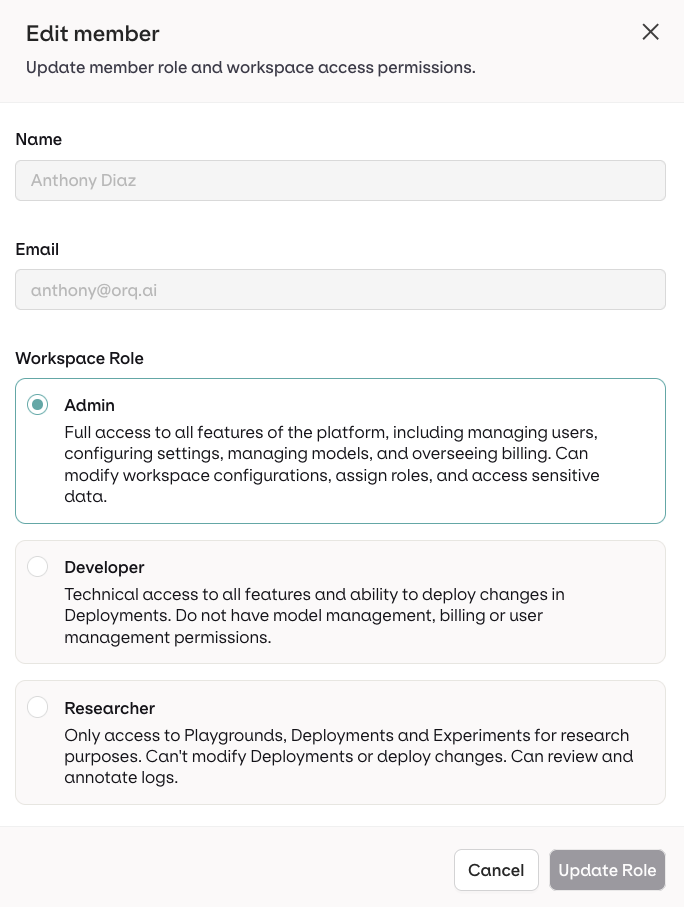
You can assign roles to members as they are created or edited.
Teams
Teams let you group members and assign them to Projects. Members use their own role within each team’s projects. This lets you model access flexibly, for example:- Developers can belong to separate teams, sharing projects or working on independent ones.
- A Researcher can be assigned to multiple teams, contributing across several deployments.
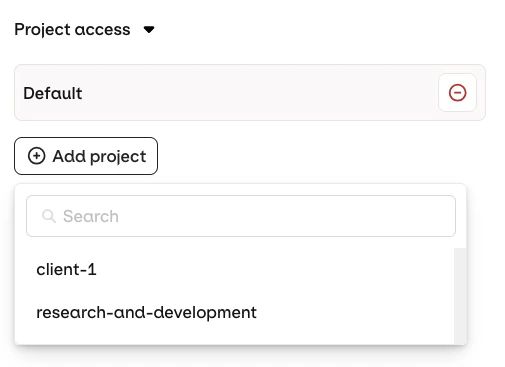
You can easily add projects to existing teams, letting teammates access new projects immediately.
Creating a Team
Go to Settings → Organization → Teams and select Add Team. Enter a name and you will be taken to the team configuration screen.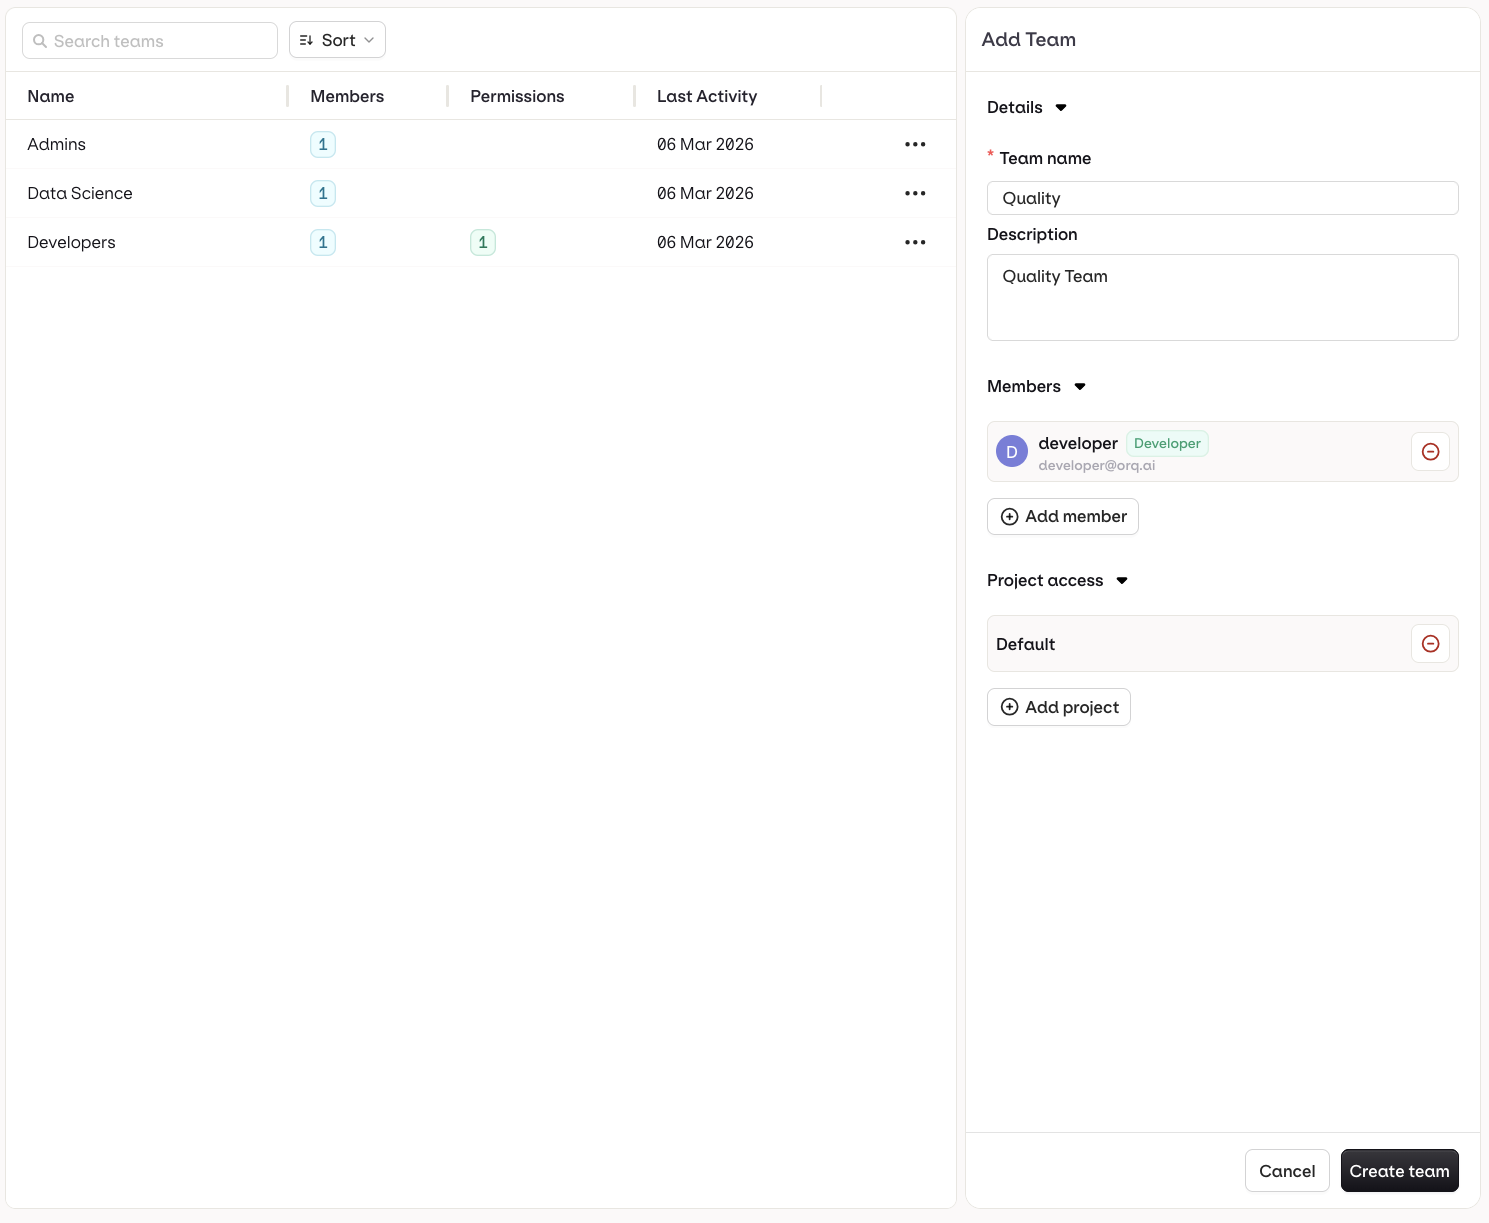
Your team configuration screen, where you can add members or configure project access.
Assigning Members to a Team
Choose Add a member and select a previously created member. Members use their own role within the team’s projects.Assigning Projects to a Team
Choose Add project and select a previously created project.To learn more about Projects, see Projects.