

What We Will Build
We will create an FAQ chatbot. The frontend will be built using Lovable, while Orq.ai handles the backend using a workflow that leverages RAG to deliver accurate responses based on your documentation. Architecture flow- A user enters a question in the Lovable chatbot interface
- Lovable sends that question to an Orq.ai workflow using a fetch call with the API key
- The workflow retrieves relevant context from your documents using RAG and generates a response
- The chatbot displays the response in the user interface
Step 1: Create the Deployment + Knowledge Base in Orq.ai
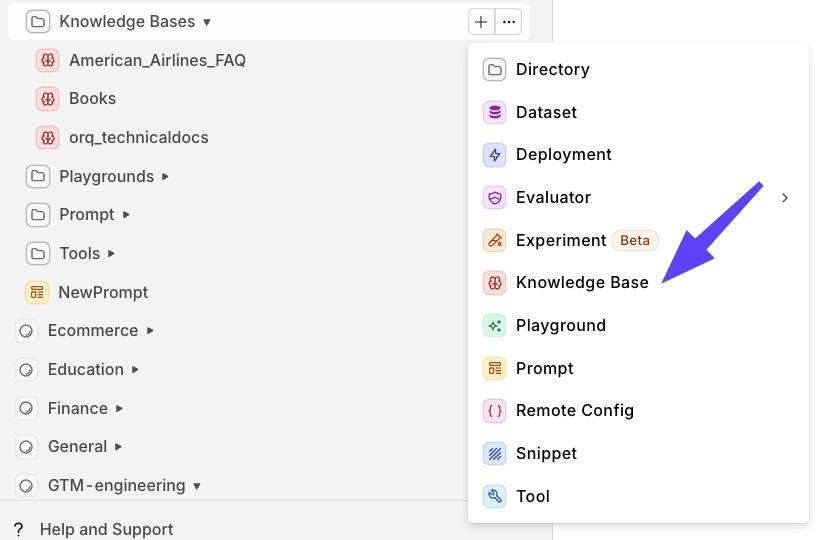
To power your FAQ bot, you will use Orq.ai to create a single deployment that combines RAG with a focused system prompt. This setup ensures responses are accurate, grounded in real documentation, and tailored to user questions. 1. Set Up a Knowledge Base The core of the FAQ bot is a knowledge base containing relevant documents. Orq.ai transforms these documents into vector embeddings so the workflow can search and retrieve the most useful information for each query. To create a knowledge base:- Open your Orq.ai workspace
- Go to Knowledge Base
- Click Create New Knowledge Base
- Upload your documents (you can drag and drop files like PDFs, text, or markdown)
- Click Process Files to generate embeddings
{{orq_technical_docs}} with the name of the knowledge base you uploaded.
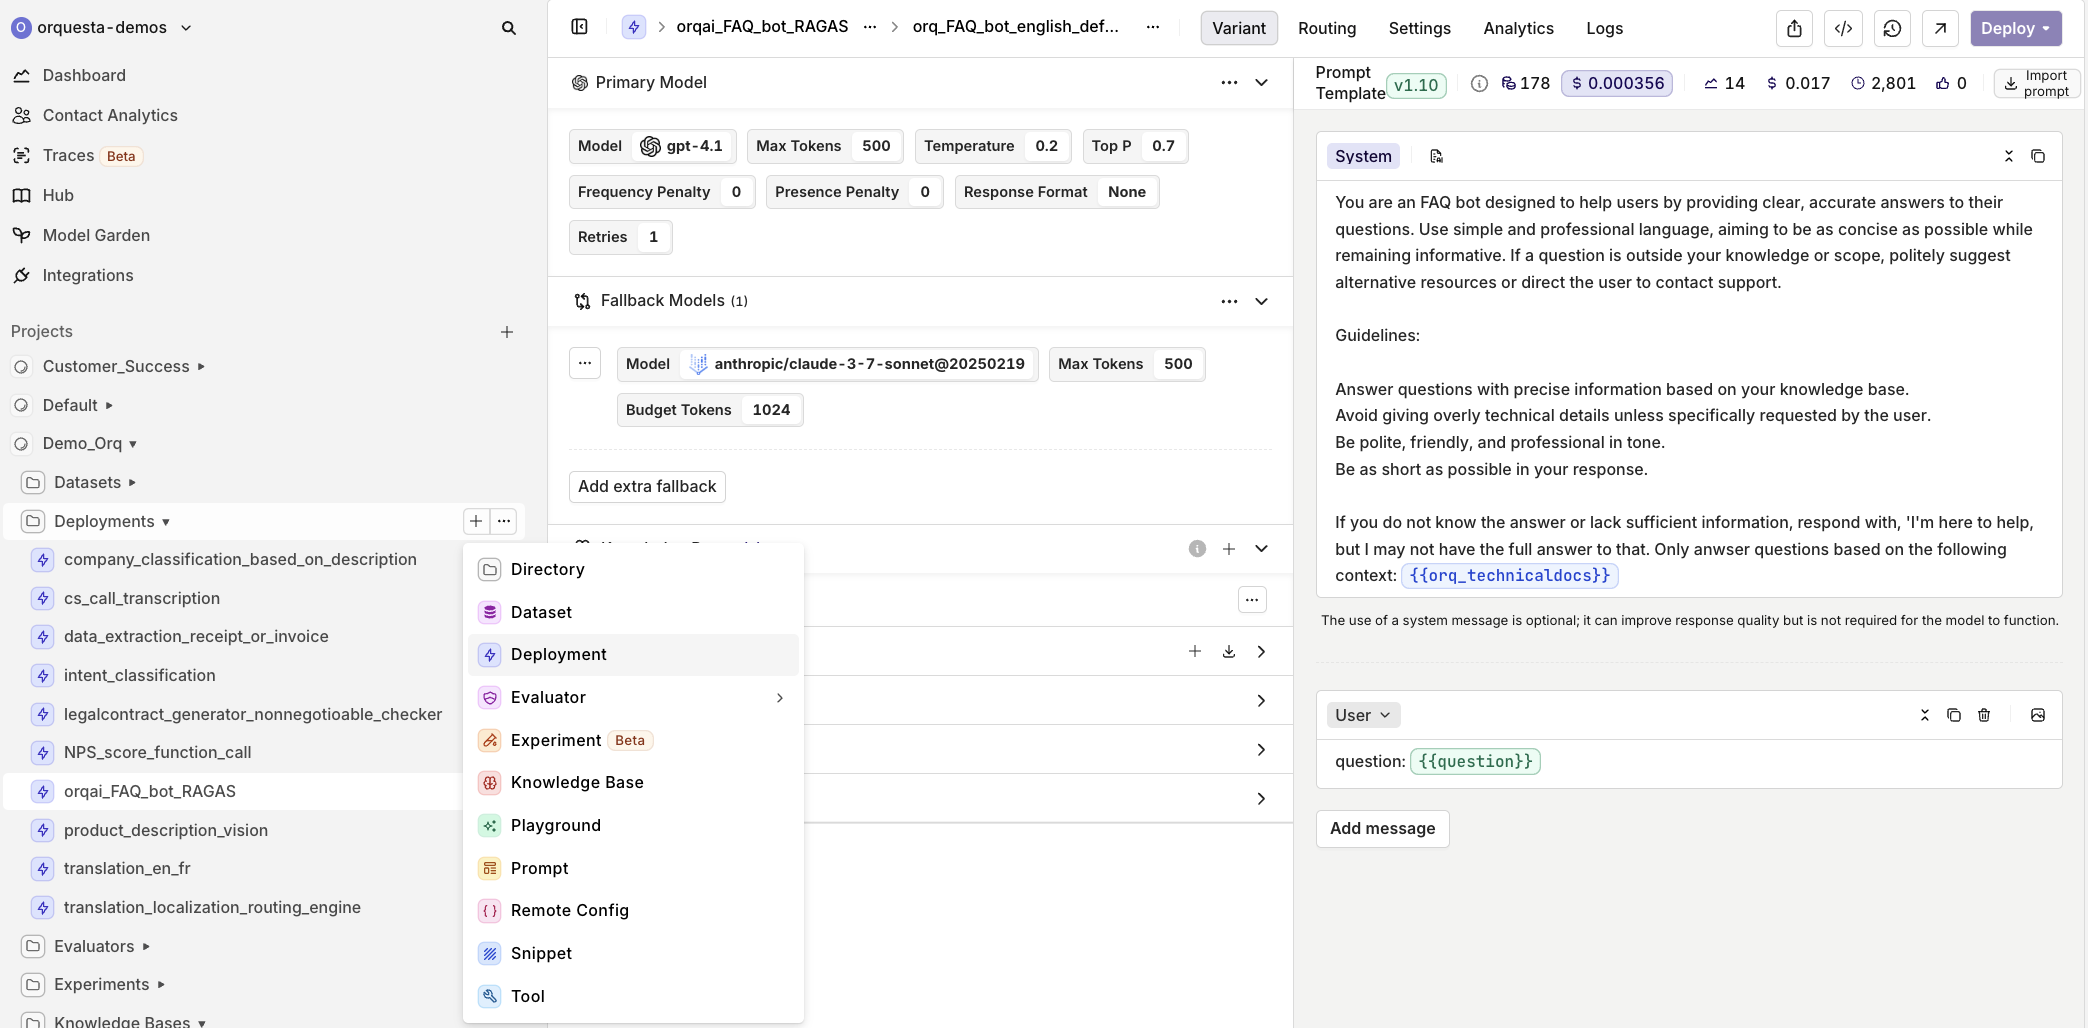
3. Configure the Model in Orq.ai Once your system prompt is set up, you can configure which model powers the responses. Orq.ai allows you to tune the available paramaters of the model, and set fallback behavior through model settings.
In this example, the primary model is GPT 4.1 hosted by OpenAI, with Claude 3.7 Sonnet set as a fallback. You can adjust generation parameters to balance precision and creativity based on your use case.
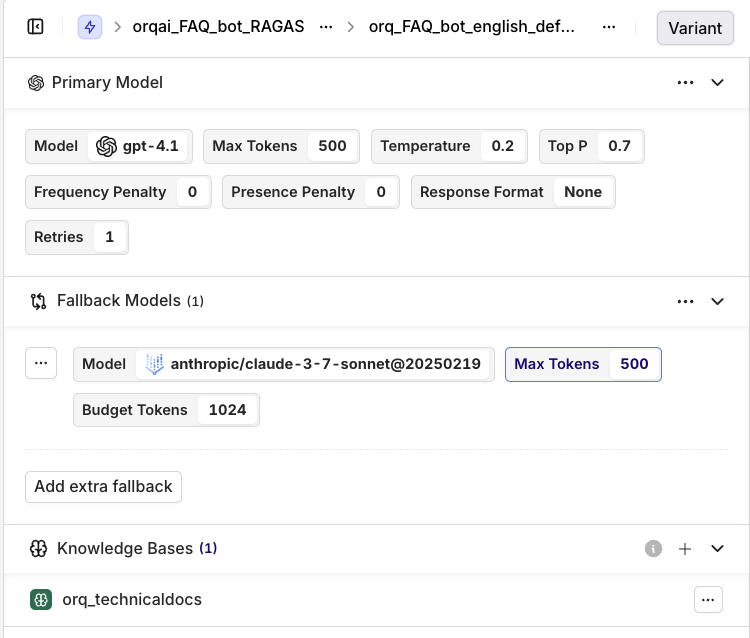
orq_technicaldocs
This ensures that the deployment uses the right source of context to retrieve relevant information for each user question. The variable for the knowledge base in the system prompt will appear in dark blue if it is configured correctly.
Once your model configuration is complete, your Orq.ai backend is ready to receive requests and deliver answers.
Step 2: Design the Interface in Lovable
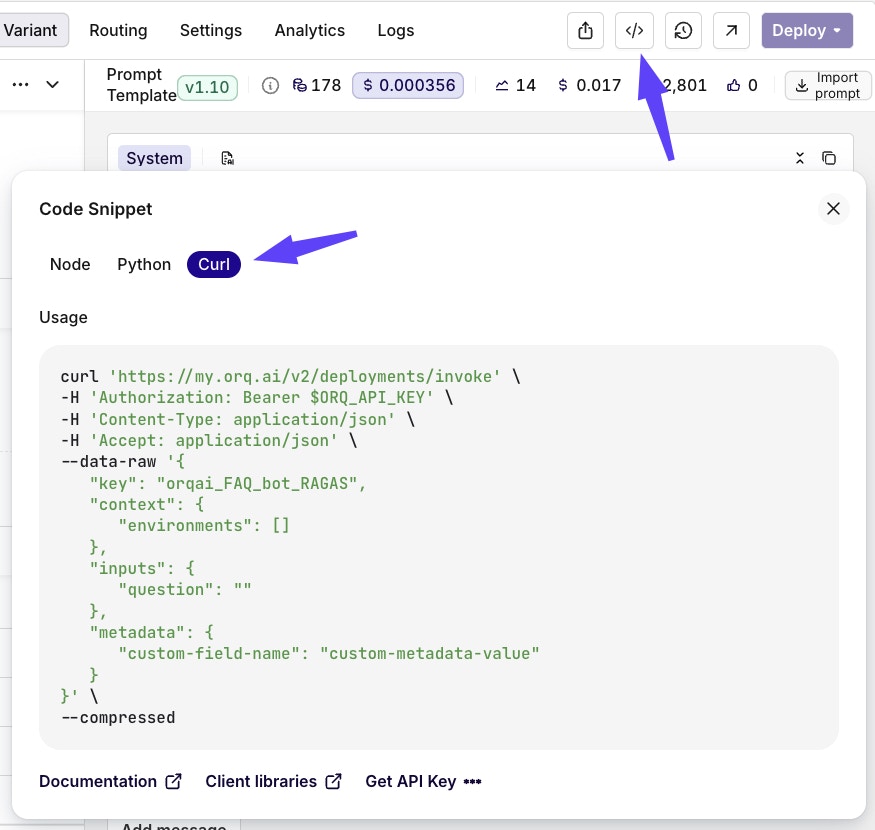
Now that the backend is ready, build the chatbot interface using Lovable prompts.- Create a new project in Lovable Open Lovable and start a new project. Use the chat input to describe the layout you want. We’ll include the curl snippet for backend integration directly, this can be retrieved from your Orq.ai deployment. For example:
YAML
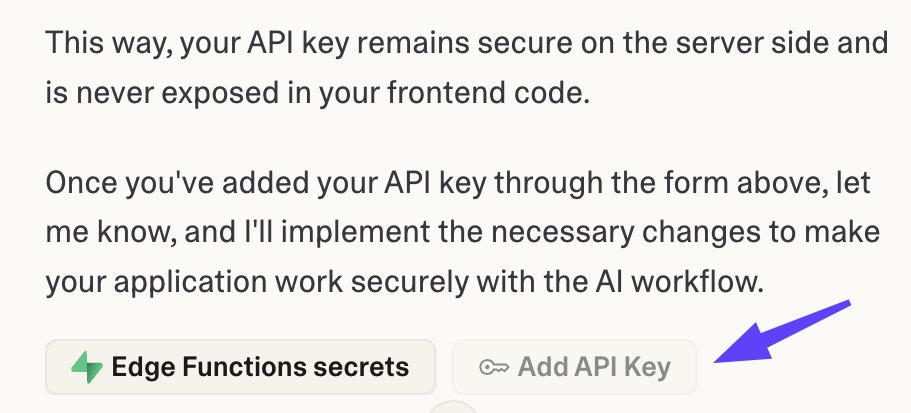
Step 3: Use Supabase to Securely Store the API Key
Lovable does not provide a built in way to securely store API keys. To keep your integration secure, you will route all external requests through a Supabase Edge Function. This allows you to store the Orq.ai API key safely and avoid exposing it in the frontend. To get started:- In Lovable, click on the Supabase icon in the left sidebar
- Create a new project when prompted
- Lovable will handle the setup automatically and connect the project for you
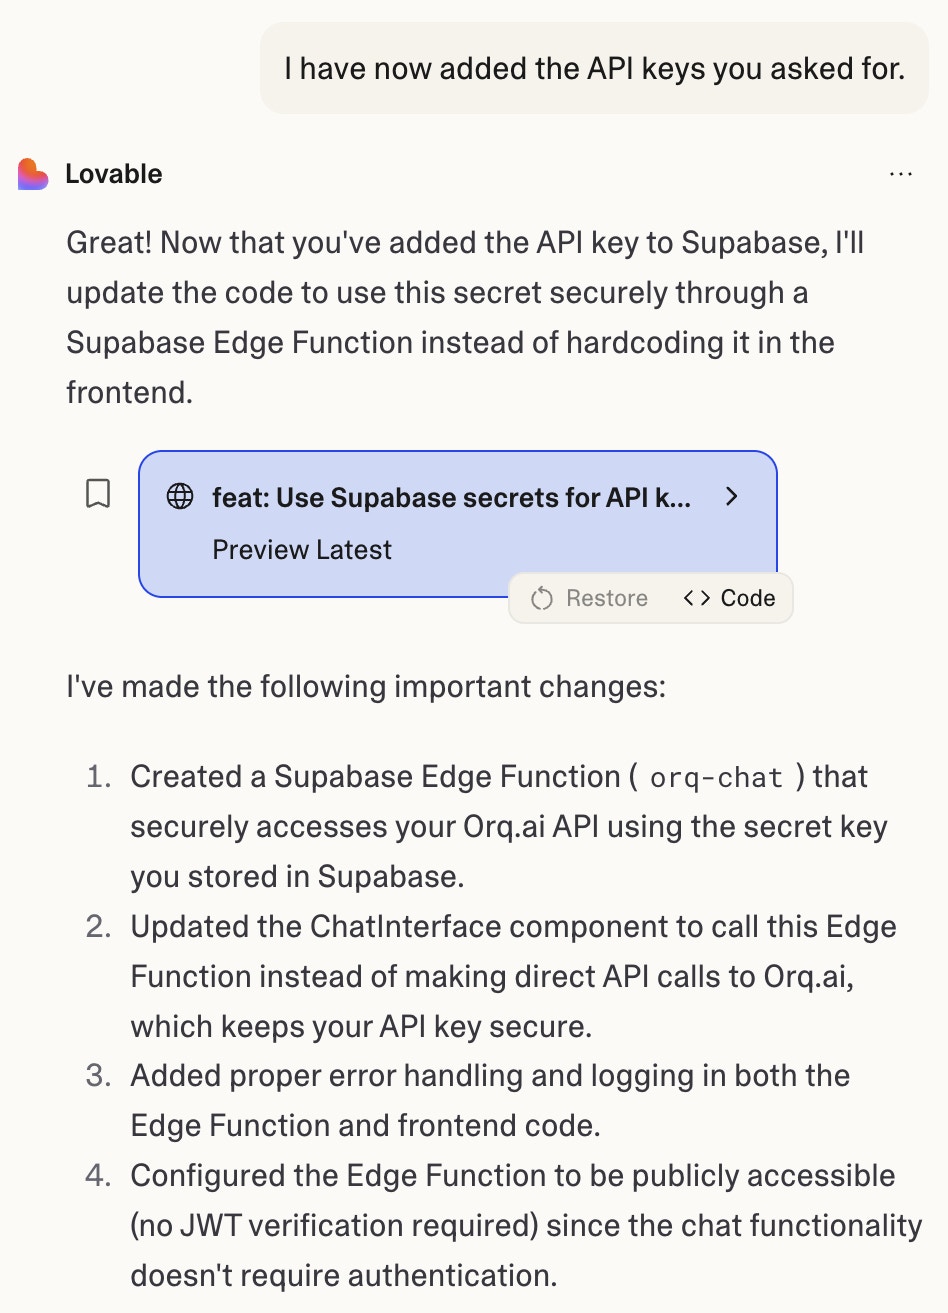
- Create an edge function
- Store the Orq.ai API key securely
- Send requests to your workflow
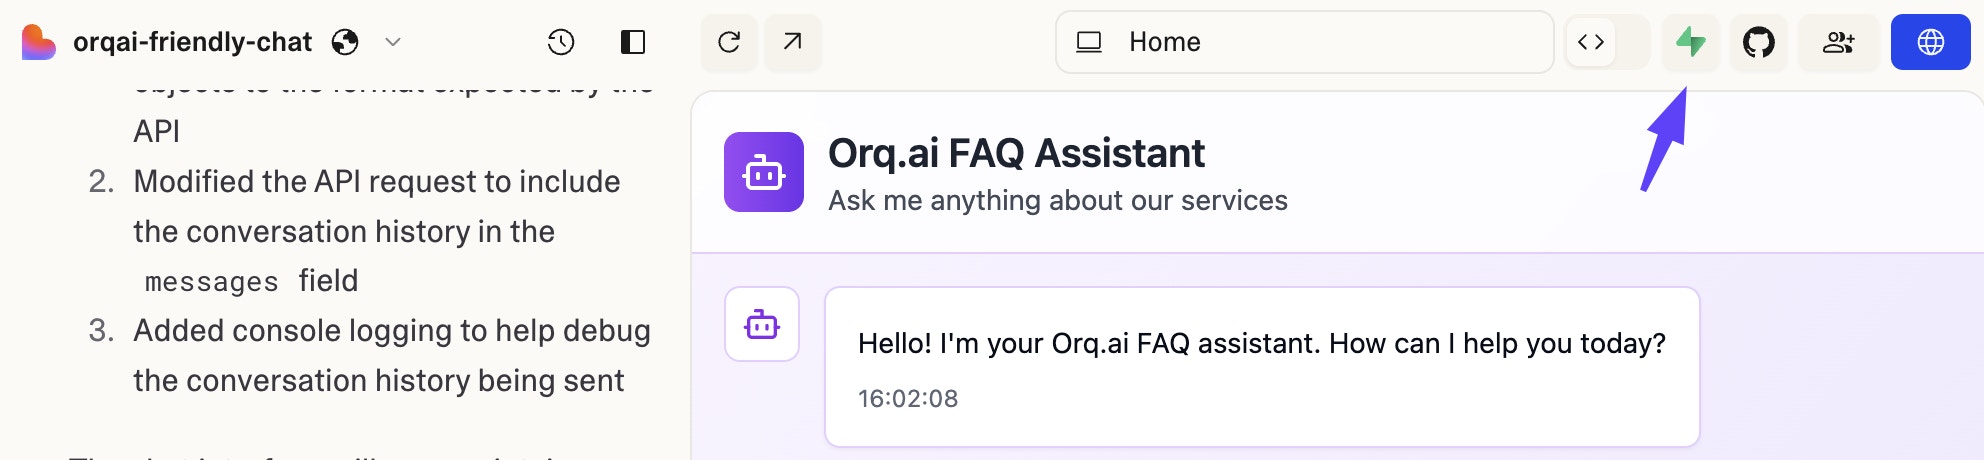
Step 4: Test and Iterate
Run a few test conversations in Lovable to confirm that questions are correctly sent to Orq.ai and responses are coming back as expected. You can also check the Logs in Orq to verify that the Deployment is functioning properly.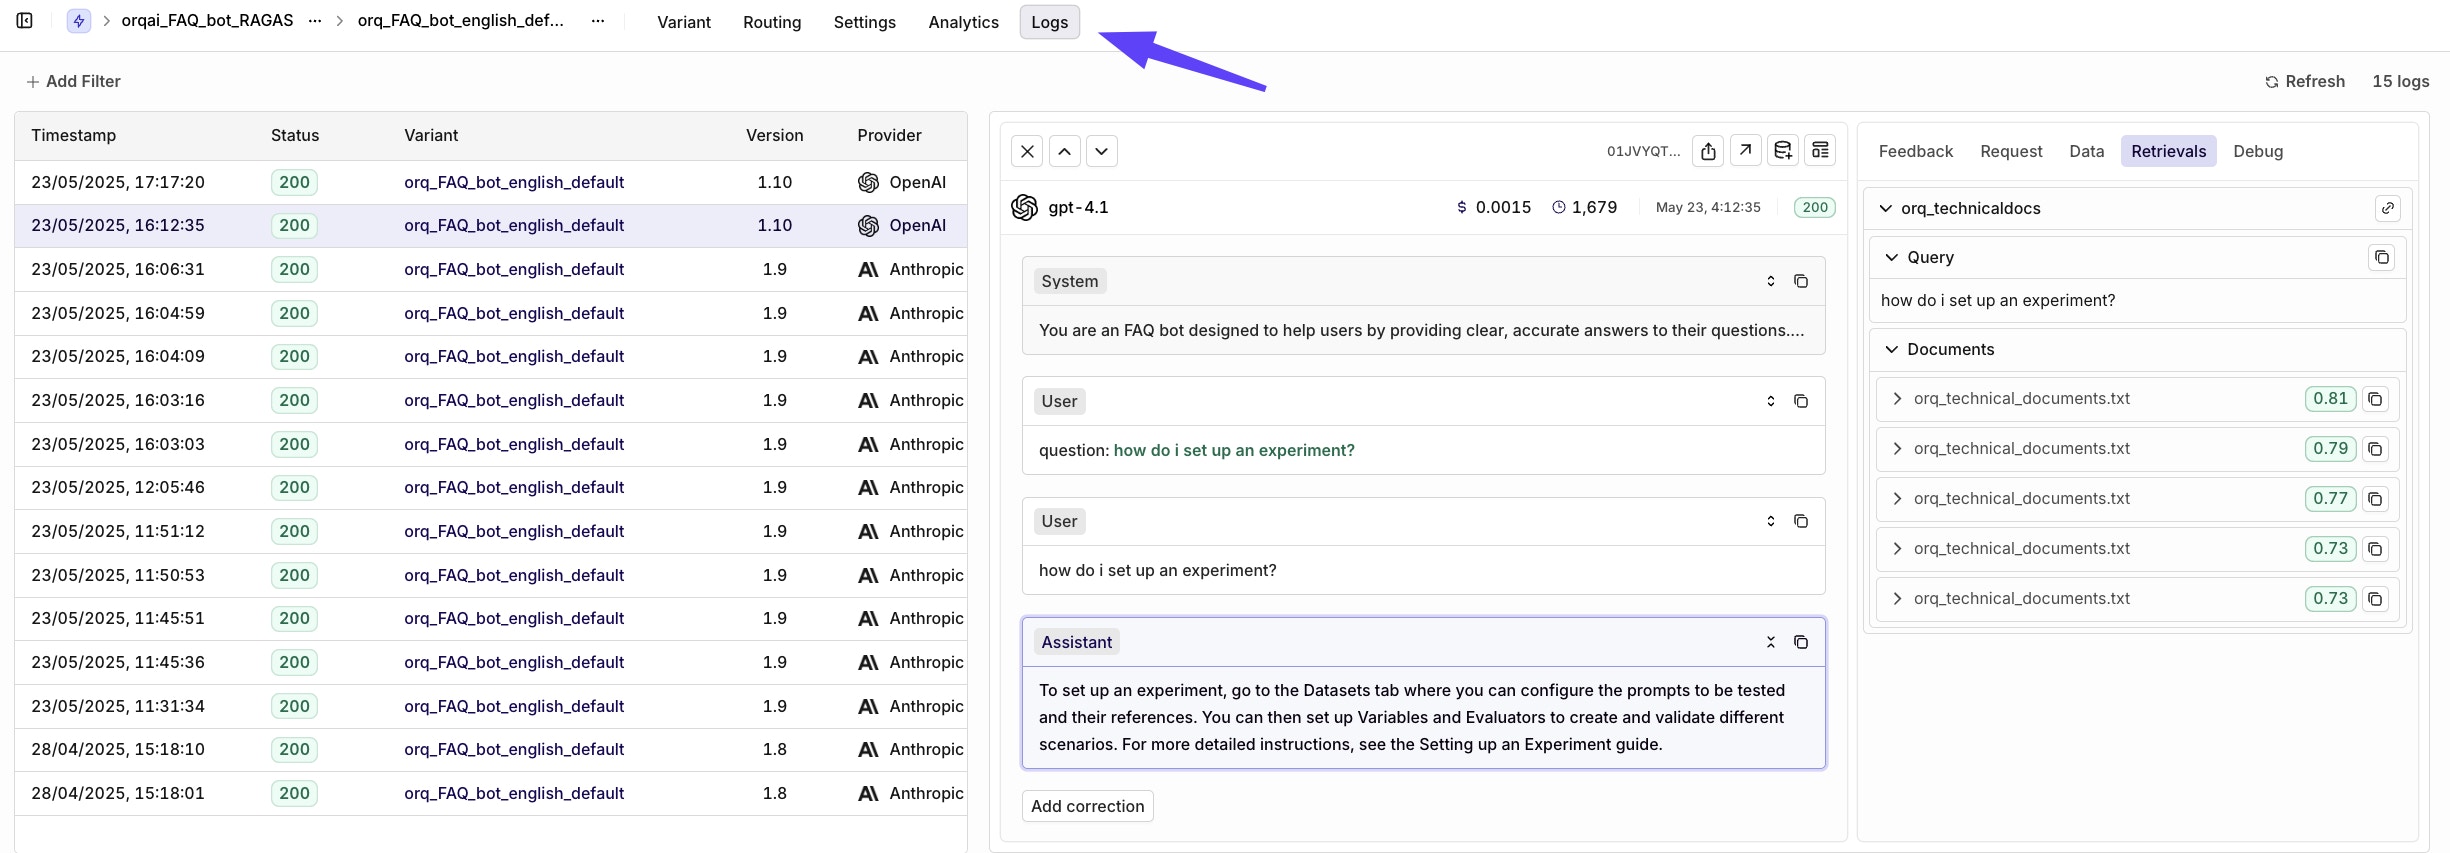
Feedback Collection (Optional)
Feedback in Orq.ai helps track response quality and identify areas for improvement. You can collect user ratings, defect classifications, and corrections to continuously enhance your application. Provide feedback through the AI Studio:- Go to Logs in your workspace
- Find the specific deployment invocation
- Use the feedback interface to rate responses
- Add defect classifications or corrections as needed
You can also collect feedback programmatically via the API if needed.