

TL;DR
- Learn how to use Orq AI Gateway
- Connect primary and fallback AI providers to avoid vendor lock-in
- Enable streaming for real-time responses and better UX
- Add a knowledge base with custom docs for contextual answers
- Set up caching for recurring requests
- Build a production-ready customer support agent in minutes
Overview
This tutorial builds a customer support application in Node.js using AI Gateway, where support queries have access to relevant business context from a Knowledge Base. The system includes a primary model (GPT-5.6 Sol) and a fallback model (Claude Sonnet) that automatically activates during rate limits or outages. The tutorial also covers caching for user queries, identity tracing to monitor per-user LLM request volumes, and Thread tracking to visualize complete conversation flows between users and the assistant.What is AI gateway?
AI Gateway is a single unified API endpoint that lets you seamlessly route and manage requests across multiple AI model providers (e.g., OpenAI, Anthropic, Google, AWS). This functionality comes in handy, when you want to:- Avoid dependency on a single provider (vendor lock-in)
- Automatically switch between providers in case of an outage
- Scale reliably when the usage surges
Build the customer support chat
1
Set up the Node.js project
Inside the IDE of choice, set up the Node.js project. This tutorial uses npm; alternatives such as pnpm are also supported.First, inside the Orq.ai dashboard, create a project that we can assign API keys to by clicking the + button next to Project menu: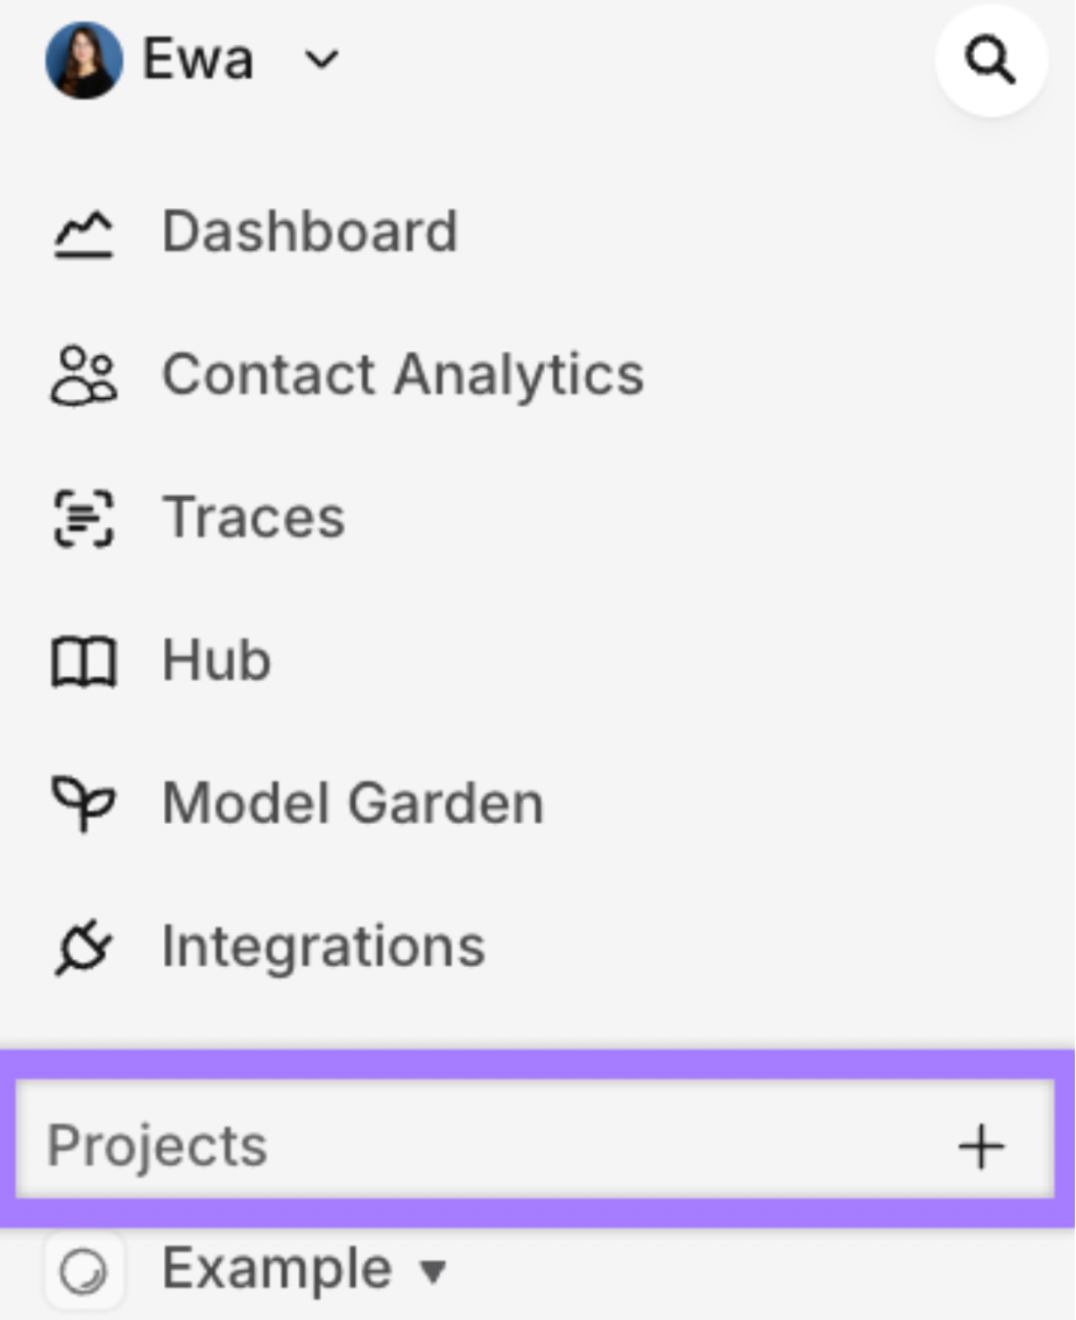
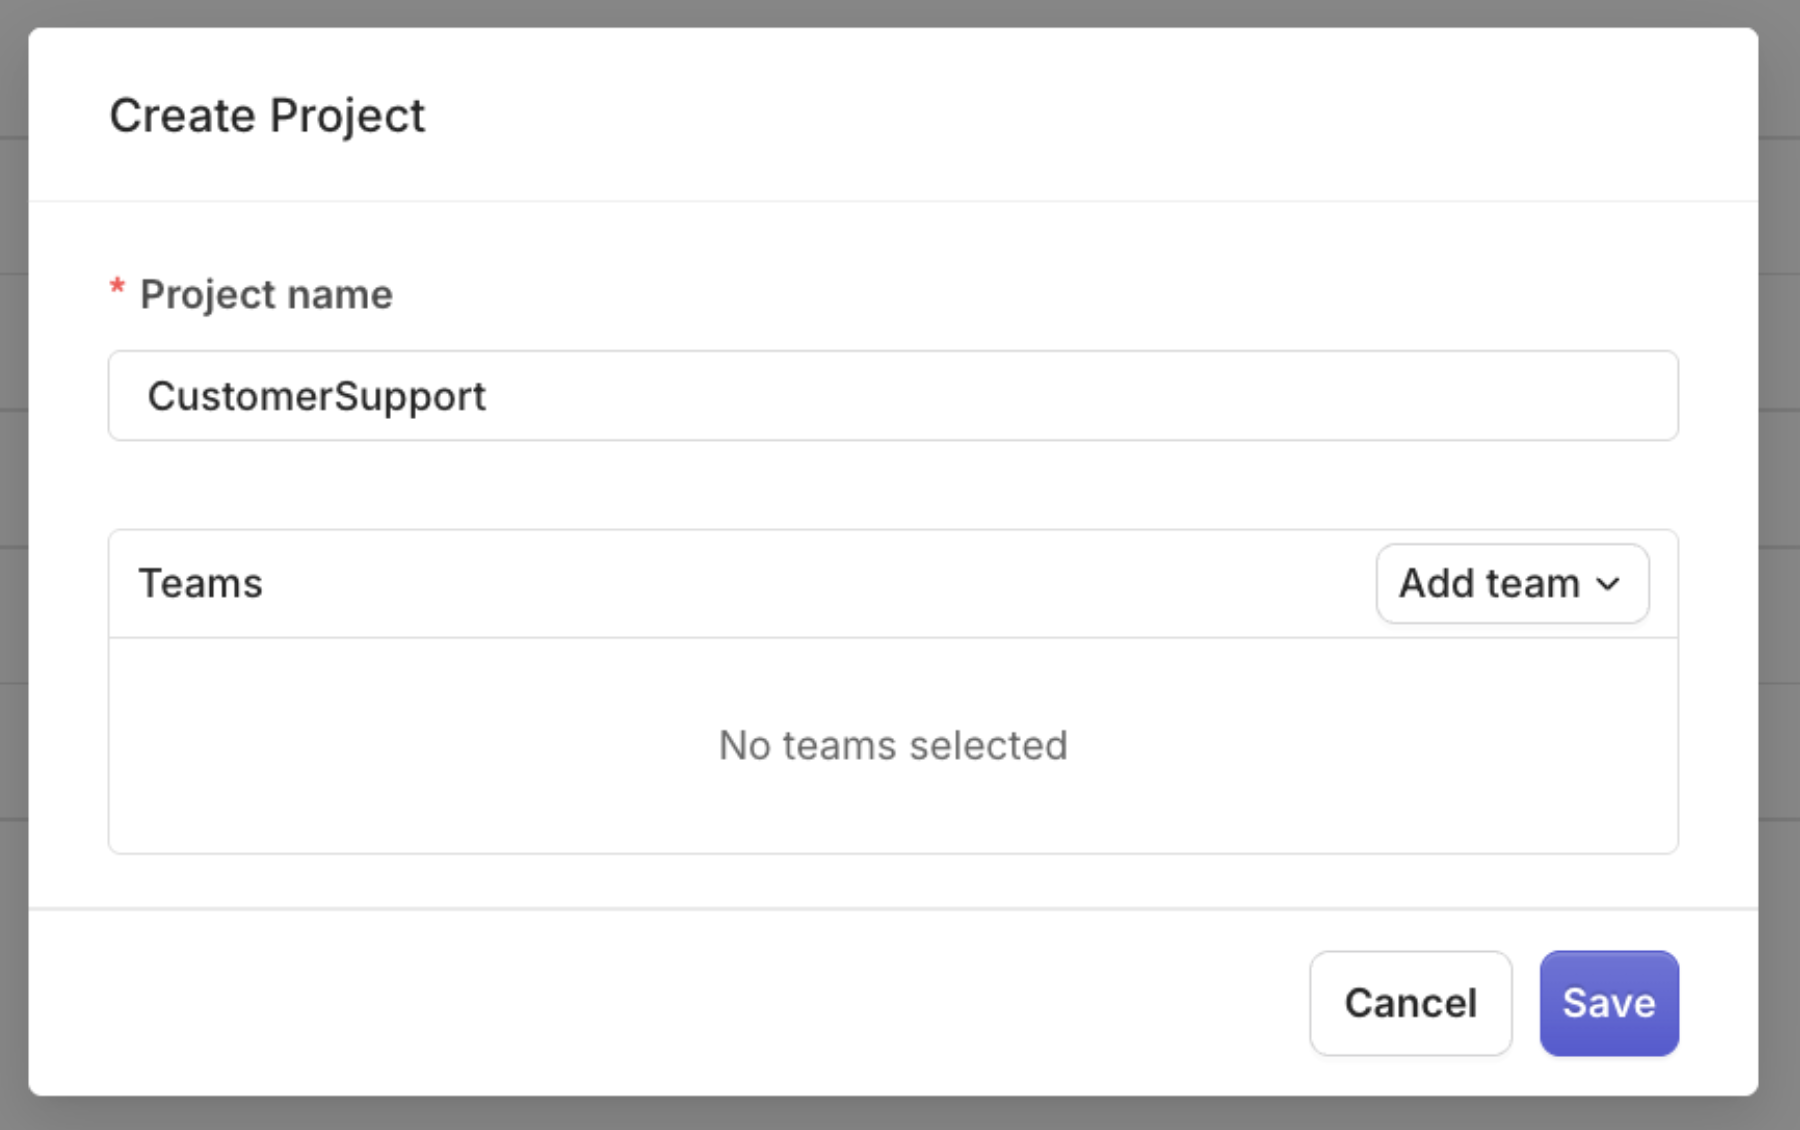
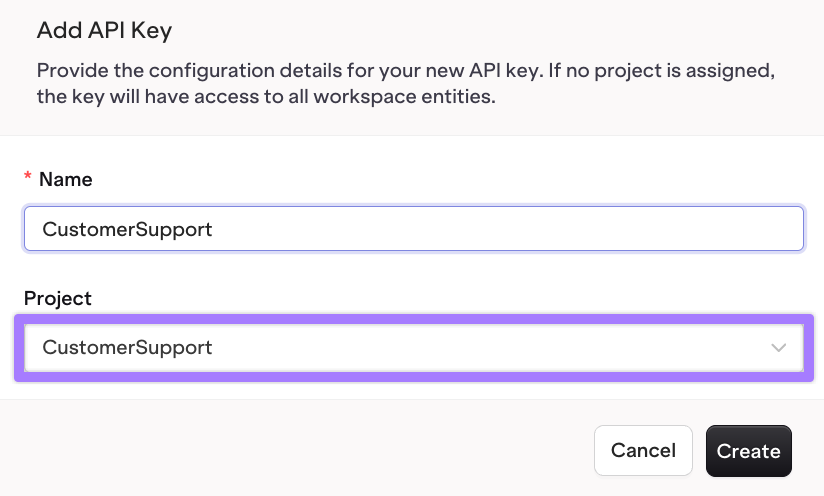
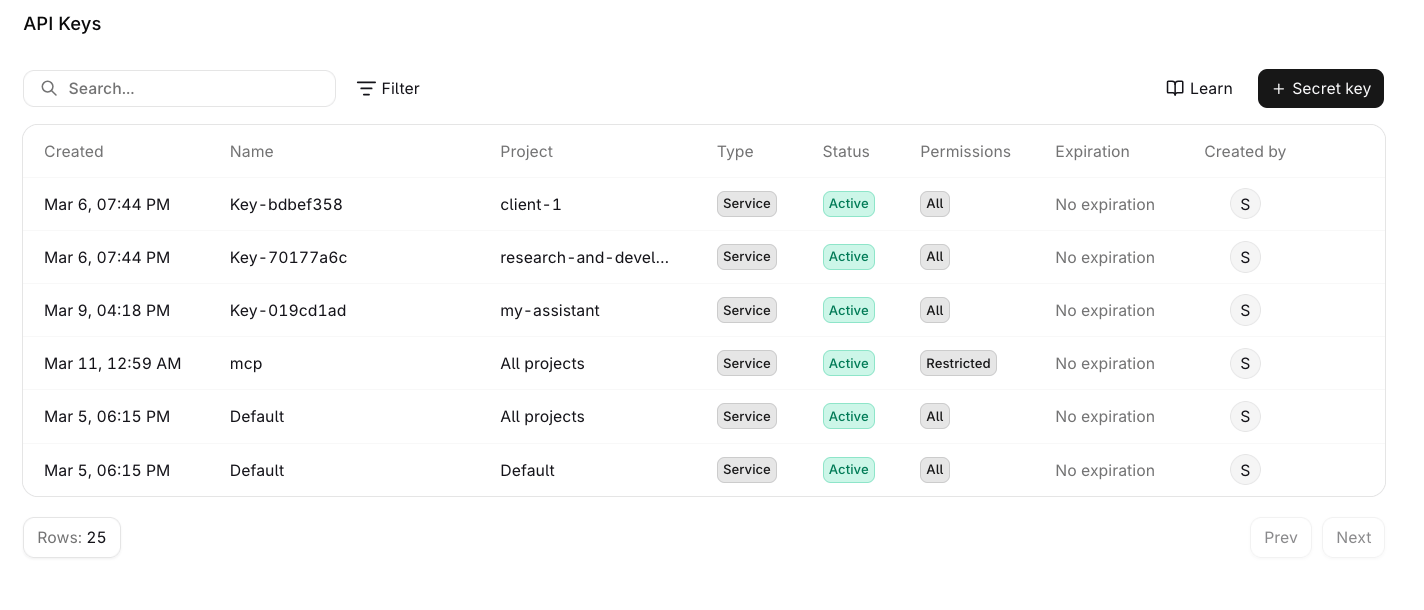

CustomerSupportCustomerSupport:.env file with the following content, replacing the placeholder with the actual API key:.env to your .gitignorecustomer-support.ts file with a Hello World example:customer-support.ts
2
Streaming data in real time
This step uses the OpenAI 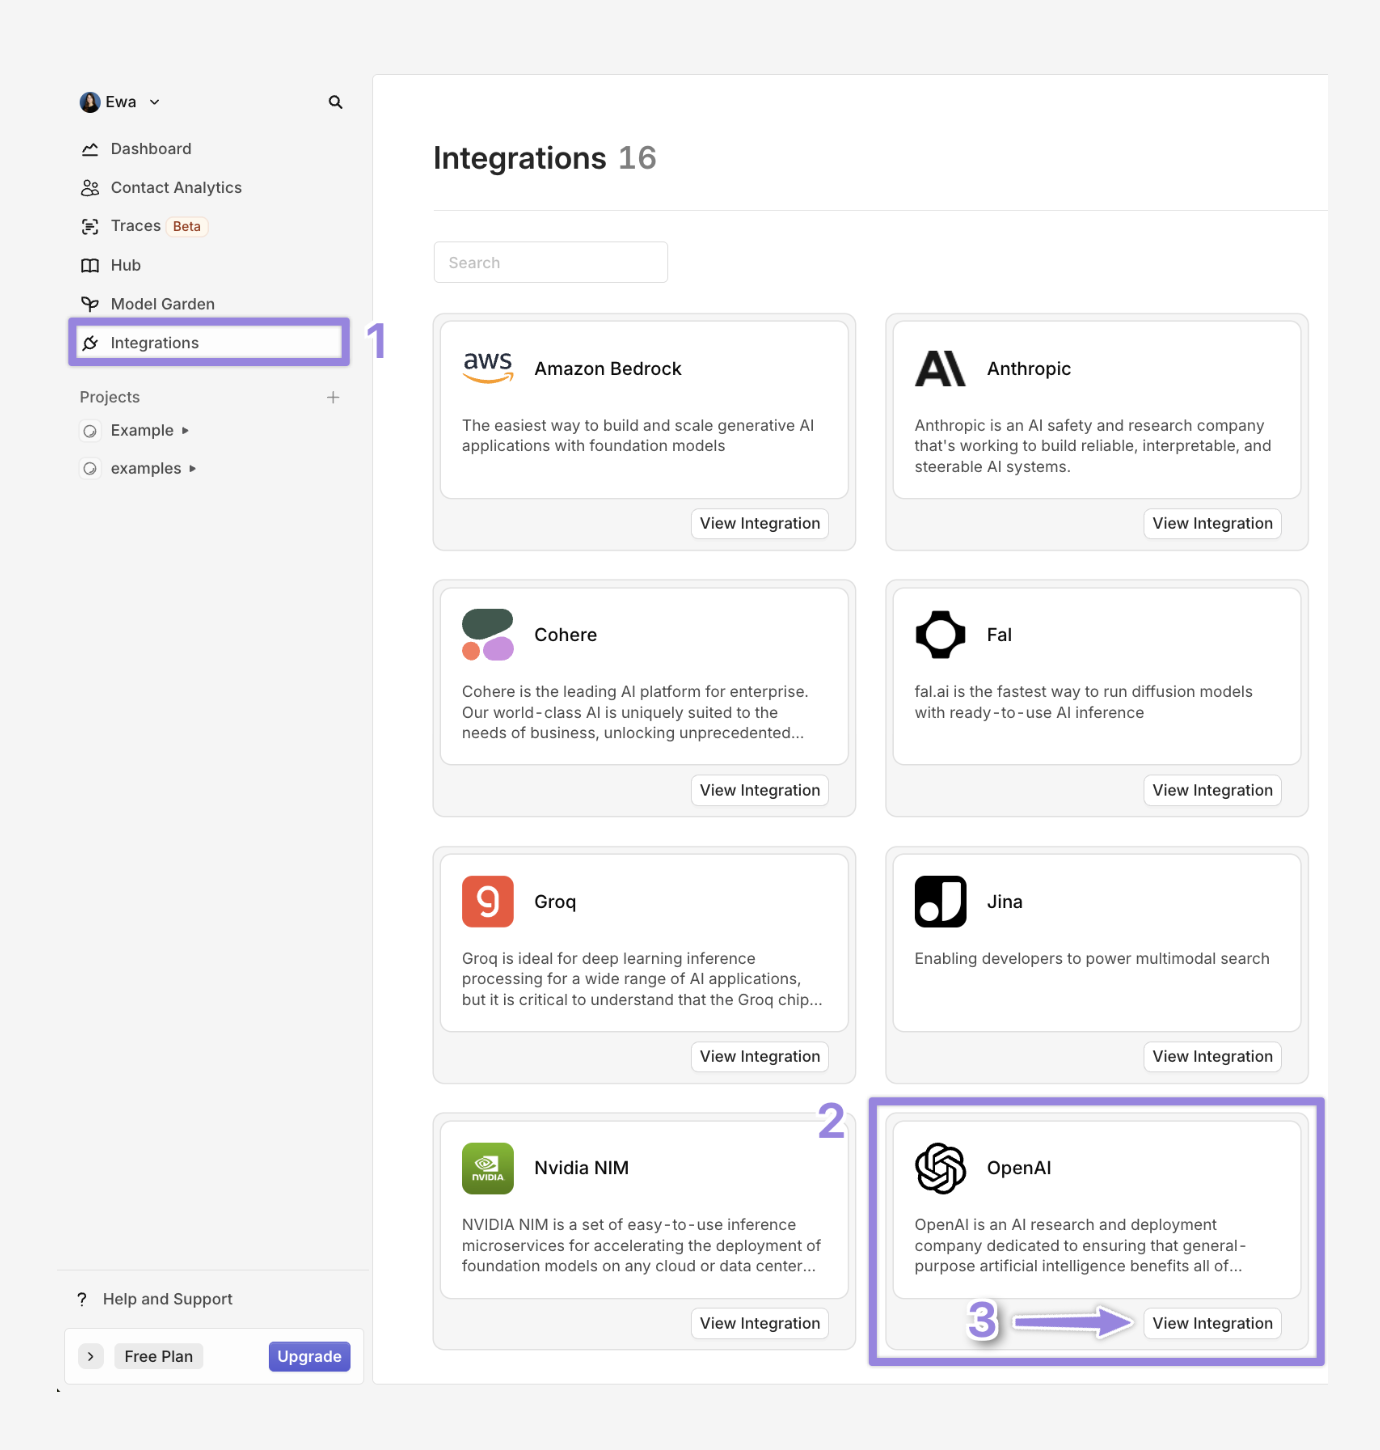
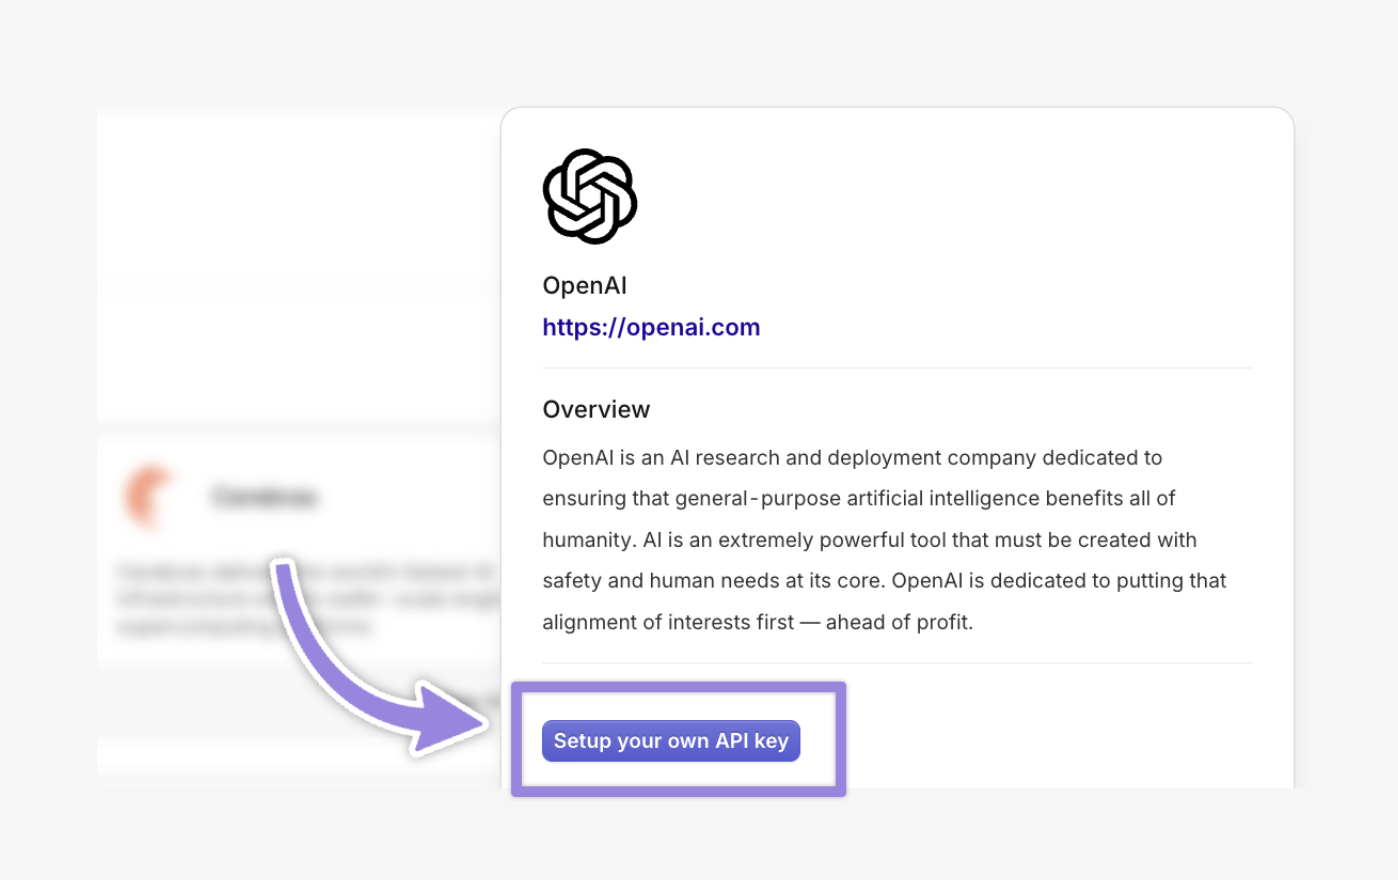

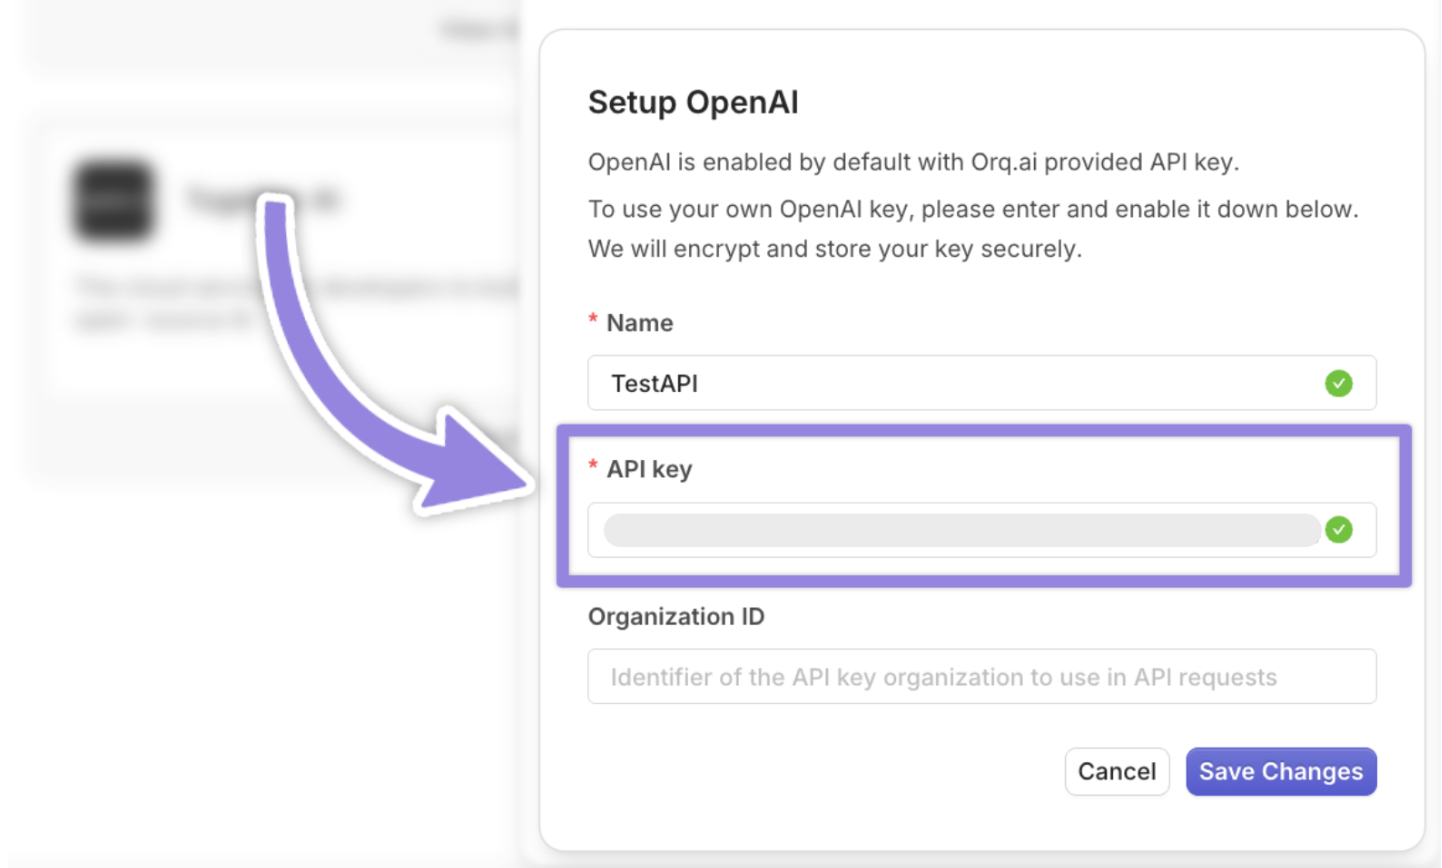
gpt-5.6-sol model to generate responses. To connect any other model such as claude-sonnet-5, follow the same steps. To enable models in AI Gateway:- Navigate to Integrations
- Select OpenAI
- Click on View integration
customer-support.ts
3
Retries & fallbacks
Orq.ai allows automatic fallback to alternative models if the primary fails. If
gpt-5.6-sol hits a rate limit or downtime, the request automatically retries and may fall back to Anthropic claude-sonnet-5 or gpt-5.4-mini. Make sure the models are enabled in Orq.ai.4
Caching
Orq.ai supports response caching to reduce latency and API usage for repeated requests. It uses On the first run, the request shows 

exact_match caching, where the cache key is generated from the exact model, messages, and all parameters, ensuring identical requests hit the cache. The TTL (time-to-live) specifies how long the response is cached (e.g., 3600 seconds for 1 hour, max 259200 seconds (3 days)). Below is a TypeScript implementation with caching, retries, and fallbacks:cache-miss inside Traces.cache-miss on the first run is that Orq.ai has no prior response stored for that exact cache key. Read more about response caching.Running the same request a second time within the TTL shows cache-hit inside Traces, meaning Orq.ai retrieved the cached response.5
Knowledge Base
When to use:
- When you want to enhance a foundational model’s responses with custom, domain-specific knowledge using Retrieval-Augmented Generation (RAG).
- Orq.ai’s built-in RAG feature enables creation of a Knowledge Base from documents (e.g., FAQs, manuals, or PDFs)
- When you want to add a Vector Database (e.g., Pinecone, Qdrant) for control over embeddings and retrieval. For more see Using Vector databases with Orq
Run the code to create a Knowledge Base:
customer-support.ts
_id as YOUR_KNOWLEDGE_ID in the .env file, replacing the placeholder with the actual value from the response above:6
Add files to the Knowledge Base
Inside the main repository create a This is how a successful response should look like:Add the file ID To complete this step with the GUI, see Upload a file.
documents directory and place the documents to upload there. Orq.ai supports document types: pdf, txt, docx, csv, xls (10 MB max).Run the following code to upload the documents:customer-support.ts
_id to the .env file, replacing the placeholder with the actual value from the response above:7
Connect the files with the Knowledge Base as datasource
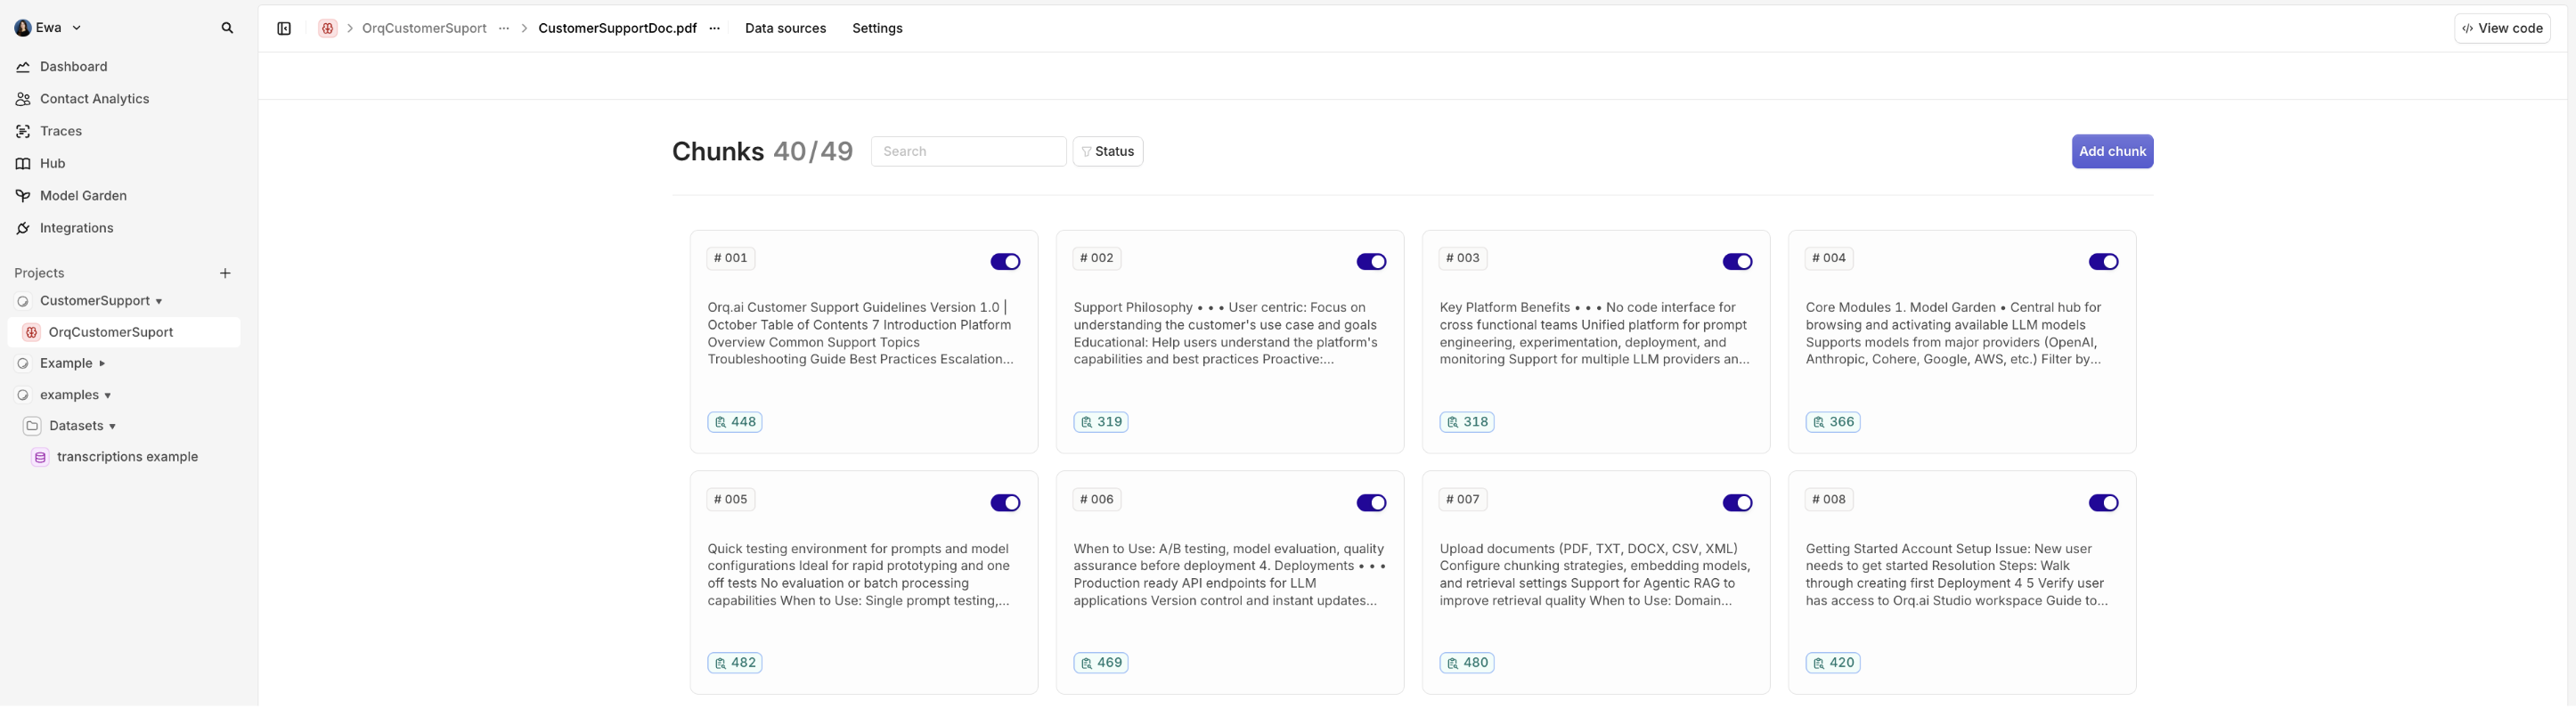
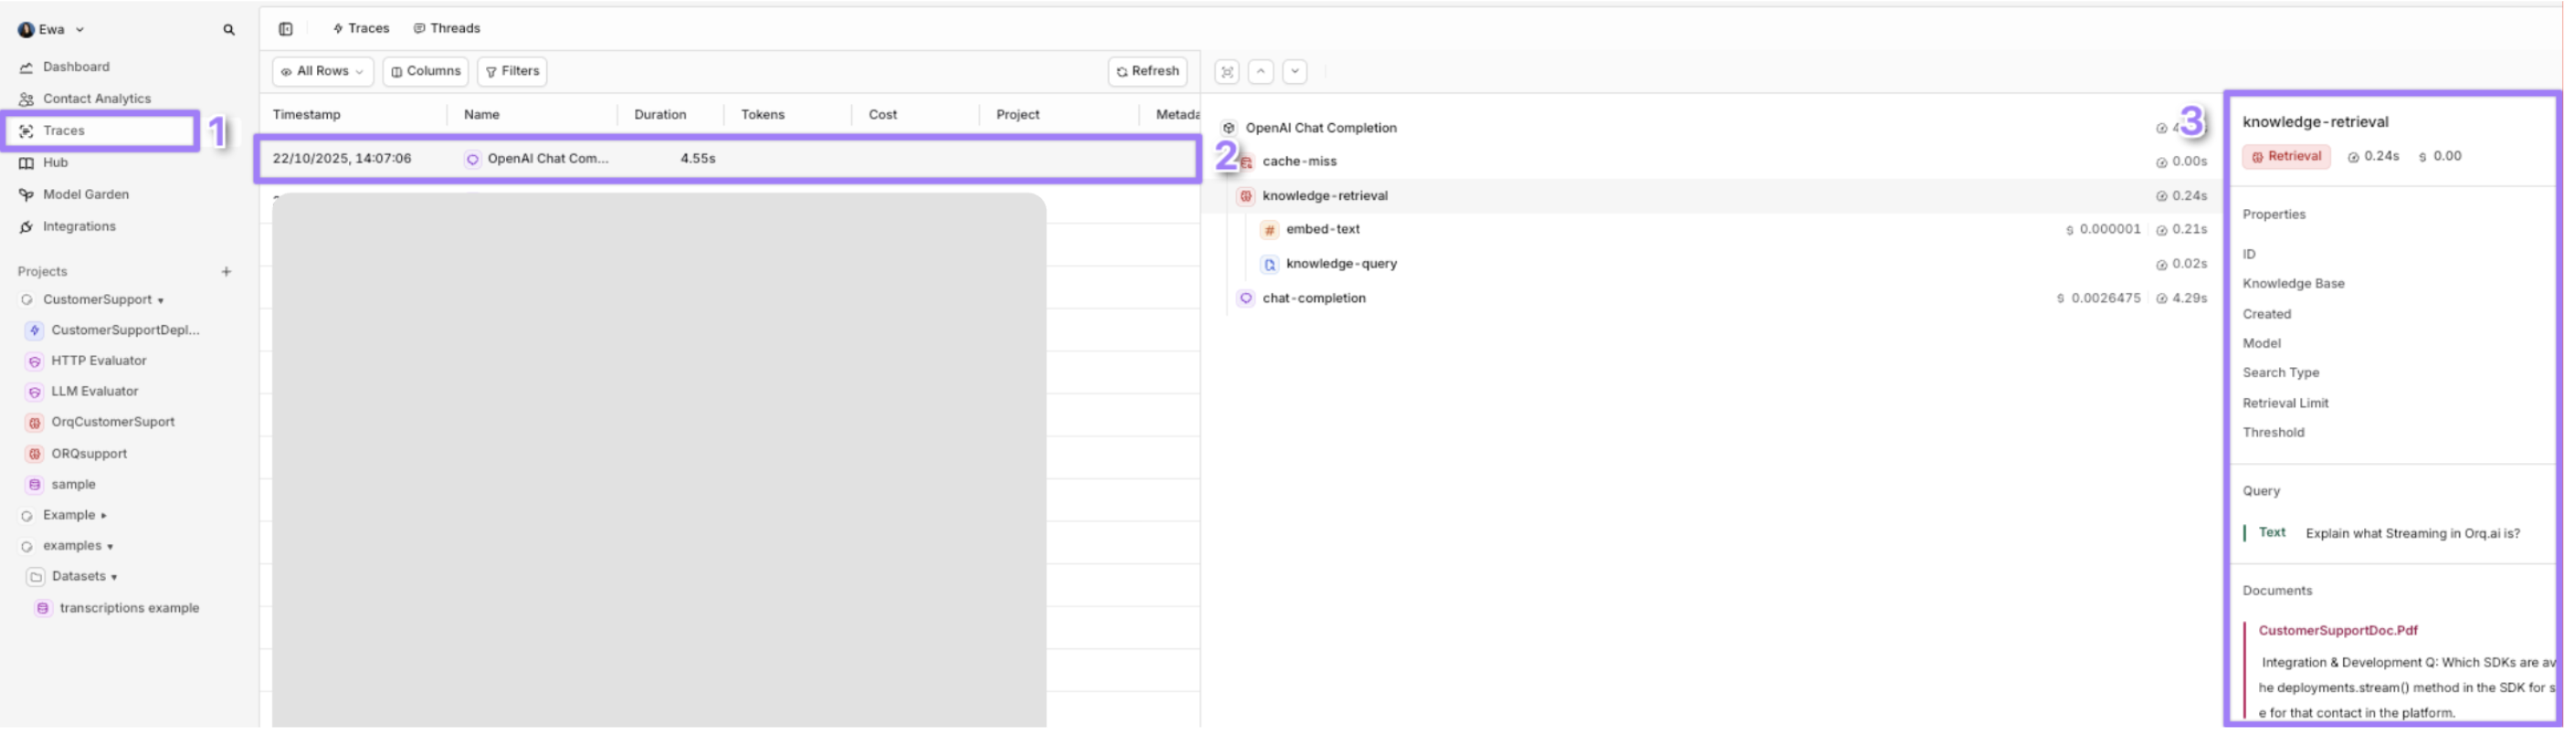
YOUR_KNOWLEDGE_ID is present in .env from the previous step.The uploaded file is now visible under the Knowledge Base:
8
Identity Tracking
When to use:
- You want to identify and remember the user between chats or sessions.
- You need to audit who asked what (e.g., Alice Smith asked about “refunds”).
- You’re building user profiles, dashboards, or integrating with a CRM (e.g., Salesforce, HubSpot).
- When the application involves external B2B clients and monitoring call volume and cost per client is required
YOUR_API_KEY, YOUR_IDENTITY_ID and YOUR_DEPLOYMENT_KEY variables:
9
Thread tracking
When to use:
- Understand the back-and-forth between the user and the assistant
- Track context drift in long conversations
- Make sense of multi-step conversations at a glance

thread.id (support-TICKET-789-<timestamp>) for both initial and follow-up requests groups them in the same Thread: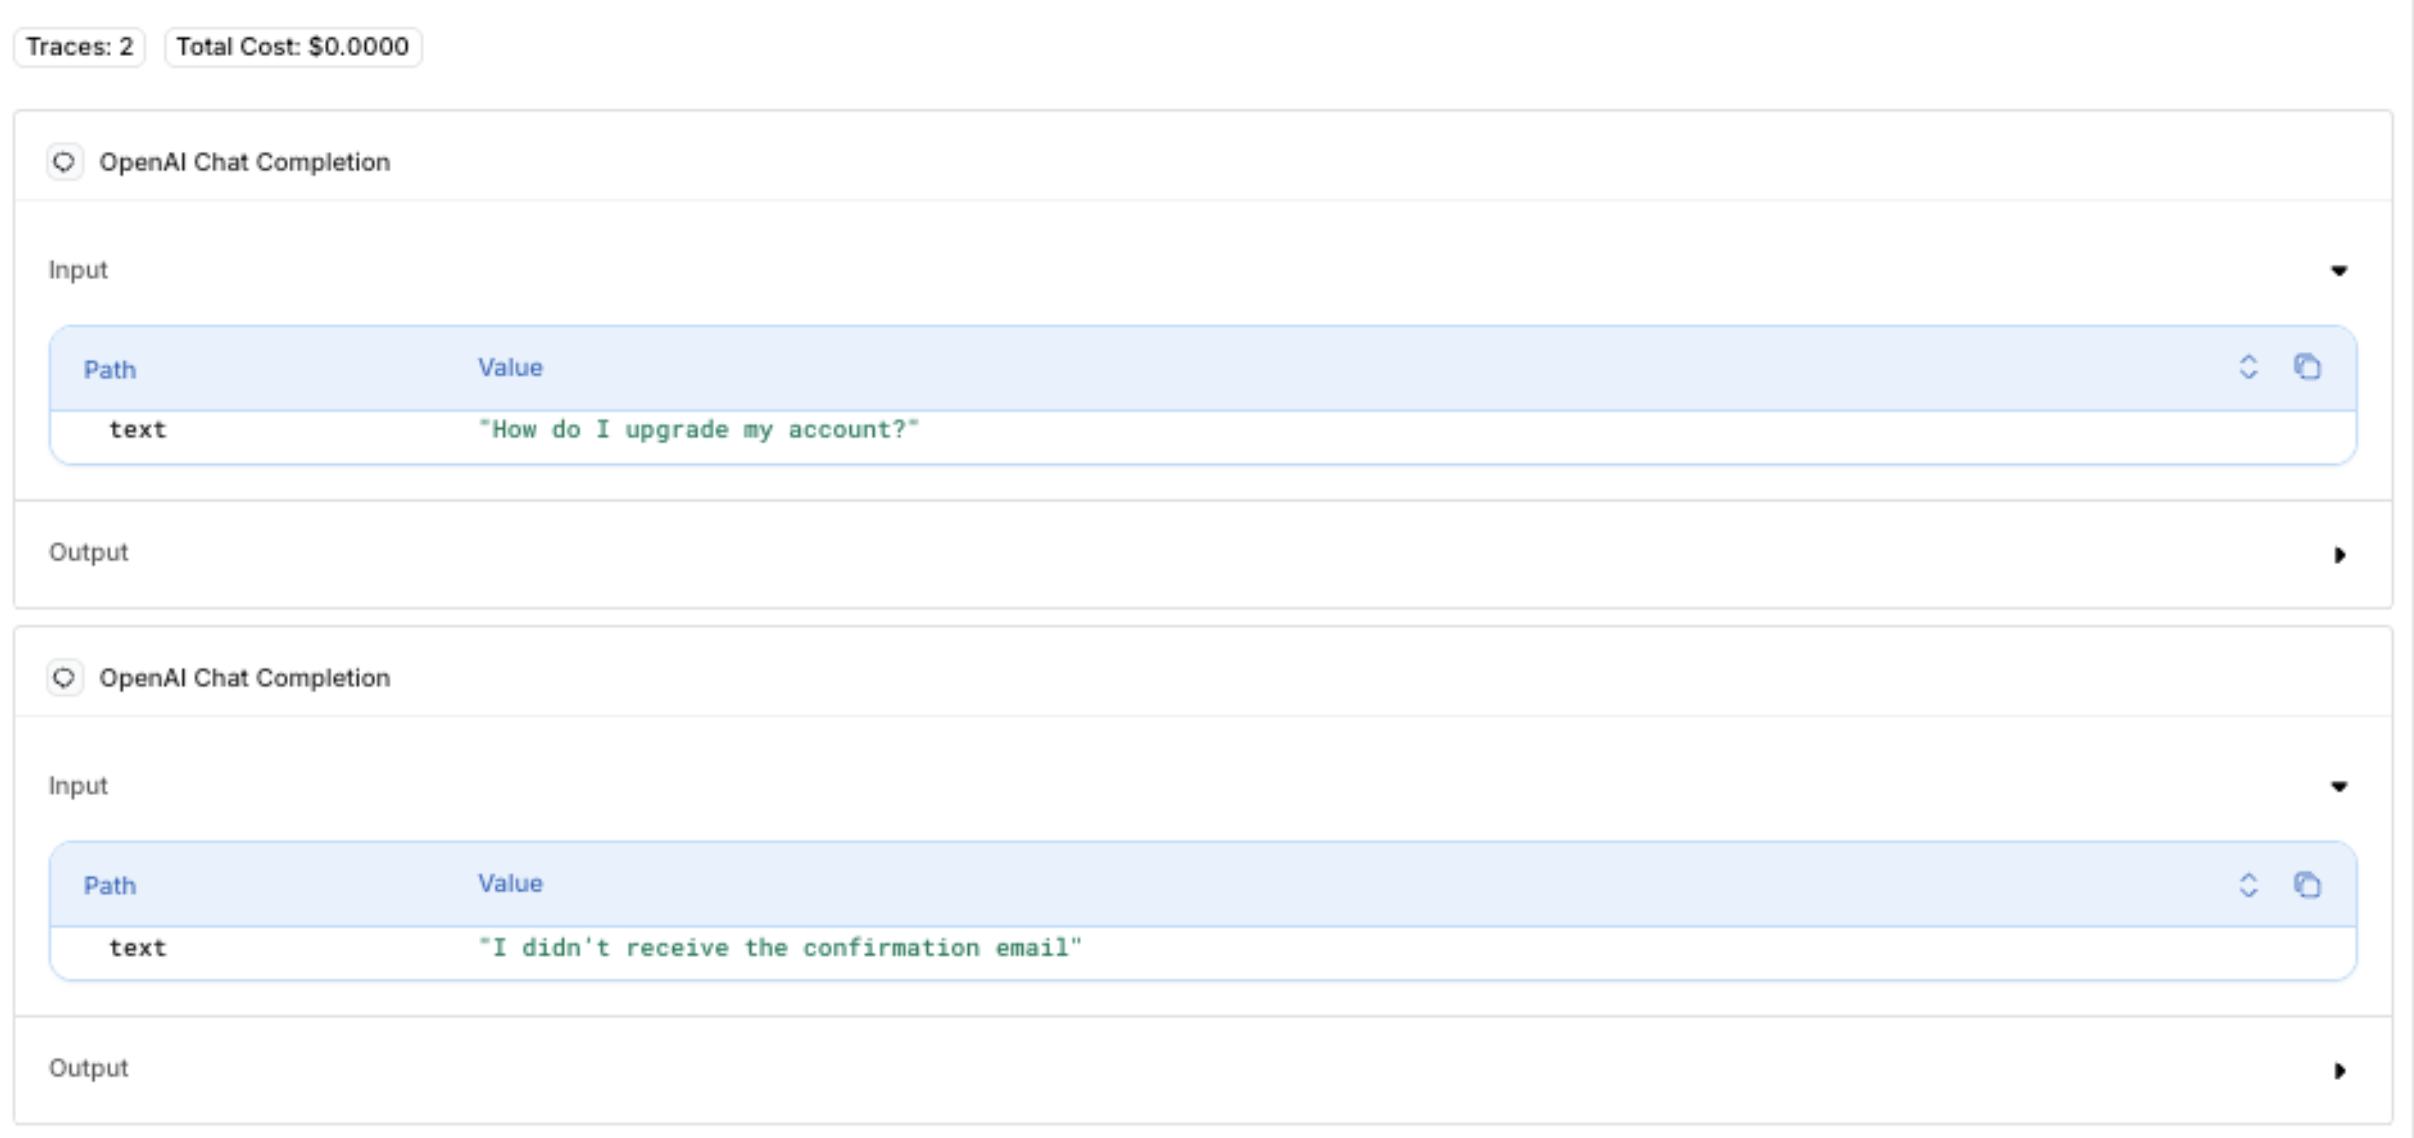
10
Dynamic Inputs
When to use:
- Whenever you want your script, program, or tool to handle variable data at runtime instead of hardcoding values Using Third Party Vector Databases with Orq.ai
Advanced framework integrations
Orq.ai’s AI Gateway integrates with popular AI development frameworks, allowing existing tools and workflows to benefit from gateway features like fallbacks, caching, and observability.LangChain Integration
Orq.ai works natively with LangChain by simply pointing to the AI Gateway endpoint. This gives access to fallback models, caching, and Knowledge Base retrieval while using LangChain’s abstractions. For a more detailed guide, see LangChain integration.DSPy
DSPy programs can route through Orq.ai to gain automatic prompt optimization alongside gateway reliability features. For a more detailed guide, see DSPy Integration.Base URL configuration
Conclusion
Orq.ai’s AI Gateway provides a unified, scalable, and production-ready solution for building reliable AI applications. By routing through a single API endpoint, the application gains:- Unified access: Connect to multiple AI providers (OpenAI, Anthropic, AWS) through one API
- High availability: Automatic fallbacks and retries ensure the application stays online
- Cost efficiency: Response caching reduces API costs and latency
- Smart context: Built-in Knowledge Base integration for domain-specific answers
- Production observability: Comprehensive Traces and OTEL compatibility for monitoring
- Flexible deployment: Cloud, on-premises, or edge options to meet deployment needs