

TL;DR
- Automate evals from the terminal, Claude Code + Orq.ai MCP lets you work directly with production data without leaving your IDE
- Derive evaluators from real failures, mine traces, pick the dominant failure mode, and build an LLM-as-a-judge for exactly that mode
- Validate before shipping, synthetic or production datasets, side-by-side experiment runs, and human annotation tighten TPR/TNR before you attach the evaluator to live traffic
- Treat evaluators as a system, not a one-off. Iterate, validate against data, align with human judgment, then monitor in production
What you’ll build
A validated, production-ready LLM-as-a-judge evaluator, tuned against real failure modes from production traces and attached to a live agent. The research assistant agent in this guide is just the vehicle: the focus is the evaluator optimization loop, not the agent itself.What you’ll learn
In this guide we walk through how to:- Connect Claude Code to Orq.ai and work directly with your production data from the terminal
- Use MCP to analyze traces and uncover real failure modes in your system
- Generate an initial LLM-as-a-judge evaluator based on those failure patterns
- Create a dataset (synthetic or production-based) and run experiments to test evaluator quality
- Iteratively improve the evaluator, analyze weak performance, refine prompts (few-shot, structure, tokens), and re-run experiments
- Add human annotation to validate whether the evaluator actually reflects what “good” looks like
- Push a validated evaluator back into production and monitor it on live traffic (with sampling if needed)
Two main directions
When you’re shipping AI features and using an LLM-as-a-judge to measure how your system is performing, the judge itself is a system under test. You need to know how stable your evaluator is and iterate on it, tracing, annotating, and experimenting against it, with the same rigor you apply to your agent or deployment. Otherwise you’re grading production with a ruler you’ve never calibrated. This cookbook focuses solely on optimizing the evaluator (the right-hand loop below). The left loop, optimizing the agent or deployment, uses the same primitives and is covered in the Agents API tutorial.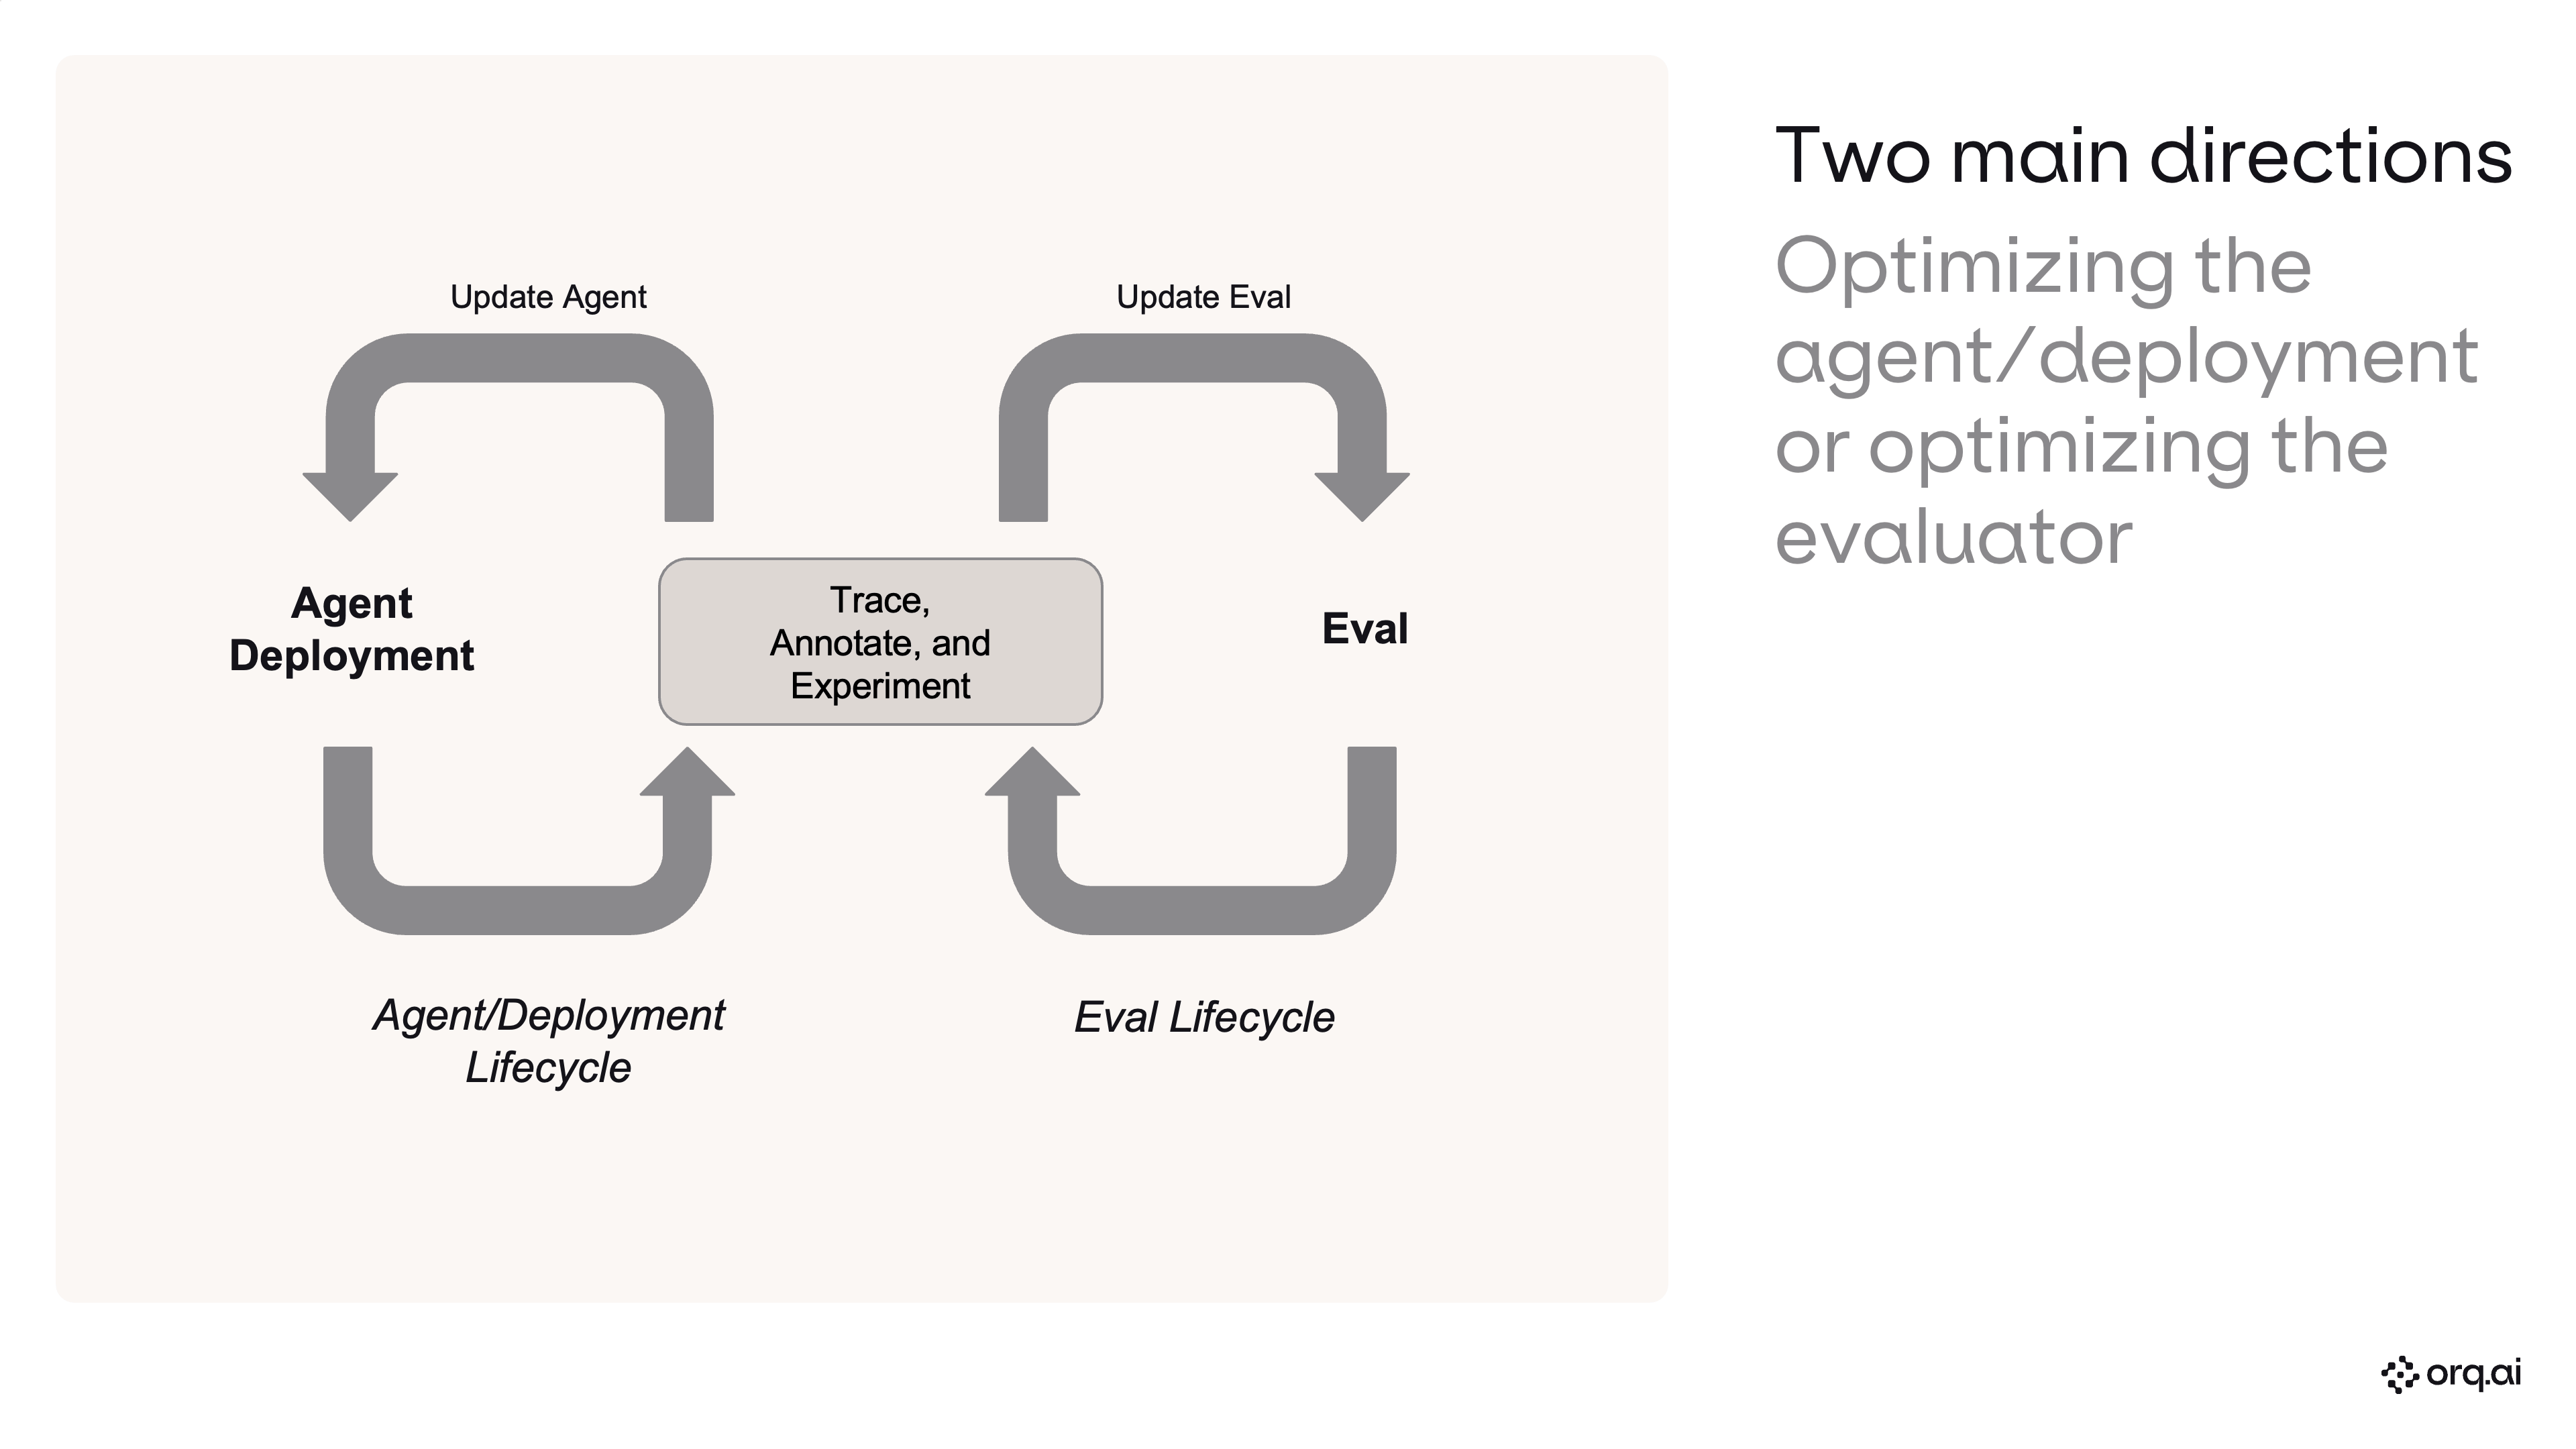
Two main directions: optimizing the agent/deployment or optimizing the evaluator. Both loops share the same Trace, Annotate, and Experiment core.
Pre-requisites
Step 0: Connect Claude Code to Orq.ai
Install Claude Code, wire up the Orq.ai MCP server, and load the skills plugin.Shell - Fresh install
Step 1: Workspace overview
See what’s already in your Orq.ai workspace.Claude Code
Step 1.5: Enable models in AI Gateway
New users: go to AI Studio → AI Gateway in my.orq.ai and toggle on the models you need (e.g. Claude Sonnet 5, GPT-5.4-mini). Agents and experiments can only use models that are enabled here.Step 2: Build the agent
Create a research assistant with web search and current date tools.Claude Code
Step 3: Write the invocation script
Generate a script that sends 10 diverse research questions to the agent via the REST API.Claude Code
Step 4: Invoke the agent
Run the script to generate traces.Shell
Step 5: Analyze traces & build a failure taxonomy
Read recent traces, identify failure modes, quantify, and prioritize.Claude Code
Step 6: Build an evaluator from the dominant failure mode
Identify the #1 failure pattern and create a targeted LLM-as-a-judge evaluator.Claude Code
Step 7: Create a validation dataset
Generate a complex, ambiguous dataset to stress-test the evaluator.Claude Code
Step 8: Run the baseline experiment
Test the evaluator prompt against the dataset.Claude Code
Step 9: Analyze experiment results
Compute accuracy, confusion matrix, and diagnose mismatches.Claude Code
Step 10: Improve the prompt and re-run side by side
Add a second task column with an improved prompt and compare.Claude Code
Step 10.5: Annotate in AI Studio
Before checking alignment programmatically, add annotation labels to the experiment run directly in AI Studio. Open the experiment, click into the Review tab, and annotate each row with your judgment.Step 11: Human annotation & alignment check
Validate evaluator accuracy against human judgment.Claude Code
Step 12: Create evaluator & attach to agent
Productionize the winning evaluator prompt and wire it to the agent.Claude Code