Permissions
Invite and configure permissions for all your team members on orq.ai
Orq.ai allows you to use different entities to manage roles and permissions within your workspace. This enables you to build a granular access model that fits your teams and business needs.
Overview of roles and structure
- Each of your employees can be invited as a Member
- A Member can have one of three roles: Admin, Developer or Researcher.
- Members can be grouped within Teams
- Teams have permissions over your Projects.
Member and Roles
Members represent separate users in the workspace.
To better control permissions over your workspace and projects, we've created three roles to use for your teammates:
| Role | Description |
|---|---|
| Admin | Complete access across all platform features, including user management, workspace settings, model configurations, and Billing. |
| Developer | Provides technical access to all essential features, including the ability to deploy changes within Deployments. Developers cannot manage models, billing, or users. |
| Researcher | Offers full access to Playgrounds, Experiments, but has limited access to Deployments. Researchers can review and annotate logs but cannot modify or deploy changes. |
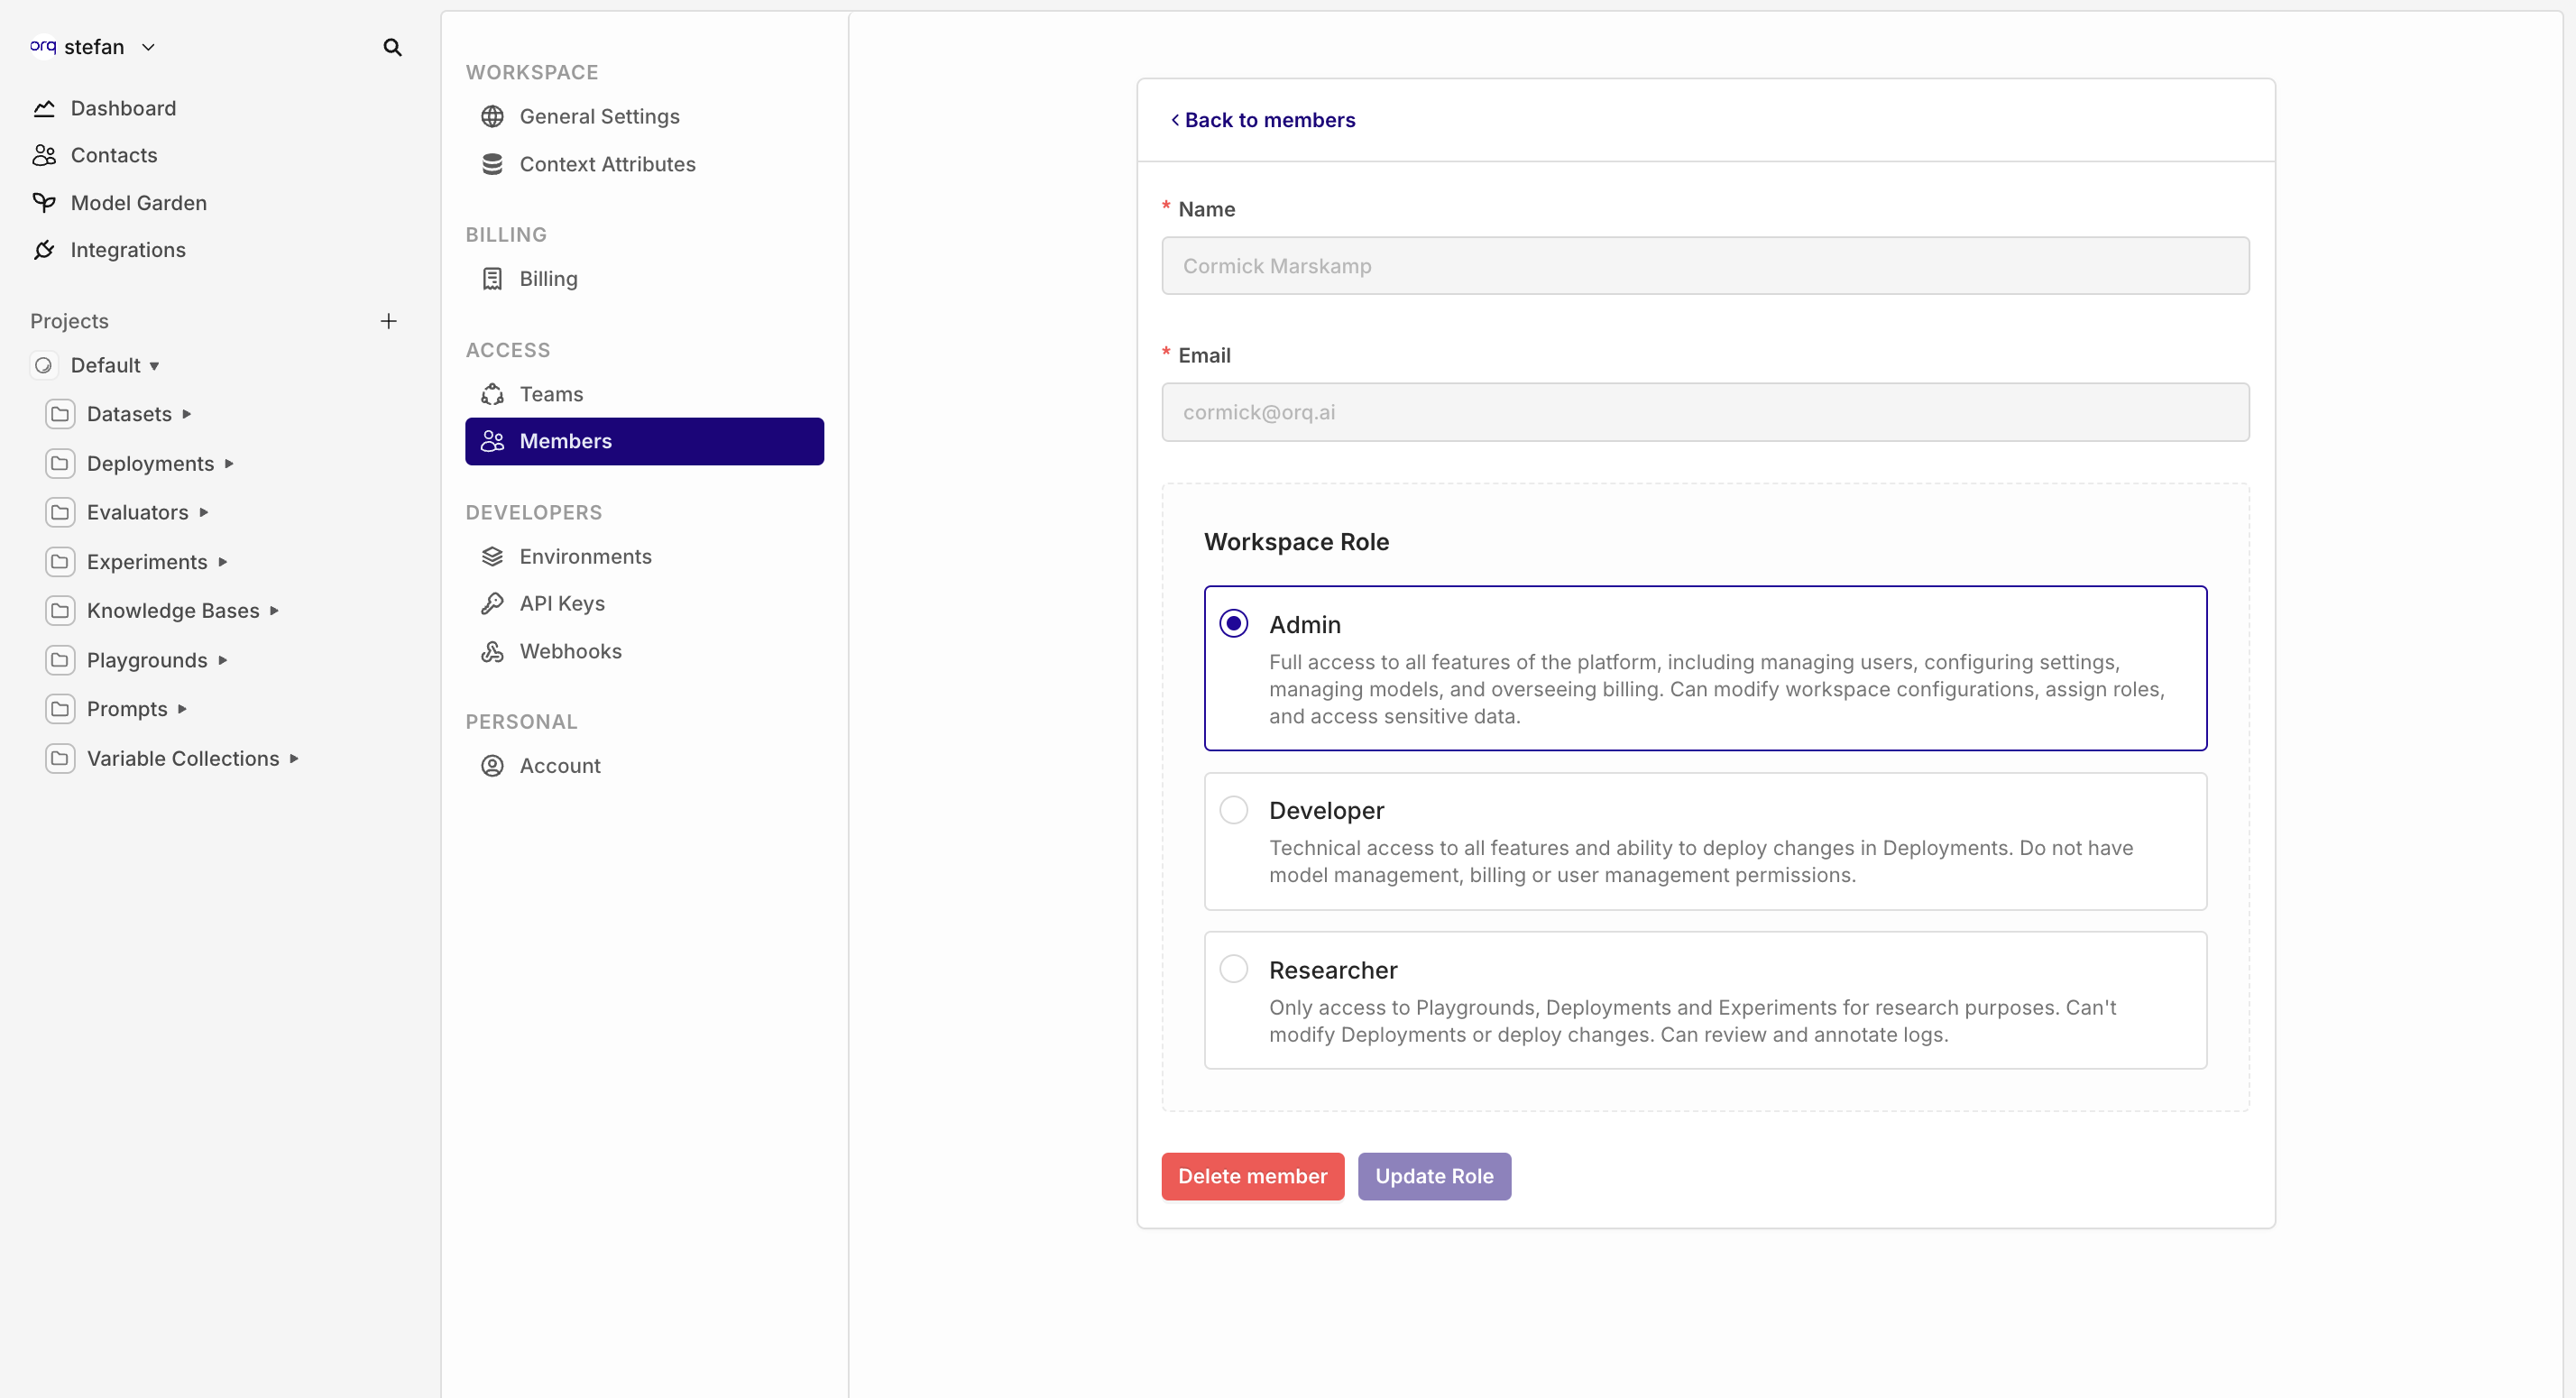
You can assign roles to members as they are created or edited. To manage members, head to your Workspace Settings, then Members
Projects and Teams
Projects are where your orq.ai resources are living, models, prompts, Playgrounds, Experiments, Deployments.
Having separate projects can help keep things organized and make sure that only the necessary people have access to the resources.
To learn more about using Projects, see Projects.
Teams let you group members and assign them to different Projects.
This modelling lets Members use their Role over different projects, for example:
- Developers can live within separate teams, sometimes sharing projects or working on separate ones.
- One Researcher can be assigned over multiple teams, combining their efforts over multiple Deployments.
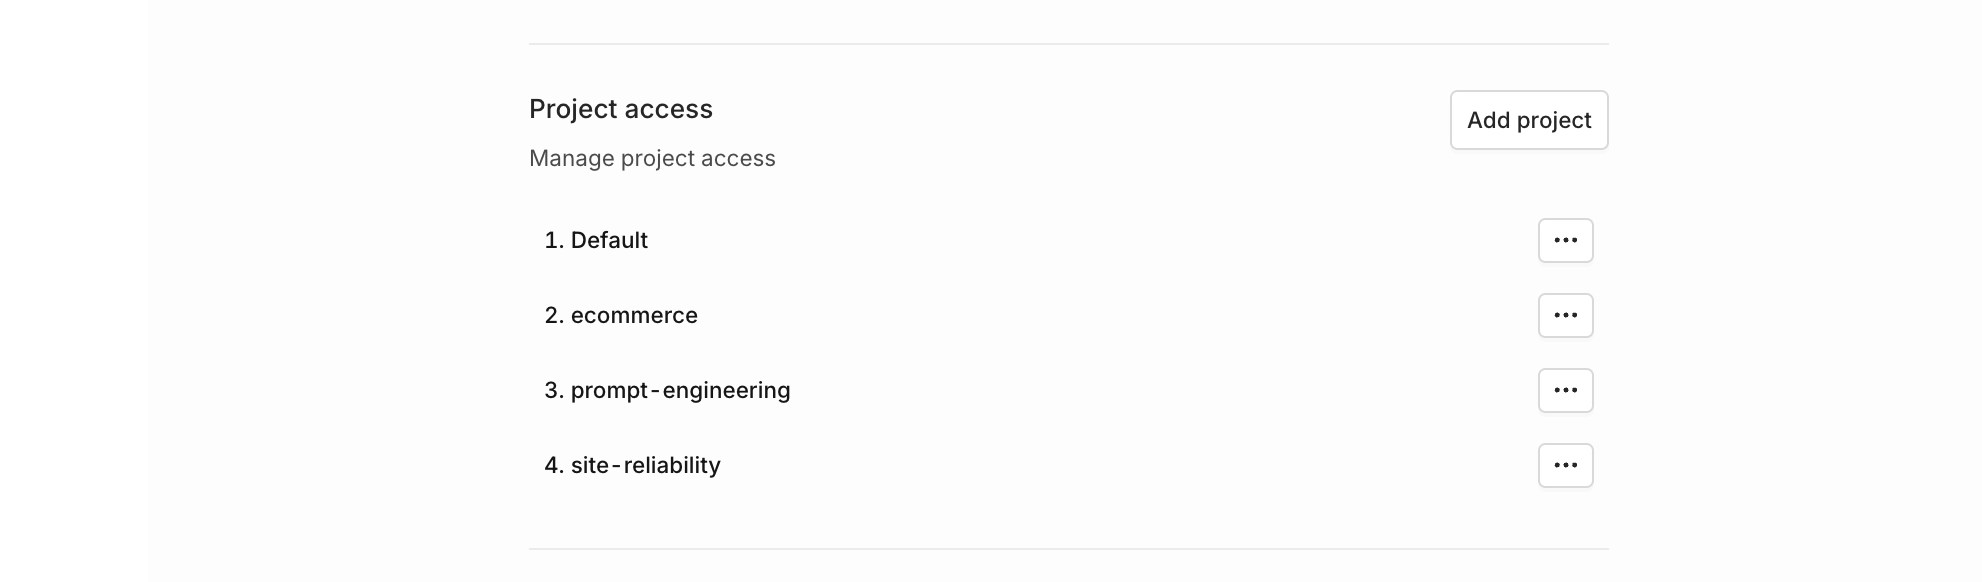
You can easily add projects to existing teams, letting teammates build new projects immediately.
Updated 3 months ago