Creating a Prompt
To create a Prompt, follow these steps:- Navigate to a Project
- Click the
+button at the top - Select Prompt from the menu
- The Prompt editor will open in the AI Studio
Choosing a Model
The first step to building a prompt is choosing a model.To select a model, it must be available through the Model Garden.

Model Parameters
Temperature
Temperature
The temperature parameter is a master control for creativity and predictability. Imagine it as the dial on a creative thermostat. Turn it up, and the model generates more diverse, sometimes surprising responses, exploring the outer edges of its training. Dial it down, and the output becomes more predictable, sticking closely to the patterns it knows best.
Max Tokens
Max Tokens
The Max Tokens parameter allows you to define the upper limit of tokens that the model can produce in a single output. This feature helps prevent the model from generating excessively long text sequences, ensuring concise and relevant responses. Conversely, it’s important to allocate a sufficient number of tokens to enable the model to deliver a complete answer. Setting the limit too low may result in the model’s response being cut off before fully addressing the query.
Top K
Top K
This parameter narrows the model’s choices to only the k most likely tokens during each step of text generation. By assigning a value to k, you direct the model to focus on a select group of tokens deemed most probable. This method aids in refining the output, making sure it follows particular patterns or meets certain criteria.
Top P
Top P
Top P, a.k.a. “nucleus sampling” is a smart filter for large language models. It selects a pool of likely words based on a probability threshold, balancing creativity with coherence. This method ensures responses are both relevant and interesting.
Frequency Penalty
Frequency Penalty
If you don’t want the model to constantly use the same words, the frequency penalty helps to minimize repetition. It discourages the model from reusing the same words or phrases too frequently in its output, encouraging a richer, more varied use of language. This leads to more original and engaging responses, enhancing the creativity of the content generated. The higher the penalty, the more creative the model becomes.
Presence Penalty
Presence Penalty
Similar to the frequency penalty, this parameter also discourages or stimulates repetition. However, the presence penalty focuses more on discouraging repeated topics or ideas rather than specific words and phrases. The higher the penalty, the more creative the model becomes.
Messages
To start preparing messages for your model select Add Message in the Prompt Template panel. Here, you will be able to enter a message that the model will receive before generating responses. This can be used to set the context to any hypothesis or prompt you want to test. If you want to chat with the model, we advise you to do this outside of the prompt template.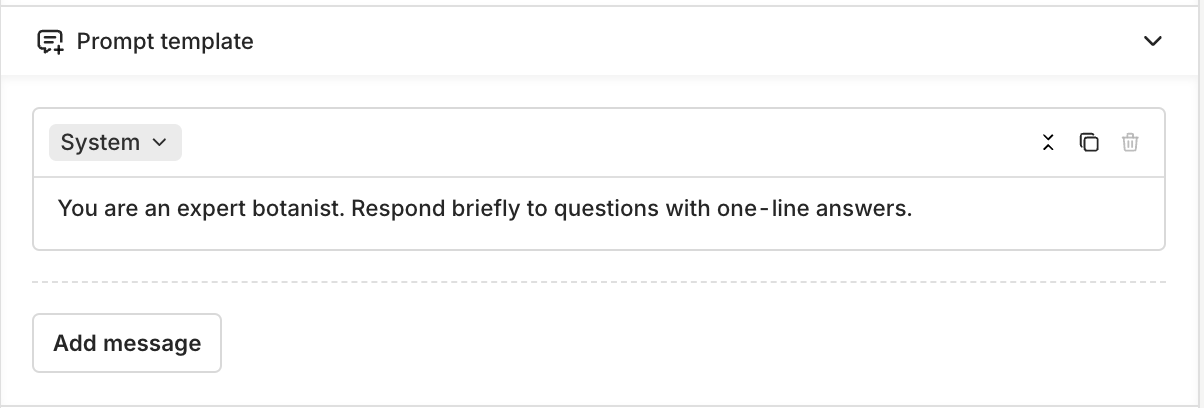
Roles
When adding a message you can choose from different roles, roles are used for different use-cases when interacting with a language model.| Role | Description | Example |
|---|---|---|
| System | A guideline or context for the language model, directing how it should interpret and respond to requests. | ”You are an expert botanist. Respond briefly to questions with one-line answers.” |
| User | An actual query posed by the user. | ”Which plants thrive in shady environments?” |
| Assistant | Responses to user queries by the language model. | ”Ferns, Hostas, and Hydrangeas are some plants that thrive in shady environments.” |
Input Variables
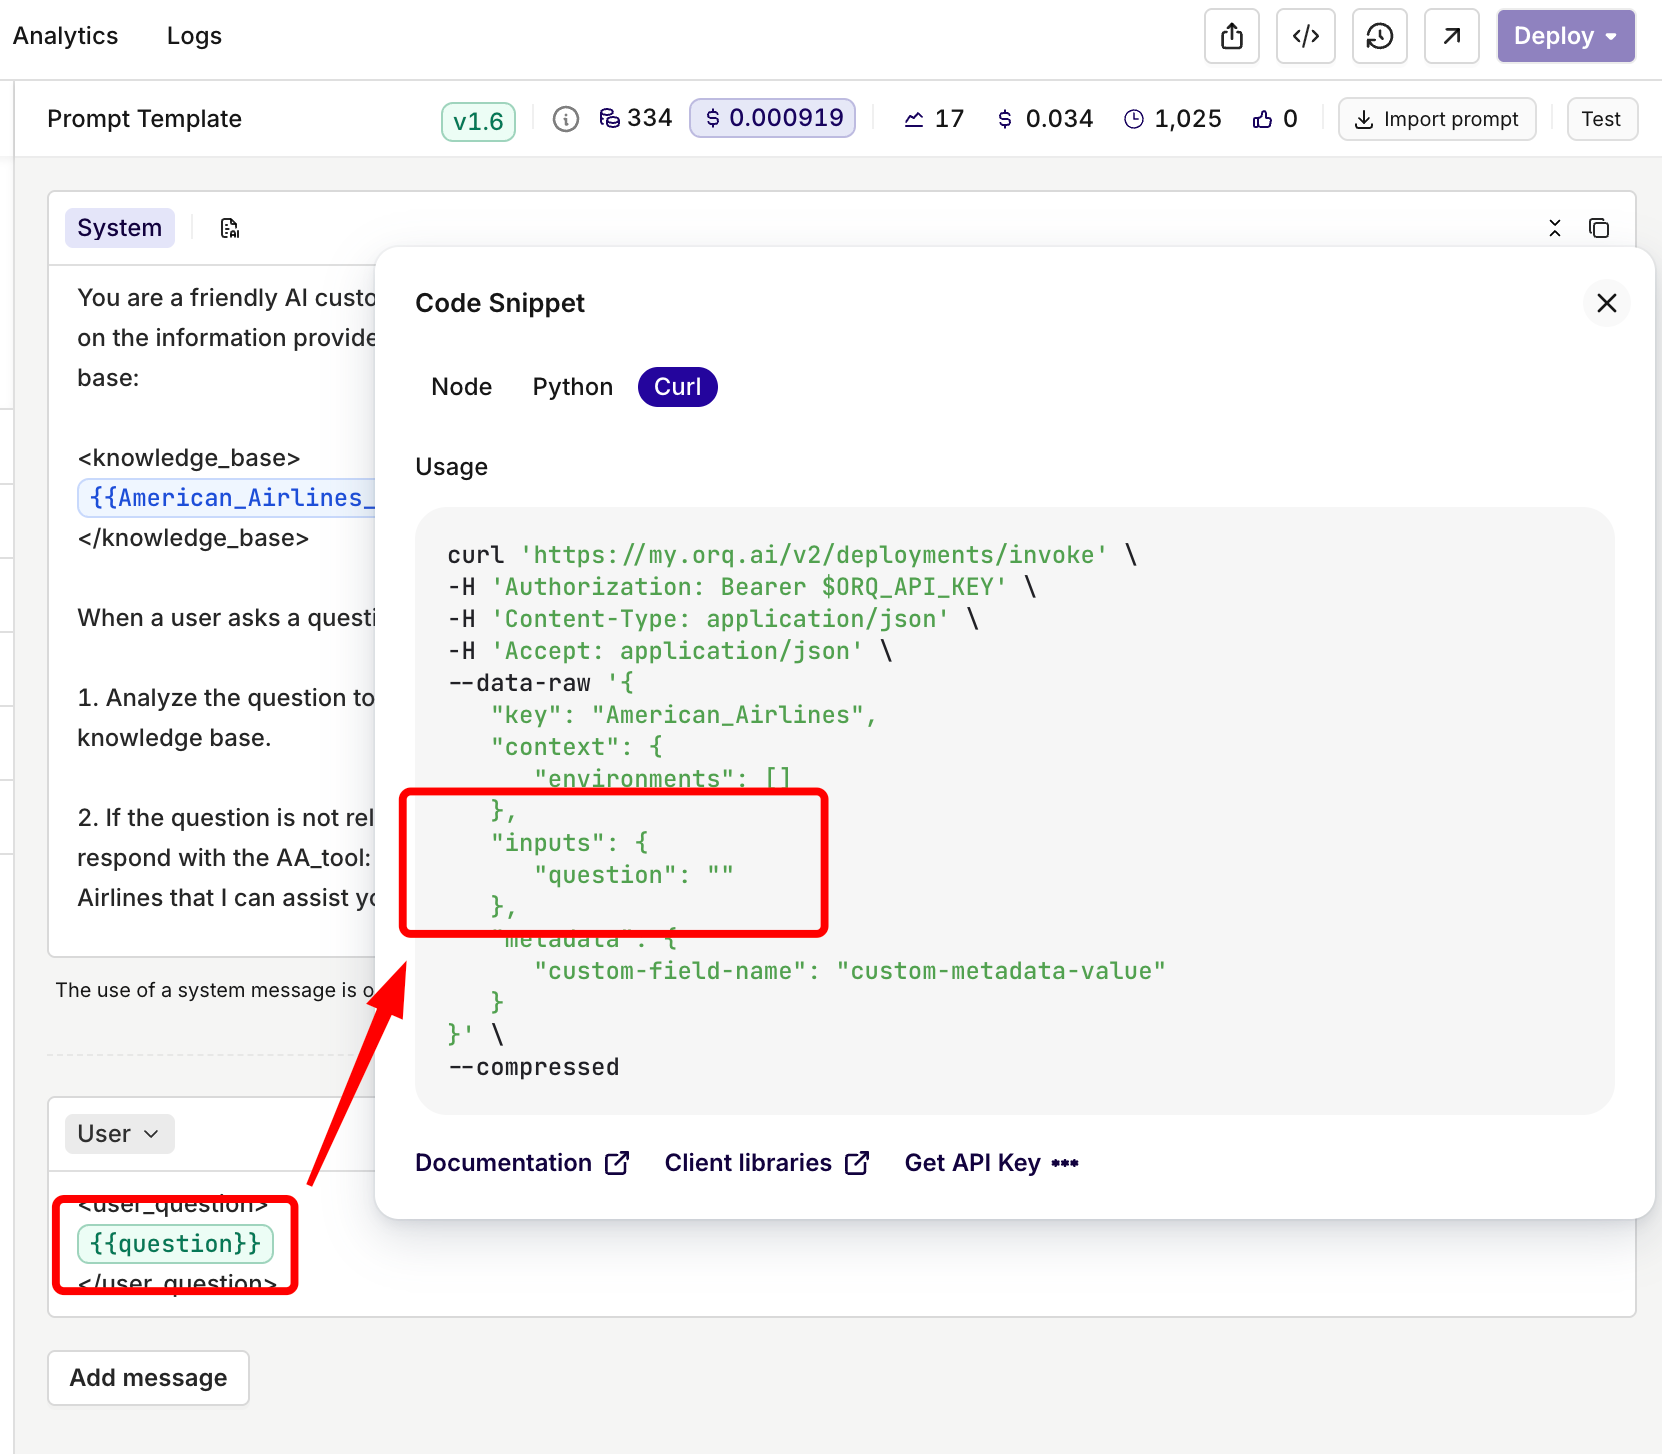
You can use inputs within your Prompt Template to make them dynamic. To add an input , simply type{{input_key}}within a message.
To see all declared inputs, select the Inputs block at the top-right of the page, here you can enter default values used during generation, for all inputs.
Using Image Generation in a Prompt
Image Generation models can create images based on text descriptions. These models are perfect for creative tasks, content generation, and visual prototyping.Selecting an Image Generation Model
To select a model that is compatible with Image Generation, use a model that has animage tag next to its name:
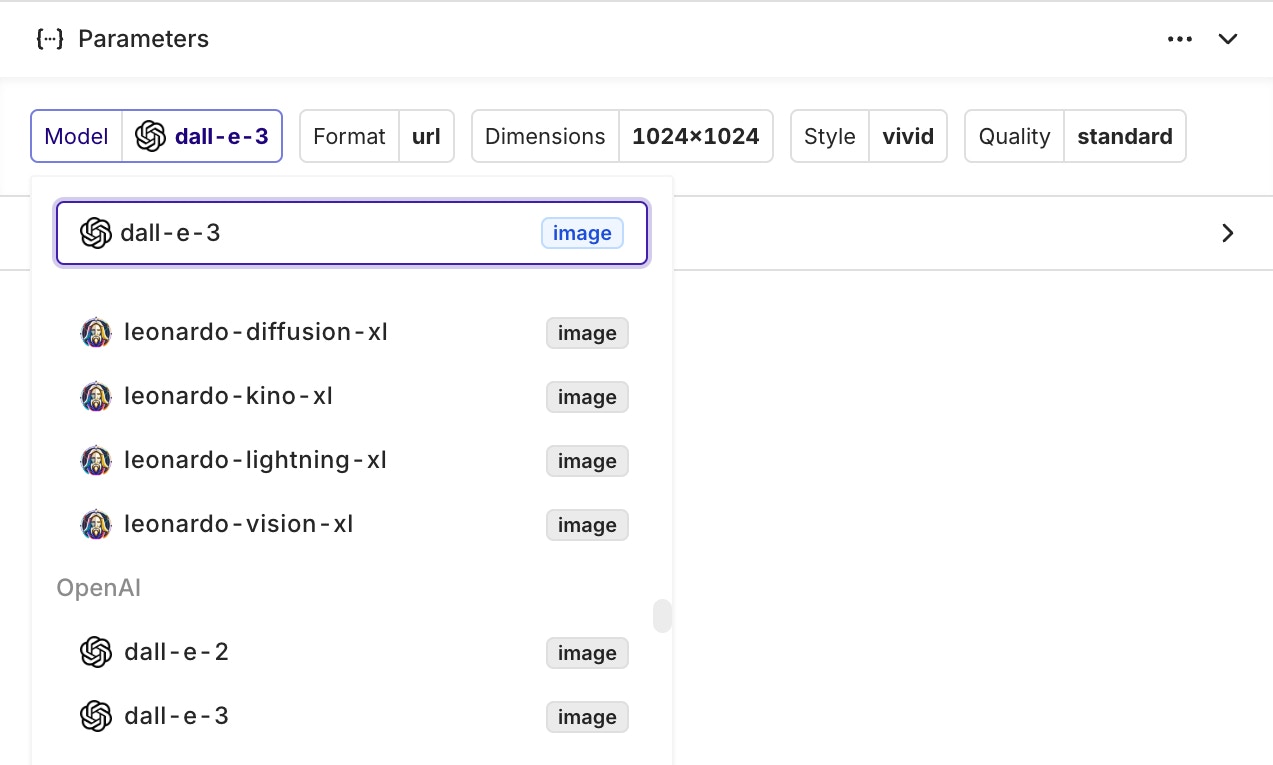
imageConfiguring Parameters for Image Models
Image Generation models have different parameters compared to chat models. The parameters will be different for each image model and will impact the generated images.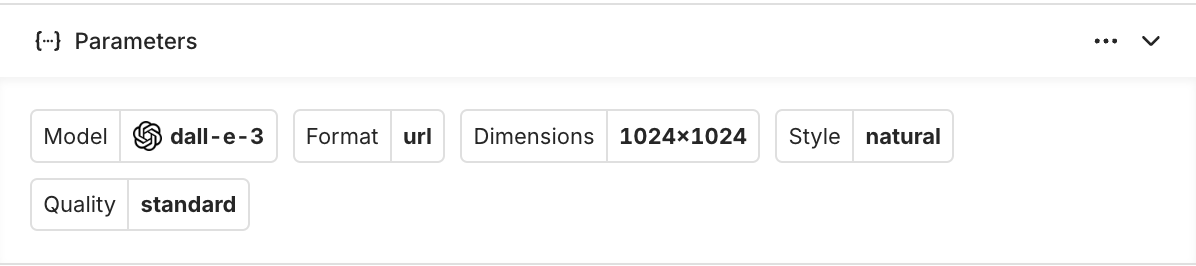
dall-e-3Using Image Generation in Playground
You can use image models just like any other model in the Playground. The generated images will appear as regular messages. You can click on the image to see it on fullscreen or in a new tab.
- Creative Content: Generate artwork, illustrations, and visual content for marketing materials
- Product Design: Create mockups and visual prototypes based on descriptions
- Content Creation: Generate images for blogs, social media, and presentations
- Concept Visualization: Turn abstract ideas into visual representations
- Be Specific: Provide detailed descriptions for better results
- Style Guidelines: Include artistic style, mood, and visual elements in your prompts
- Parameter Tuning: Experiment with model-specific parameters to achieve desired output quality
- Iterative Refinement: Use generated images as starting points for further refinement
Using Vision in a Prompt
Vision models can analyze, interpret, and understand images that you provide. These models are ideal for image analysis, document processing, visual question answering, and content moderation.Selecting a Vision Model
To select a model that is compatible with Vision, use a model that has avision tag next to its name:
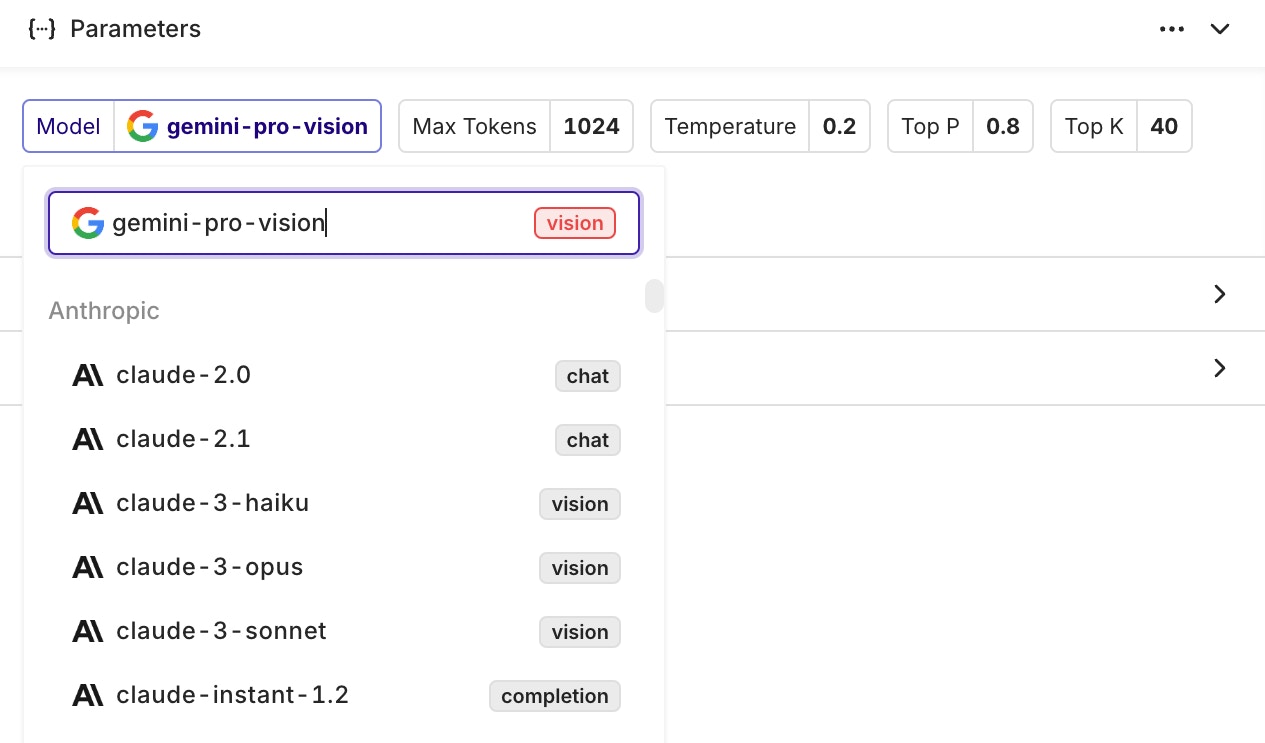
visionUsing Vision in the Playground
You can use Vision models just like any other model in the Playground. To include an image as an input for your model, click on the image icon at the top-right of your message. You will then be able to share a link or upload an image to be sent to the model.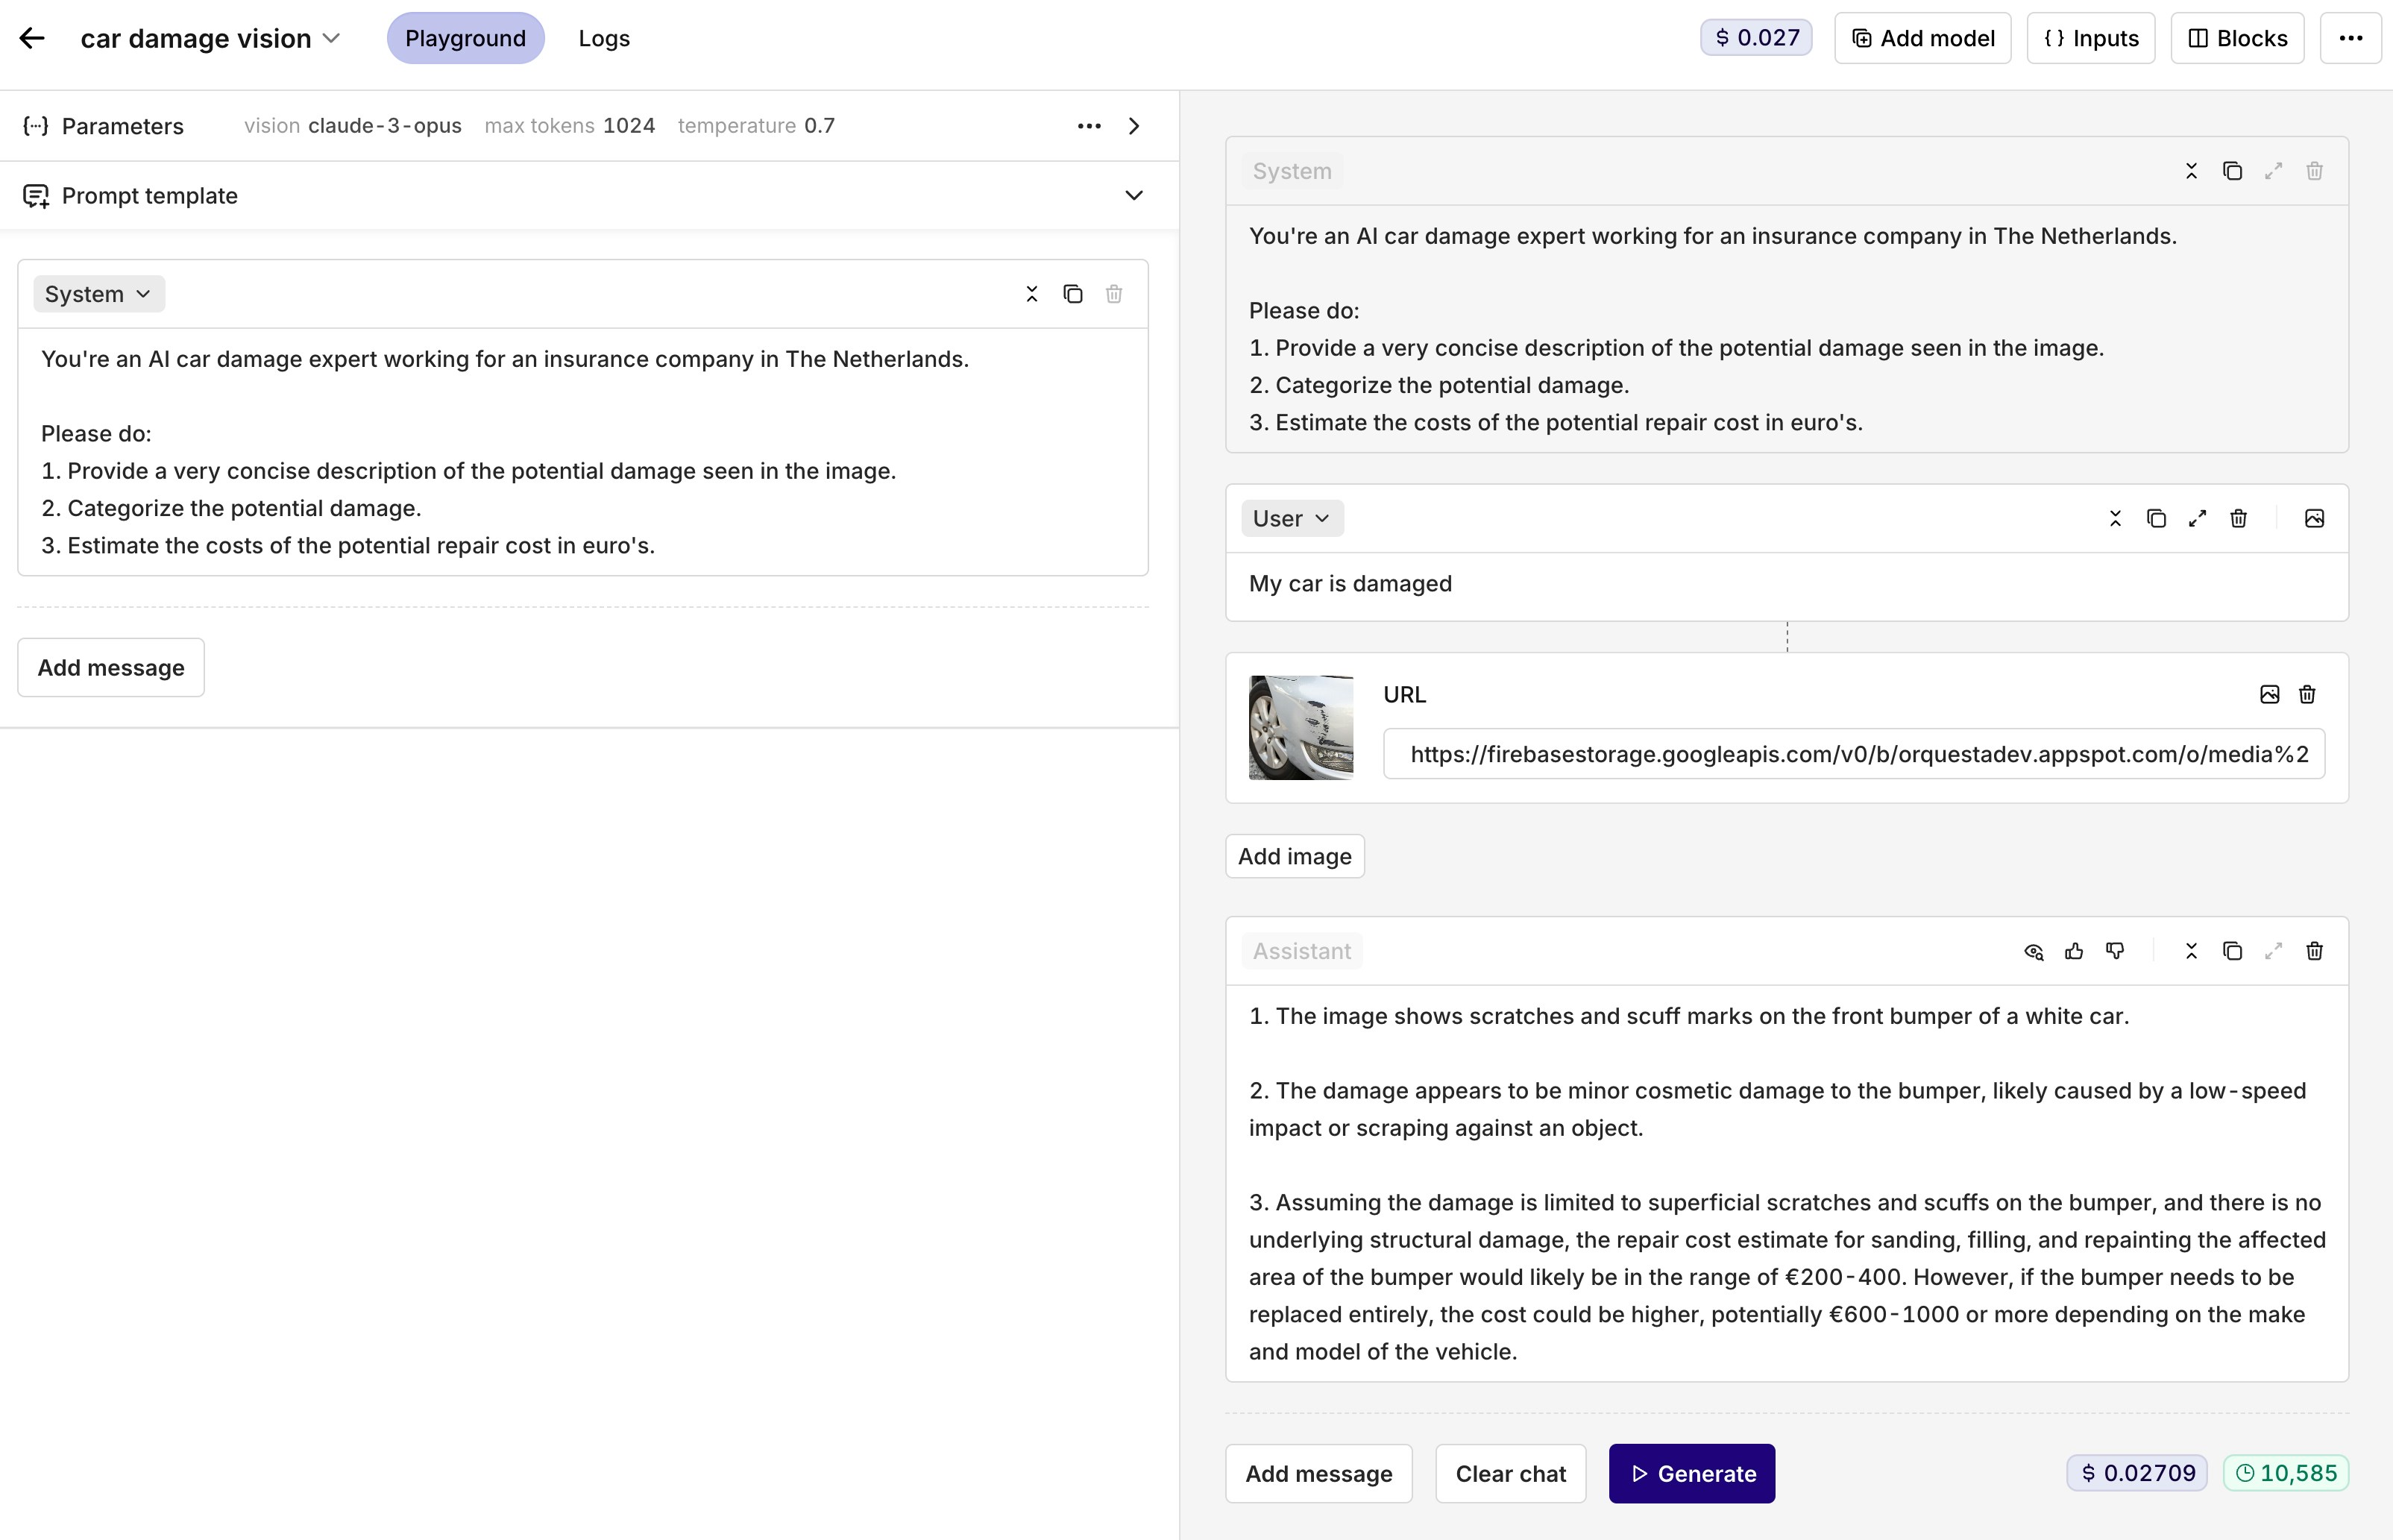
- Document Processing: Extract text and information from scanned documents and forms
- Visual Quality Control: Analyze product images for defects or compliance
- Content Moderation: Automatically review images for inappropriate content
- Medical Imaging: Analyze medical scans and diagnostic images (with appropriate models)
- Insurance Claims: Process damage assessment photos and documentation
- Image Quality: Ensure images are clear and well-lit for best analysis results
- Specific Questions: Ask focused questions about what you want to extract or understand
- Context Provision: Provide context about what the image represents for better interpretation
- Multiple Angles: For complex analysis, consider providing multiple views of the same subject
Using Vision through Code
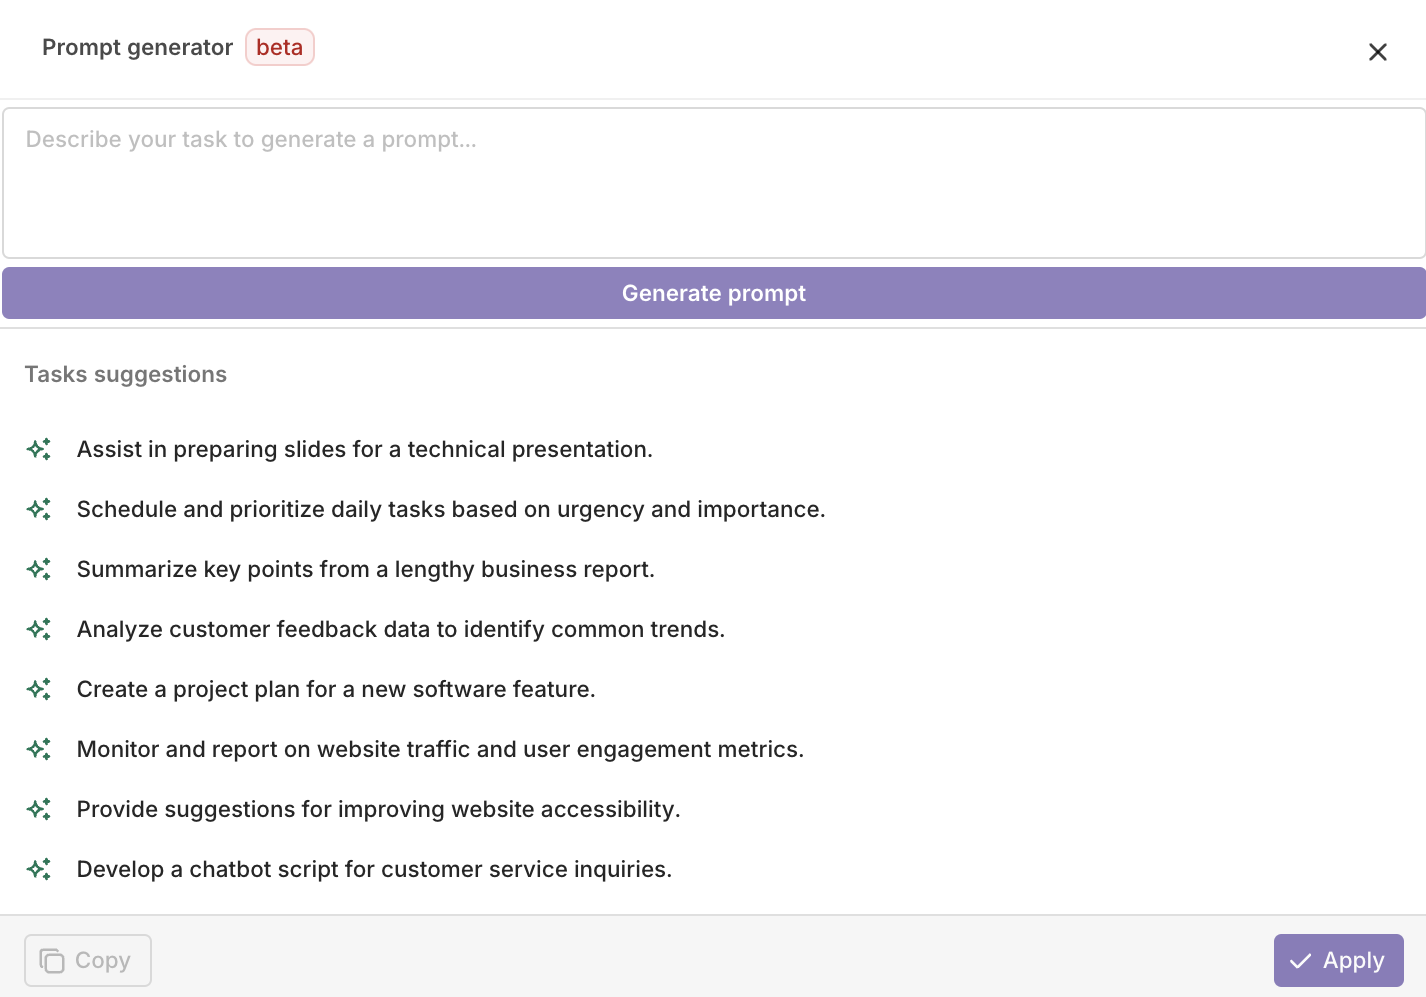
You can use vision models through our API and SDK to analyze images programmatically:Using the Prompt Generator
To do so select the Generate Prompt button next to the Role Selector.
Select Copy to copy the prompt to your clipboard. Select Apply to overwrite the current prompt with the newly generated one.
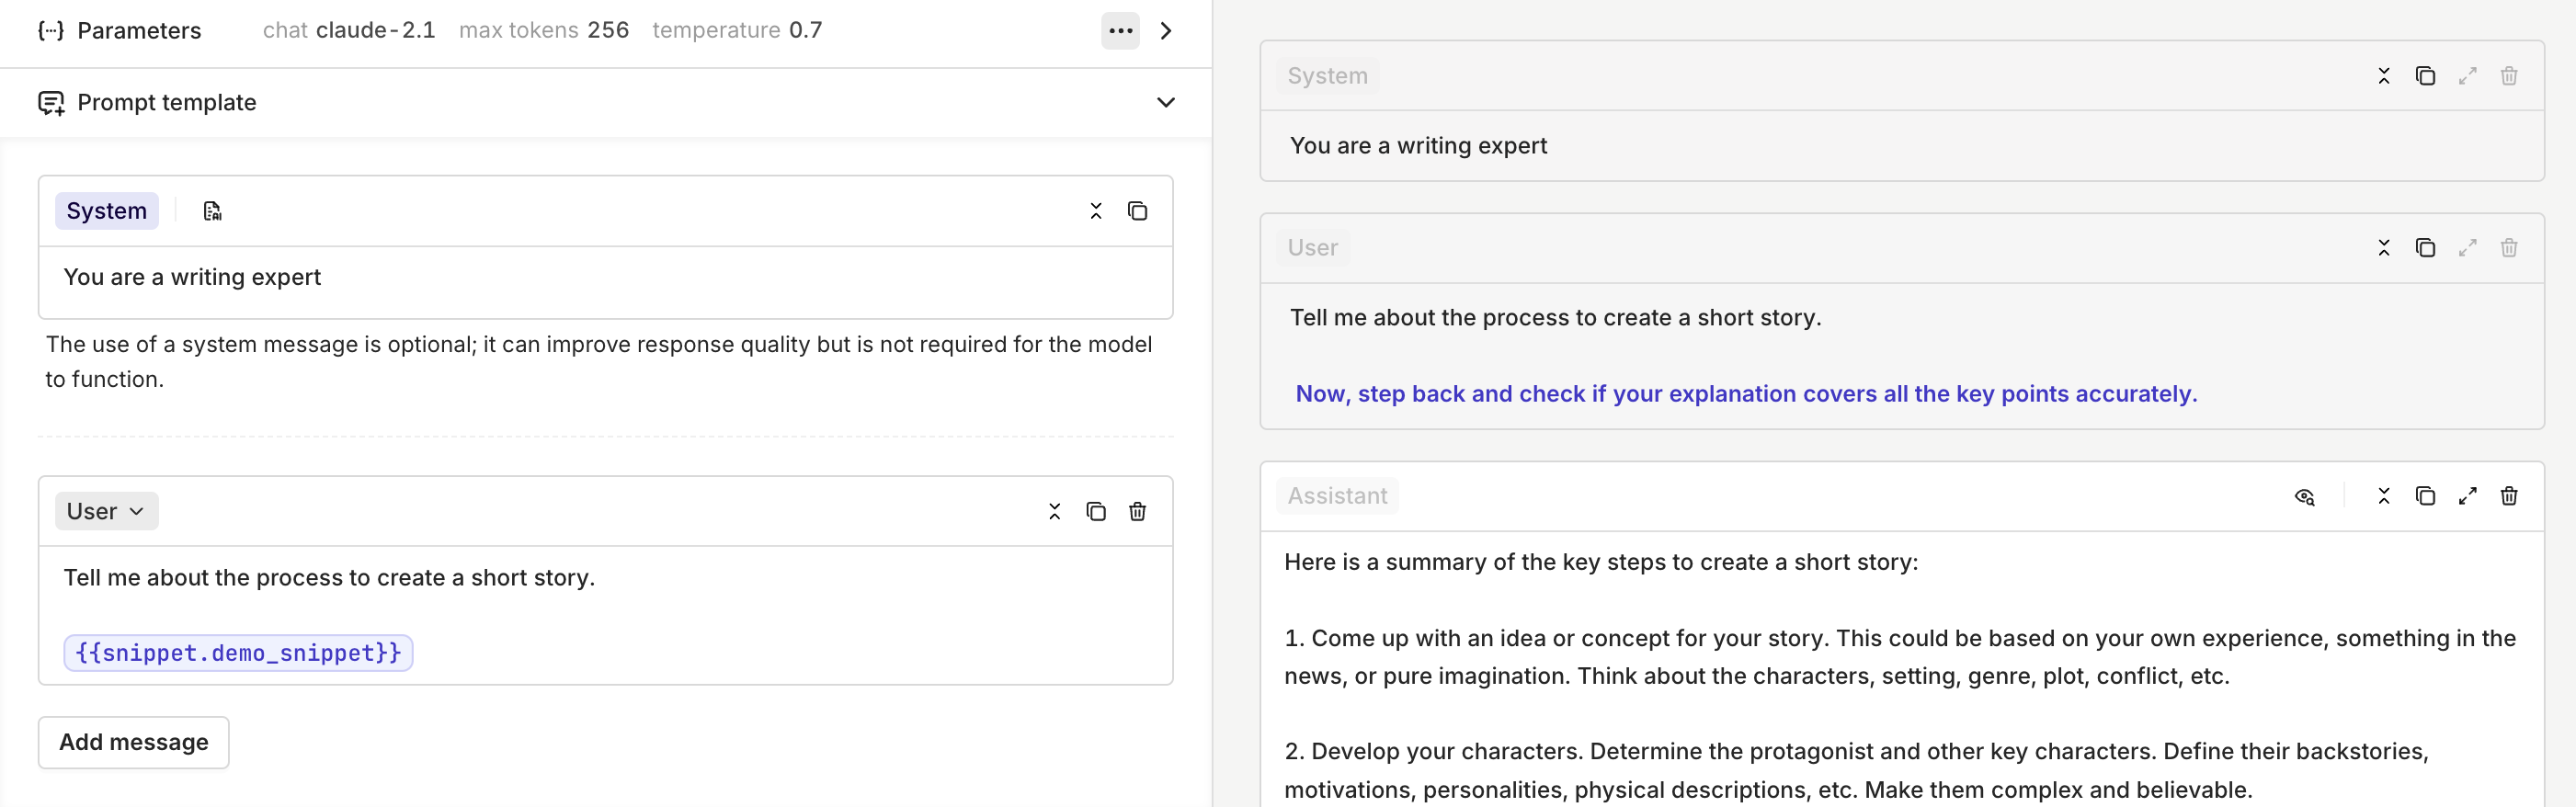
Using Prompt Snippets
Reference Prompt Snippets with{{snippet:key}} syntax. Inject reusable templates into prompts for modular LLM configuration and DRY prompt engineering.