Creating a Playground
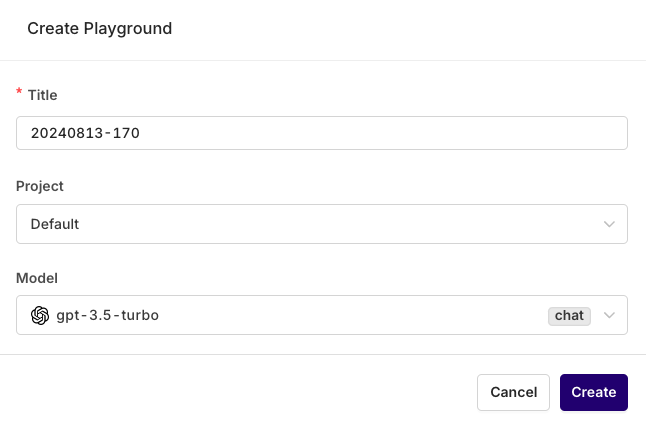
To get started with creating a Playground: Head to the Studio, choose a Project and use the+ button, select Playground
The following modal opens:
Parameters
The first step to preparing your Playground is configuring the parameters for the model you want to run. To configure your parameters, toggle the Parameters block at the top-left of the page. To change the model used, click on the model name to open a list of available models. In the Playground, you can test all available models through our API key. In other words, you don’t have to set up your own API keys if you quickly want to test out models that you might not have access to. We do this because we want to make it as easy as possible for the user to quickly test out multiple models.See which models are available in the AI Router.
Model parameters
Setting up the right parameters is important. Especially the Max Tokens parameter, since you want to make sure that you allow the model enough tokens to use for the output.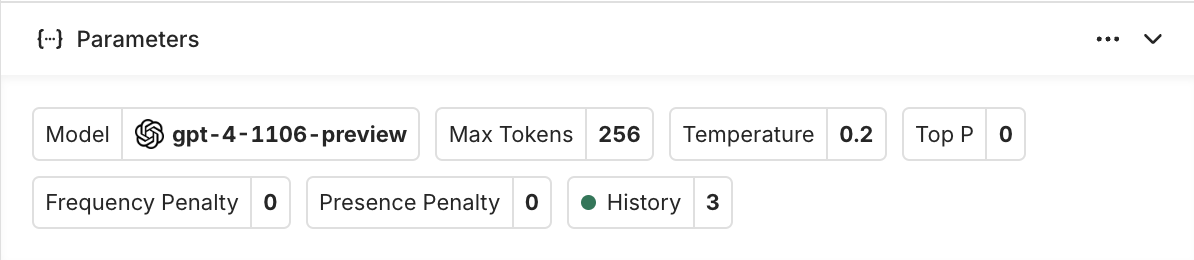
To learn more about the most common model parameters, see Model Parameters.
History
History is a specific parameter available within the Playground. It defines how many previous message pairs the model should hold in memory during a conversation. History affects the behavior of the model. It is important to specify the number of message pairs needed for the model to answer properly. When setting history to 0, the model will not take any previous message pairs into account and act as a completion model, meaning: it won’t remember what has been said in the past.Prompt
The next step is to define the prompt template. The template is designed so that the user can quickly iterate on their prompt. After filling out your prompt, you can hit generate and the model will return an output. When clearing the output (assistant messages) and possible follow-up messages, the prompt template will remain.To learn how to setup your Prompt and Messages, see Creating a Prompt.
Generation
Once the Prompt Template is ready, you can generate an output and simulate a chat. On the right side of the panel, you will see your template generated and ready to be conversed with. You can add messages on top of the template messages and prepare the conversation for generation, to do so use the Add message button. Once ready to be sent, you can select Generate.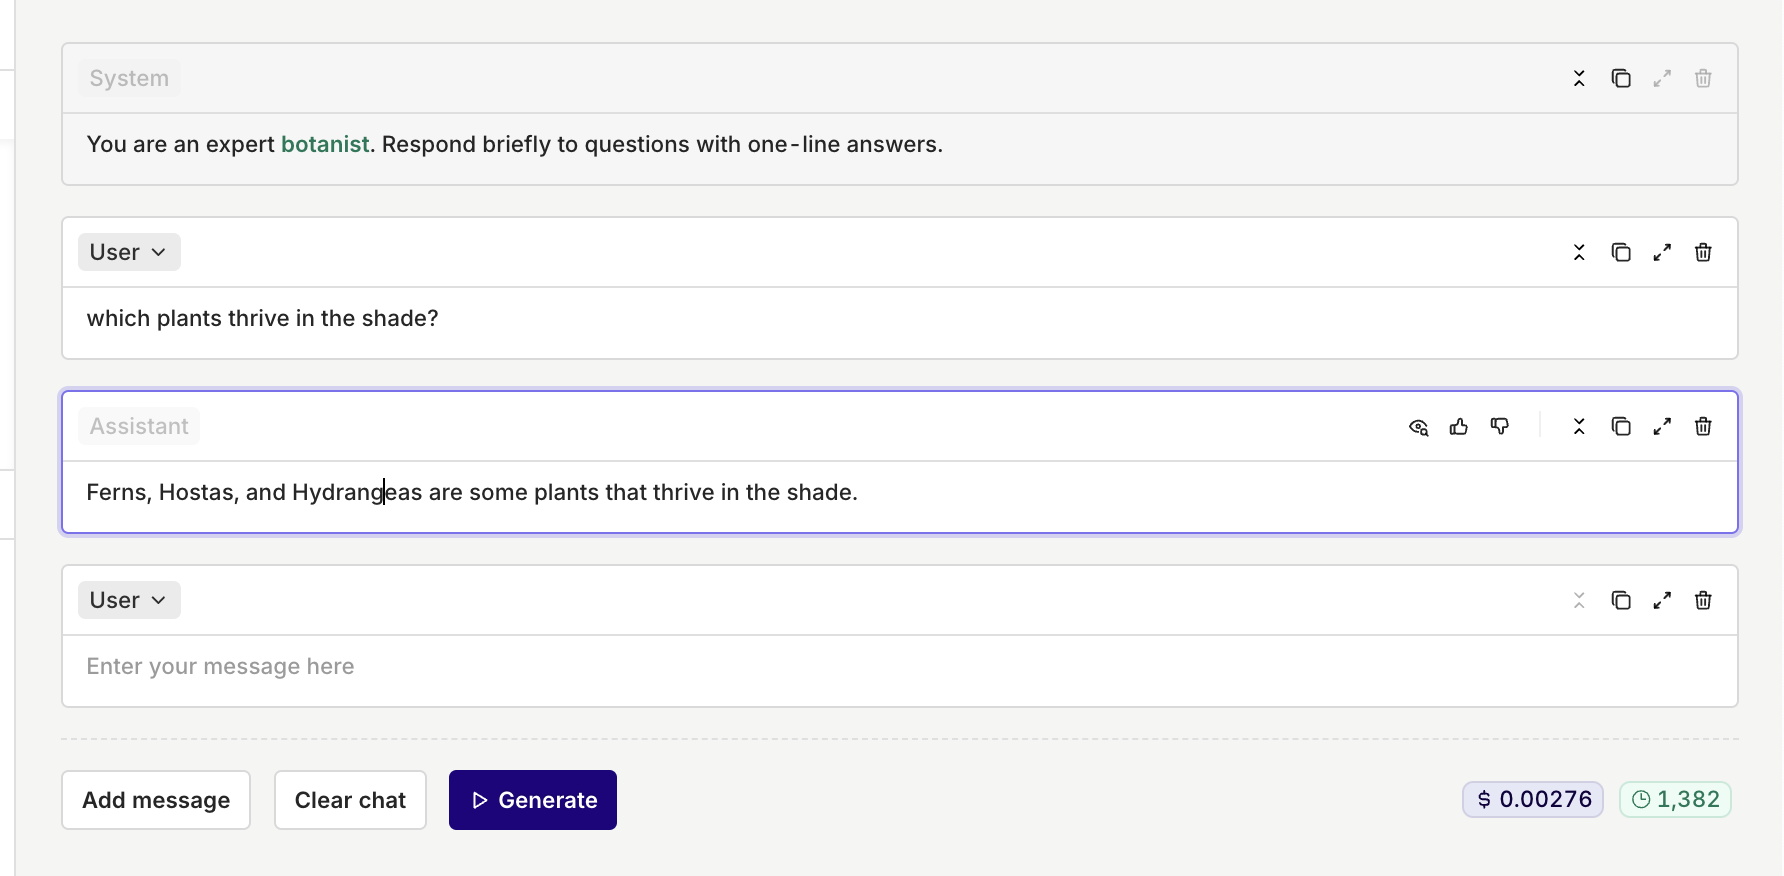
Comparing multiple models
A strong feature of Playgrounds resides in comparing different models side-by-side. To add another model to your Playground, press the Add Model button at the top-right of the panel. This will split the panel view with a second column containing the new block.Copying and Duplicating Models
Your additional model configuration is by default empty. You can decide to Copy the Prompt Template from one model to another by selecting the... menu at the top-right of the block and then choosing Copy Prompt Template to one or all other models.
Likewise, you are also able to duplicate a model by selecting the ... menu and then choosing Duplicate Block
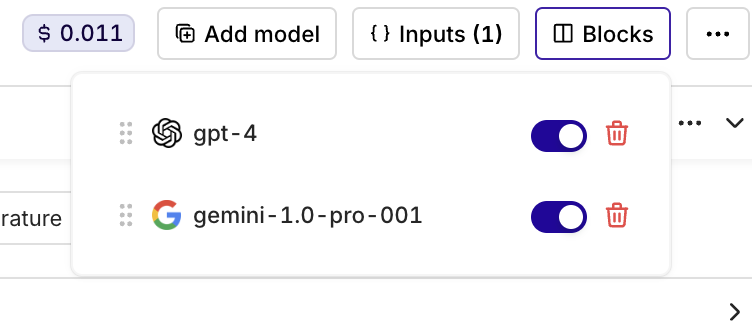
Blocks
Each model is located within one block in your Playground. At any moment you can decide to deactivate a block by selecting the Blocks menu at the top-right of the panel and toggling which model you want displayed.