Orq MCP is live: Use natural language to interrogate traces, spot regressions, and experiment your way to optimal AI configurations. Available in Claude Desktop, Claude Code, Cursor, and more. Start now →
Organize AI resources with projects. Group prompts, deployments, agents, and knowledge bases. Manage team access and permissions for isolated environments.
Projects are the top-level organizational unit in orq.ai. Each project is a workspace-level container that holds Deployments, Prompts, Agents, Knowledge Bases, and Datasets. Create separate projects to isolate environments, control team access independently, and keep observability data scoped per use case. For example, separate production and staging into distinct projects to scope API keys, permissions, and trace data independently.If the top bar shows a project name dropdown, Sidebar V2 is active: use the New navigation tab. If the sidebar shows a Projects section with a button, use the Default navigation tab.
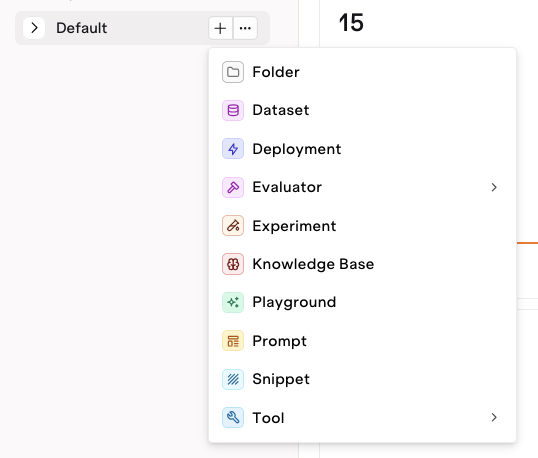
Create a new Project by clicking the button next to Projects in the AI Studio sidebar.Within a project, add entities (including Playgrounds, Experiments, Deployments, Agents, and more) using the button inside the project.
Add any entity to a project using the '+' button inside the project.
Projects use Directories to organize entities into a folder structure. Add a new directory using the button and selecting Directory. Add any number of sub-directories to fit the project structure.
If the top bar shows a project name dropdown (for example, Default Project), Sidebar V2 is already active. If not, follow the enable instructions below.
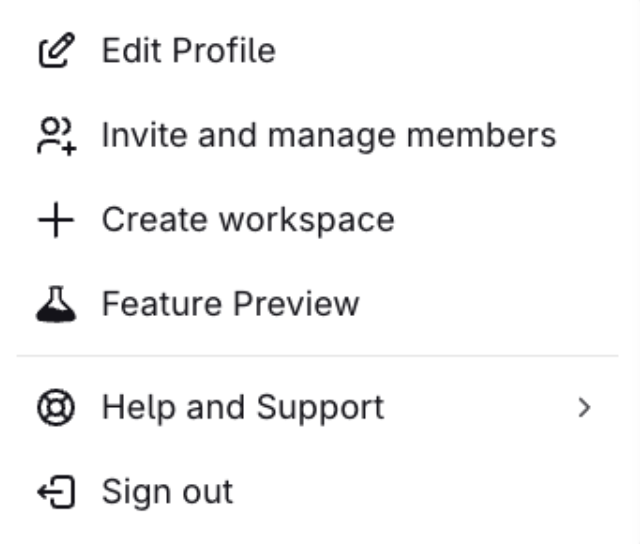
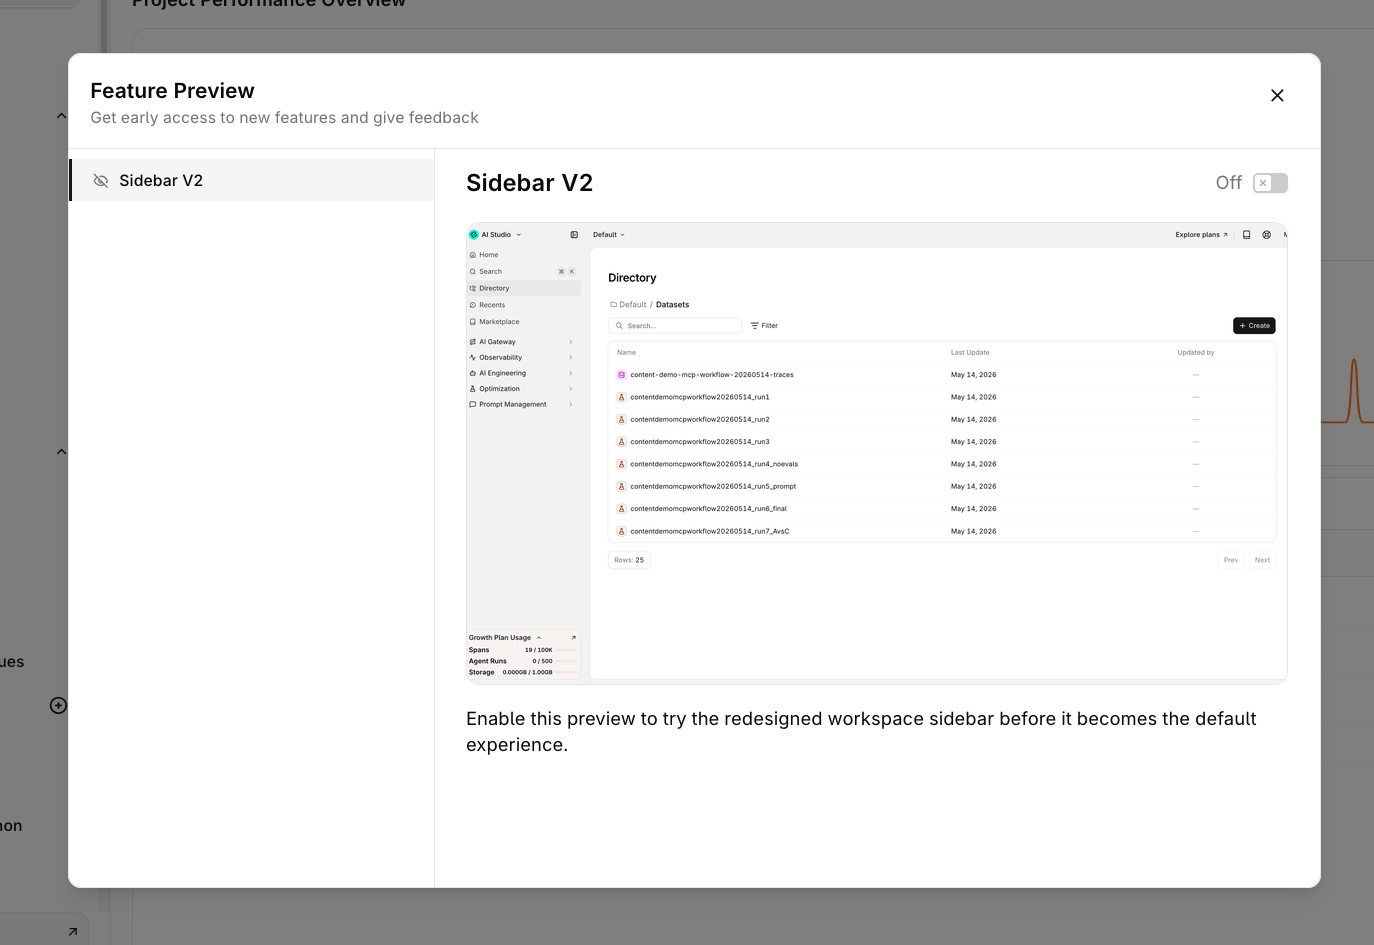
Enable Sidebar V2Open the workspace menu at the bottom left, select Feature Preview, and toggle Sidebar V2 on.
Open Feature Preview from the workspace menu.
Toggle Sidebar V2 on in the Feature Preview panel.
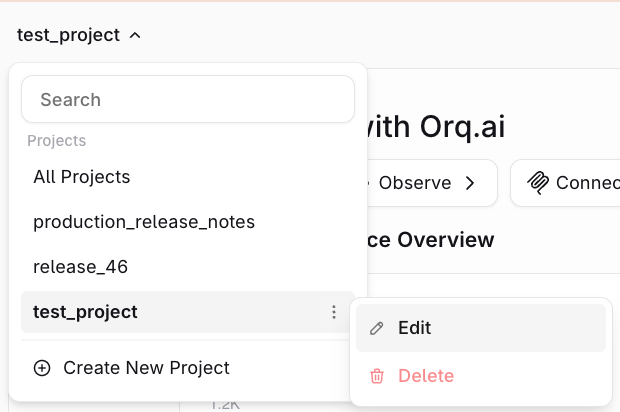
Switching projectsClick the project name in the top bar to open the project dropdown. Search for a project, select one from the list, or click Create New Project.
Select or create a Project from the top bar dropdown.
Editing or deleting a projectClick the menu next to a project name in the dropdown to Edit the project name or Delete the project.
Edit or delete a project from the project dropdown menu.
A project can only be deleted if it’s empty. Remove all entities from the project first.
Click a Project Name to view all sub-folders and entities within the project, including when they were last modified and by which Team Member.
Click through project folders and sub-folders to browse to desired entities.
Use filters to find a specific Entity Type. Use sorting to order by Name or Modified Date.
Use the menu to:
Move an entity to a different folder.
Delete an entity.
In the Settings tab:
Update the Project Name.
Configure Human Reviews on the Project (see Human Review).
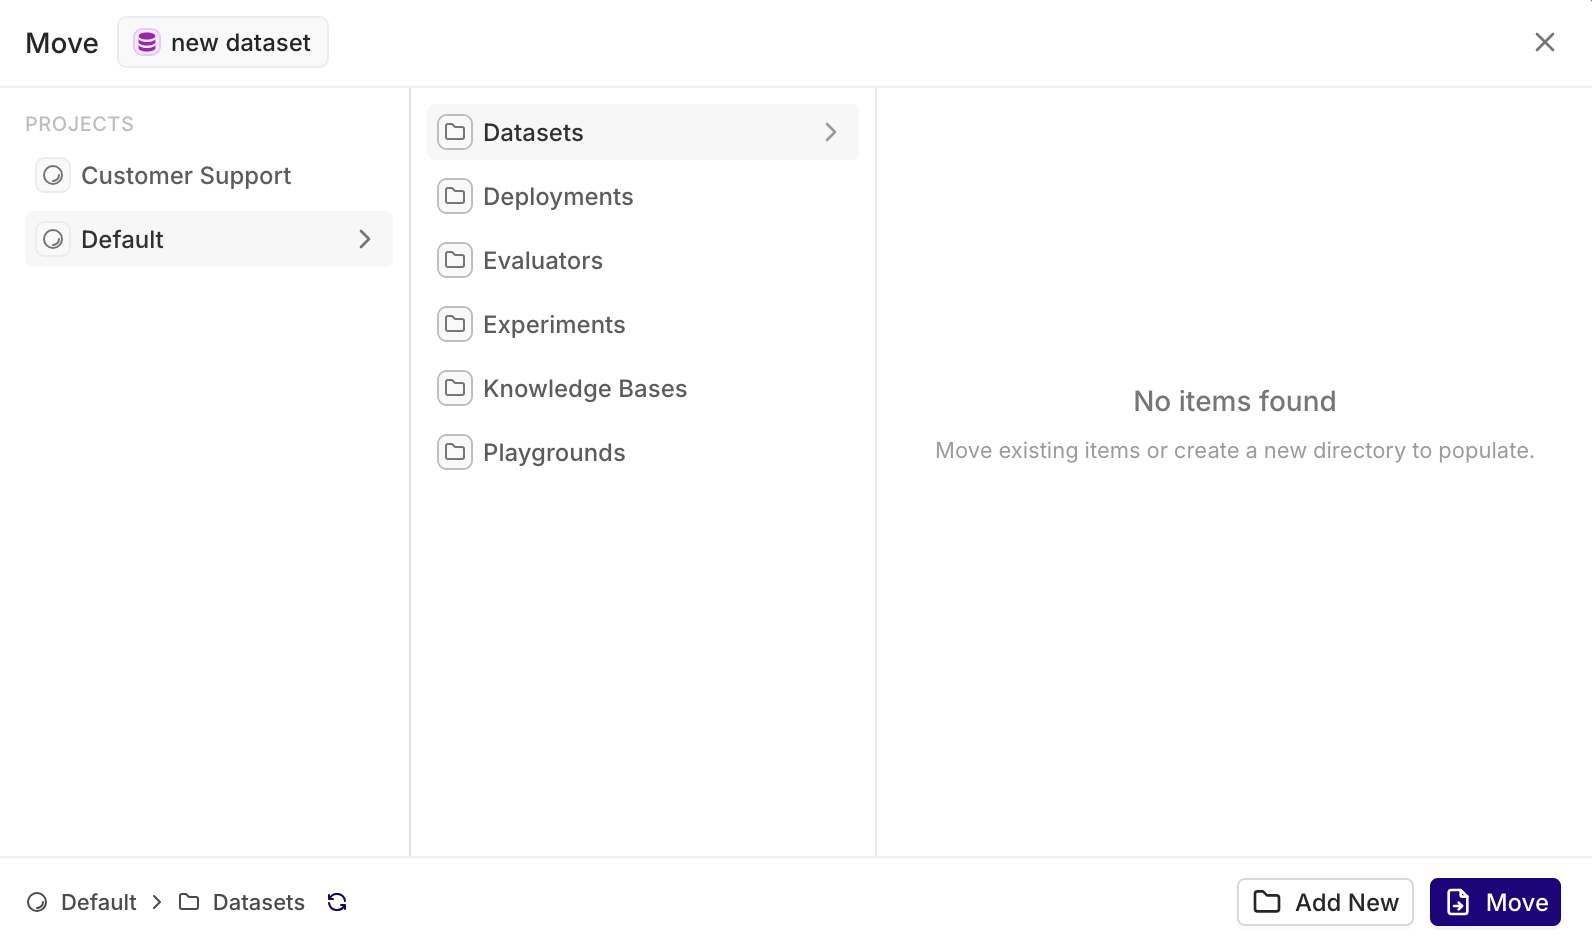
Moving Entities and FoldersReorganize projects at any time by moving entities and folders.Select the desired entity and choose Move. The following modal opens.
Browse through the desired projects and folders, create a new folder using + and choose destination for the selected entity using Move.
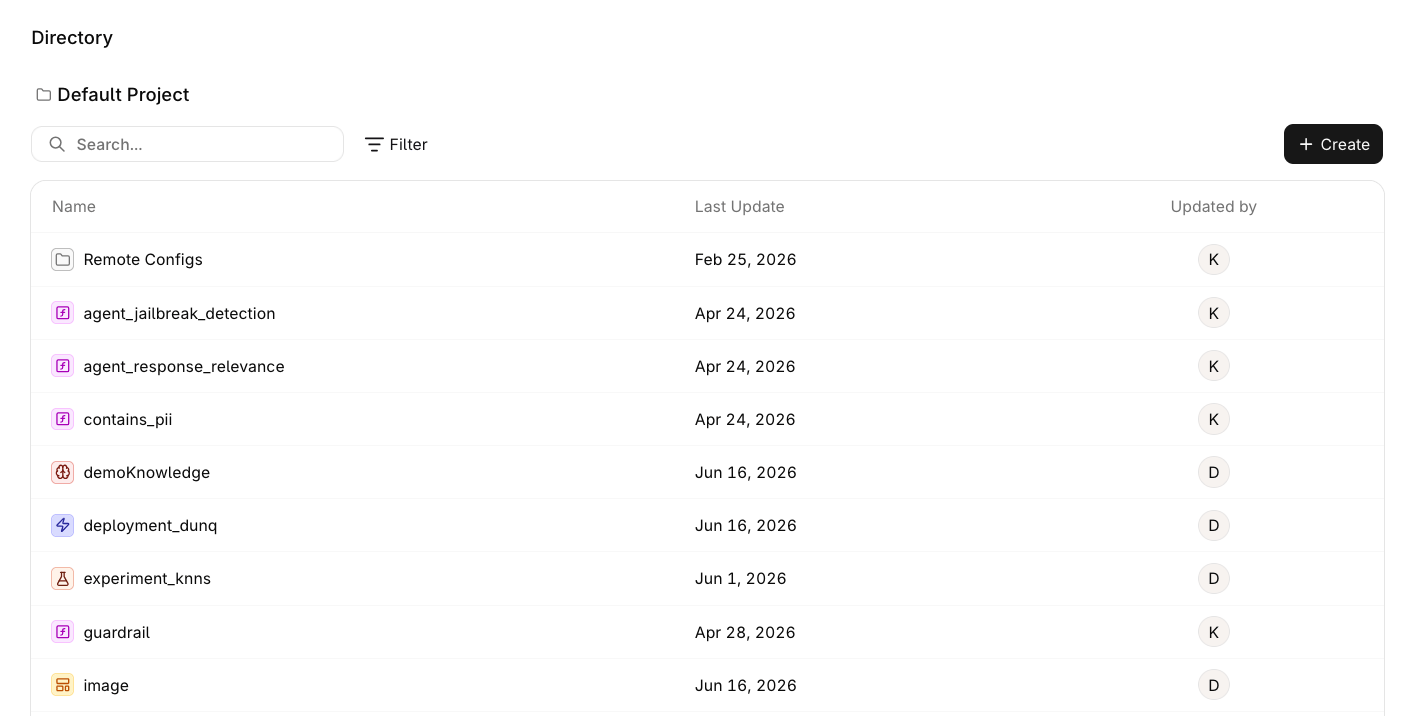
Use Directory in the sidebar to view all entities in the current project. The breadcrumb shows which project is active.
Directory view showing all entities in the Default Project with last update date and team member.
The directory lists all entity types in a single flat view: Evaluators, Deployments, Knowledge Bases, Experiments, Agents, Playgrounds, and more. Use Search and Filter to narrow the list, or click + Create to add a new entity directly from the directory.